WHAT IS BLAZOR AND HOW YOU CAN USE BLAZOR WEB ASSEMBLY ALONGSIDE AZURE FUNCTIONS TO CREATE A SERVERLESS WEBSITE – PART 1

What is Blazor?
- Blazor is a framework for building interactive client-side web UI with .NET. It lets you create rich interactive UIs using C# instead of JavaScript. You can share server-side and client-side app logic written in .NET. It renders the UI as HTML and CSS for wide browser support, including mobile browsers. And it also integrate with modern hosting platforms, such as Docker.
Using .NET for client-side web development offers the following advantages:
- Write code in C# instead of JavaScript.
- Share app logic across server and client.
- Build on a common set of languages, frameworks, and tools that are stable, feature-rich, and easy to use.
- Leverage the existing .NET ecosystem of .NET libraries.
- Benefit from .NET’s performance, reliability, and security.
You can read more about Blazor by clicking this link.
Let us now go ahead and see part 1 of the demo.
We are going to create a Blazor WebAssembly application that calls an Azure Function and runs in Azure on Azure Storage static websites. I have already created a demo about Azure Static Website, you can check that out here.
Prerequites for this demo are:
- Visual Studio Code
- Azure Functions and Azure Storage Extensions in VS Code
- C# extension in VS Code
- Node.js and .NET Core SDK 3 or later
This is the C# Extension for VS Code.
 ]
]
Azure Functions extension for VS Code.
Azure Storage extension for VS Code.

- Let’s start by creating a Blazor WebAssembly app locally.
- For that, open an instance of command prompt.
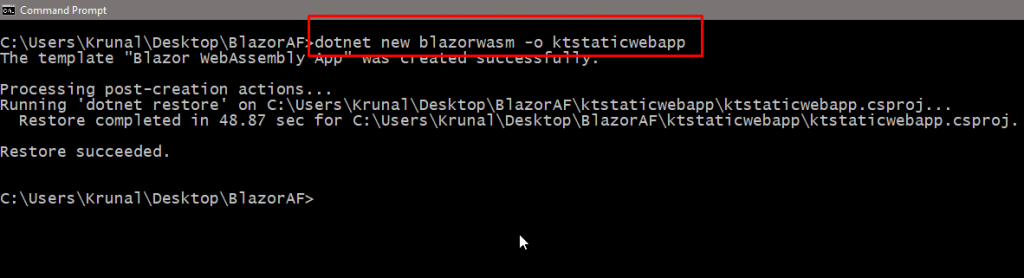
Then go to your desired directory and run the command dotnet new blazorwasm -o YourWebAppName. This will create a Blazor WebAssembly Static Web App for you.
Open the containing folder in VS Code and it looks like this. A Blazor WebAssembly app which runs completely in the browser on WebAssembly and doesn’t need a server to render HTML.
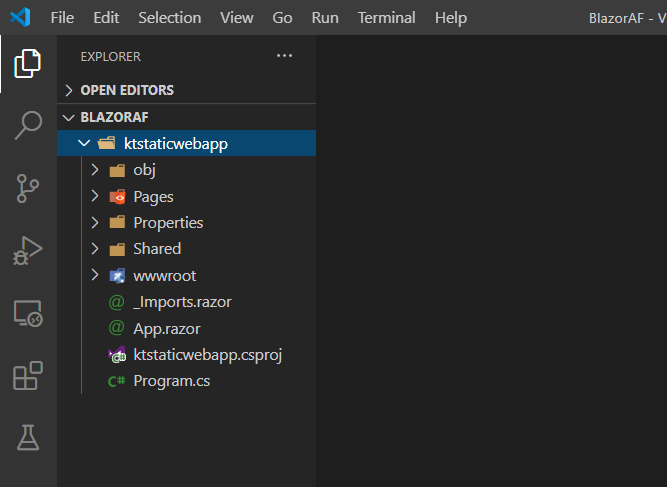
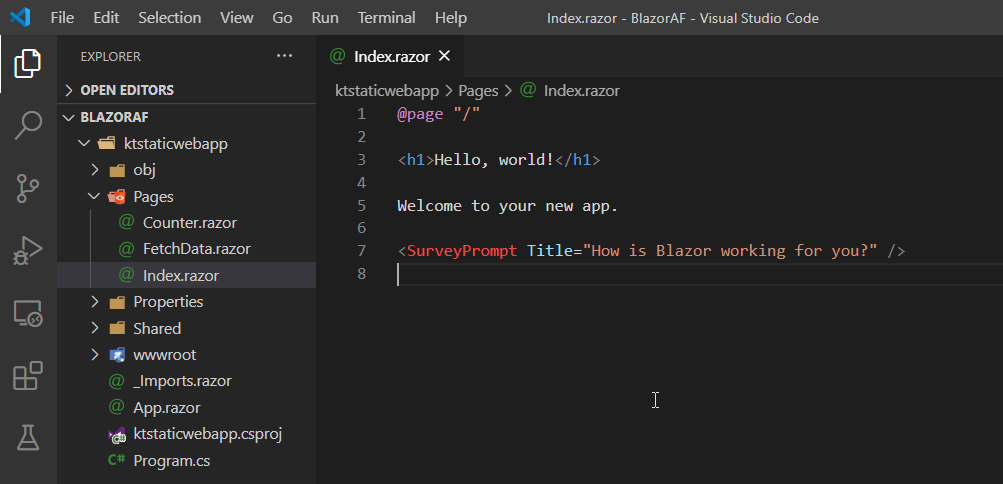
It has razor files which contain the HTML and code which makes it easy when you want to create Web Apps with C#.
The app is ready to run. Open a terminal instance and run the command dotnet run. Go to the localhost url.
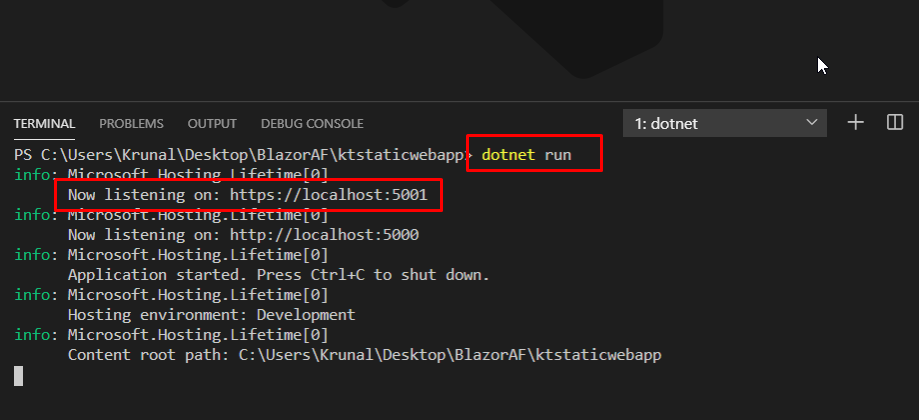
This is what the app looks like. It is up and running. You can check the counter as well.

Open a new instance of VS Code. We are going to create an Azure Function that the Blazor app will use.

Click create a new project and choose a location.

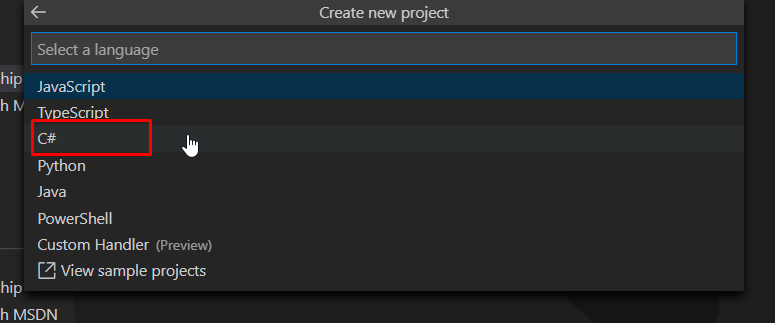
For the language, choose C#.
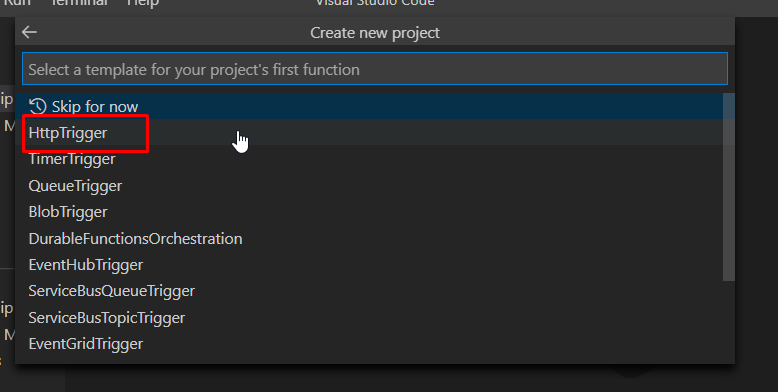
For the template, choose HttpTrigger. We are choosing this because we want this to run when we call a URL.
For the name, we are going to choose CurrentDateTime.

For the namespace, we are going to go with the default name.

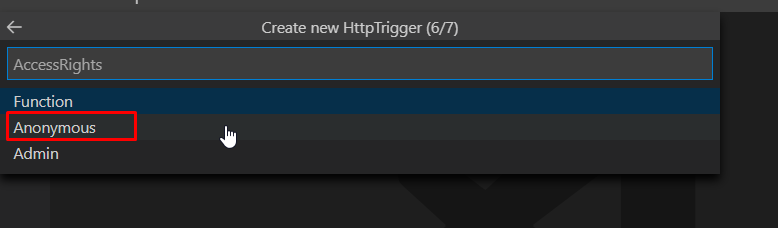
For the access rights, we are going to choose anonymous access.
And we will open it in the current window.

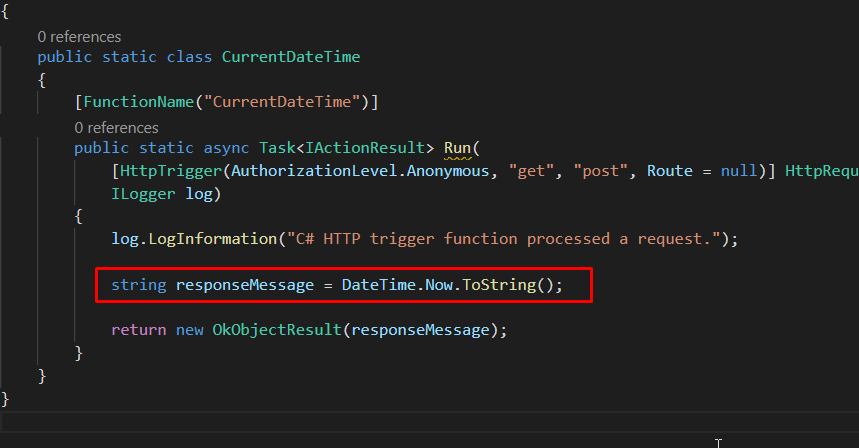
Once the function gets created, you will be able to see the default code that it comes with. Remove the highlighted code. We are going to add our own code.

Our current code does nothing but returns the current date and time.
Run the function without debugging.

Once the function runs successfully, you can access it from the URL that comes up in the terminal.

And it will return the with current date and time.

- Next thing we will do is, deploy this function into Azure.
- Right now, it stays locally on our machine. For that, let’s go back to our function app. We are going to continue that in the second part of the demo.
- To go to part 2, click this link.