WHAT IS BLAZOR AND HOW YOU CAN USE BLAZOR WEB ASSEMBLY ALONGSIDE AZURE FUNCTIONS TO CREATE A SERVERLESS WEBSITE – PART 2

This demo is in continuation to part 1. You can find it by clicking this link.
In part, we create a Blazor WebAssembly app locally, create an Azure function locally. Now, we are going to deploy the Azure function app to Azure. Then, we will create a storage account and we will pass the published function’s app URL to our Blazor WebAssembly app. Then we will deploy the Blazor app to a static website. Let’s get ahead with it.
Click on the deploy icon. If you have multiple subscriptions, choose the one that you want to upload it to.

Choose the option to create a new function app in Azure.

Give it a globally unique name.

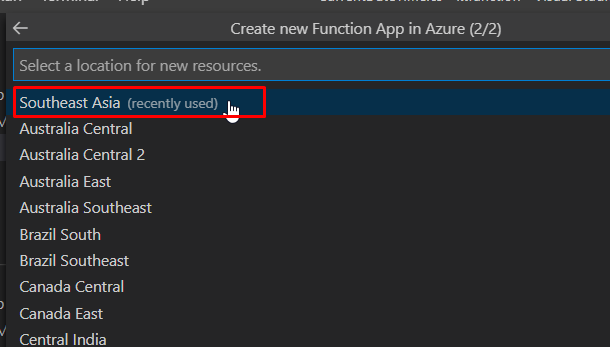
Choose a location that you want your function app to be in.
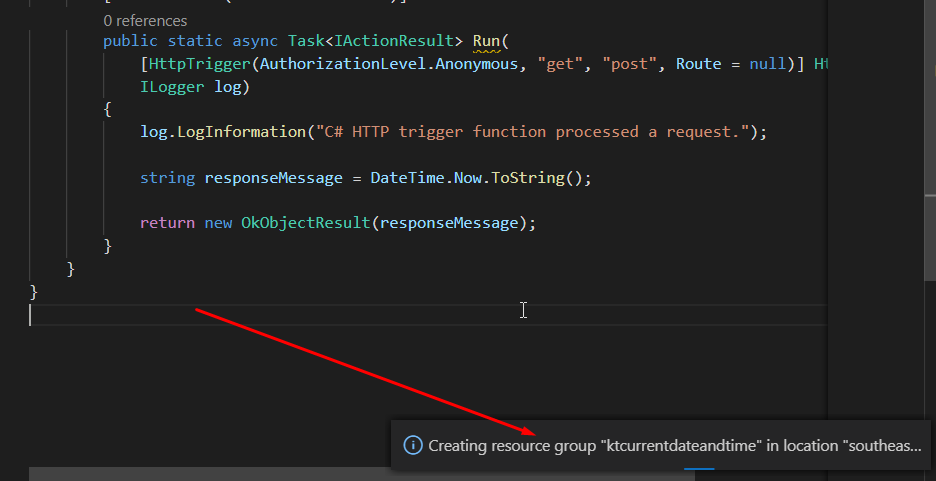
And the process of the function app creation will start.
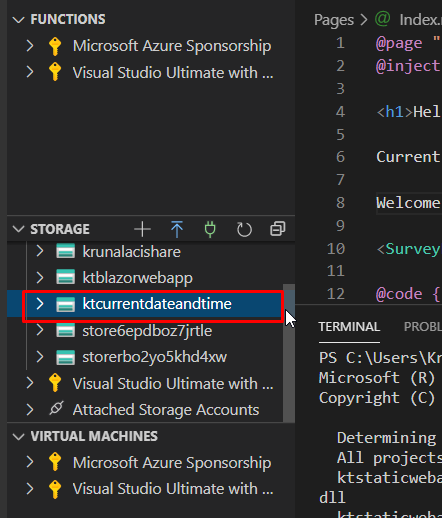
Once the function gets deployed successfully, you will find it under the subscription where you have uploaded it.

Right click on the function and copy the function URL and keep it aside for a few minutes.

Back in the Blazor WebAssembly app, go to Index.razor page. Add this code. Here we are passing the just copied URL of the function app that we created. Now this app will use the function app to display the date and time.

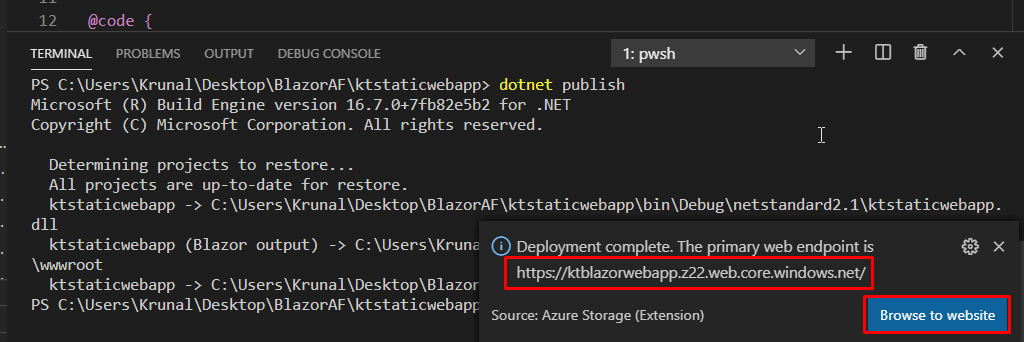
Once that is done, run dotnet publish command. This command will create a folder locally with all the necessary Blazor WebAssembly files that it needs to run.

- Now we need a place to put these files in Azure.
- And that is where the Azure storage extension comes in.
- We are going to create a new storage account and then create a new static website there. There, we are going to publish our Blazor WebAssembly code and it will be ready to run smoothly.
Open the Azure Storage extension and click on new storage account. Choose the subscription of your choose (if you have more than one) and give a globally unique name to your storage account.

After a while, your storage account would be created. It has the static website feature enabled by default so we can run our Blazor Web App easily.
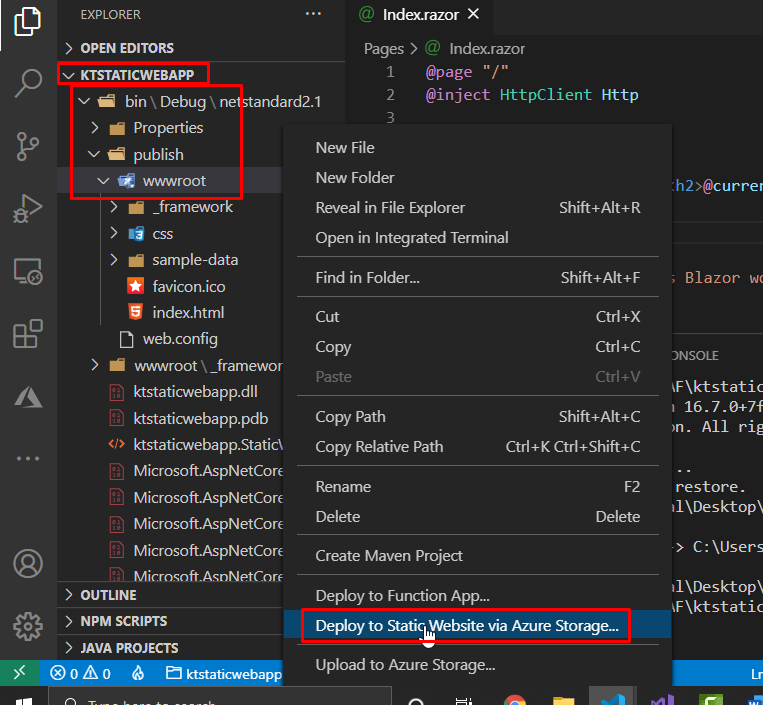
To publish it to the static website, go to the Blazor app folder. Go to bin/publish/wwwroot. Right click on the publish/wwwrootfolder and choose Deploy to Static Website via Azure Storage.
Choose the storage account and it will start the deployment.

Once deployed, a URL will be made available for you to access the website. Click Browse to website.
And when you go the website, you will see that it is working as expected.

So now our Blazor app is running in Azure on Azure Storage with the static website feature enabled. Blazor and the function are running serverless and that means that this is almost inexpensive to run and it also scales automatically.
Try it for yourself.