LEARN HOW TO USE A ROUTE TABLE FOR ROUTING YOUR NETWORK TRAFFIC – PART 2

In the previous part of this series, we configured our route table. In this part of the series, we will turn on IP forwarding for a VM. When Azure sends network traffic to that VM, if the traffic is destined for a different IP address, IP forwarding will send the traffic to the correct location.
You can read the first part by clicking this link.
Once your VM gets created, go to it. Click on Networking and click on the NIC.

Go to IP configurations and enable IP forwarding. Click Save.

- Now, we need to create a public VM and a private VM in the virtual network.
- Later, we’ll use them to see that Azure routes the Public subnet traffic to the Private subnet through the NVA.
Under the same resource group, create a new vm called myVmPublic with the following settings.
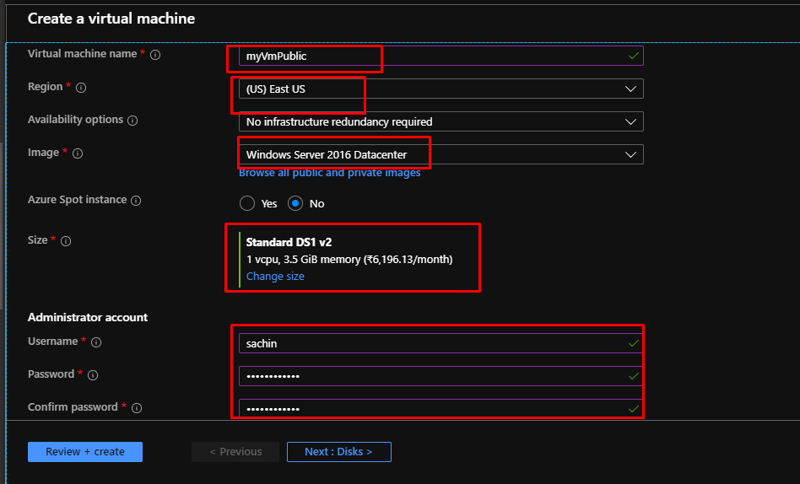
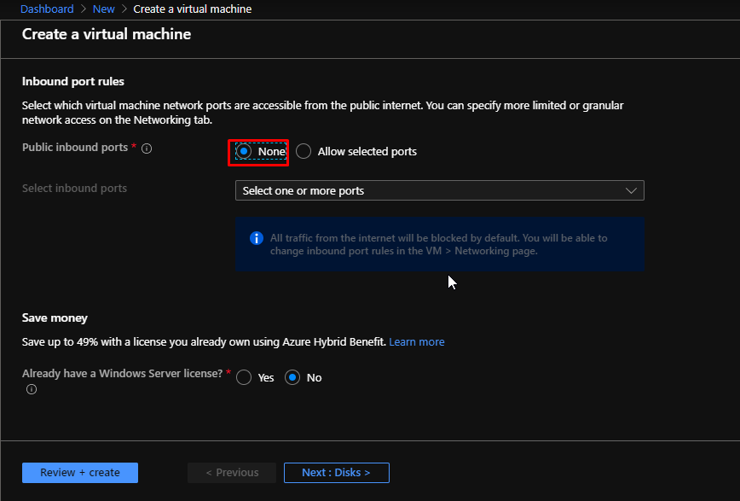
Here also, keep the public inbound ports as none. Now directly go to the Networking tab.
Choose the created Virtual Network. Choose the Public Subnet. Leave the Public IP as default. Allow selected ports here and choose 80 and 3389. Go to Management.

Choose the default storage account that you had created while creating the NVA. Click Review + create. Once the validation gets passed, click Create.

Again in the same resource group, create another VM called myVmPrivate with the same basic settings.
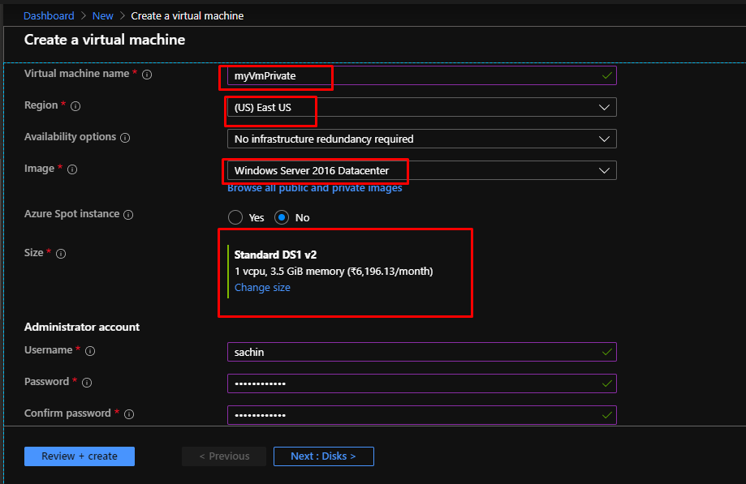
Keep none to the public inbound ports here as well. Go to Networking tab.

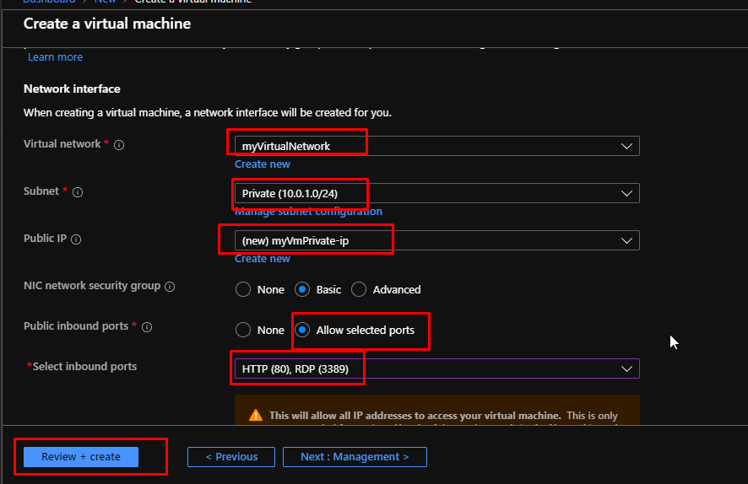
Select the virtual network. Choose Private subnet. Default public IP. Allow select ports 80 and 3389. Click Review + create. Once the validation gets passed, click create.
- Once the private VM gets created, log in to it using RDP.
Next, we will enable ICMP through the Windows Firewall.
- In a later step, we’ll use the trace route tool to test routing.
- Trace route uses the Internet Control Message Protocol (ICMP), which the Windows Firewall denies by default.
- Enable ICMP through the Windows firewall.
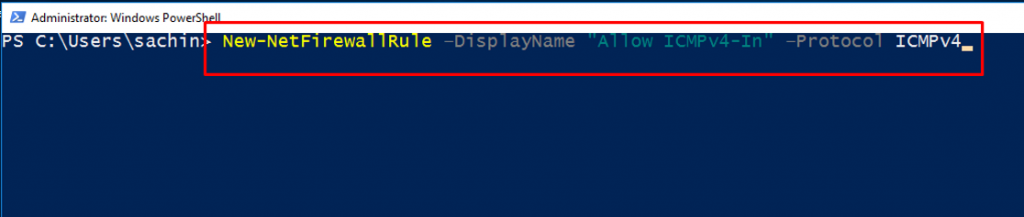
Open PowerShell inside the VM and run this command.
New-NetFirewallRule –DisplayName “Allow ICMPv4-In” –Protocol ICMPv4
You’re using trace route to test routing in this tutorial. For production environments, we don’t recommend allowing ICMP through the Windows Firewall.
This would be the output.

- You turned on IP forwarding for the VM’s network interface using Azure.
- The VM’s operating system also has to forward network traffic. Turn on IP forwarding for myVmNva VM’s operating system with the following commands.
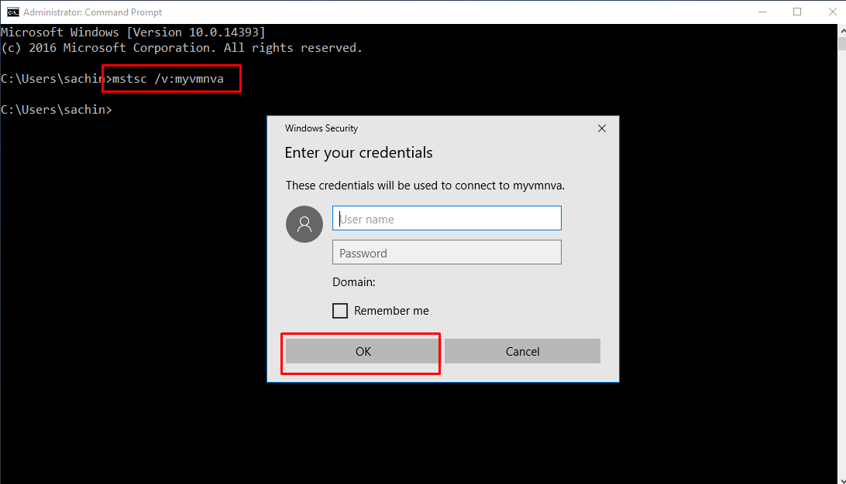
Open command prompt in the private VM and run the command mstsc /v:myvmnva
Enter the credentials for myvmnva.
By doing so, we have opened a remote desktop connection to myVmNva from inside the private VM.
Open a PowerShell window inside the NVA and run this command to turn on IP forwarding.
Set-ItemProperty -Path HKLM:SYSTEMCurrentControlSetServicesTcpipParameters -Name IpEnableRouter -Value 1

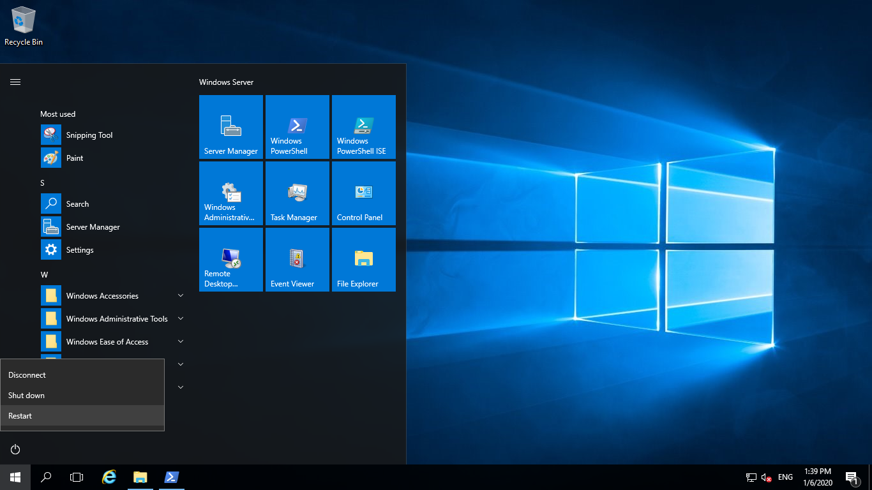
Restart the myVmNva. Choose Other (unplanned) in the options and click continue. This will also disconnect the RDP.
Back in the private vm’s cmd, run the command mstsc /v:myVmPublic to connect to the public VM. Enter credentials and click ok.

Inside public VM open PowerShell. Enable ICMP through the Windows firewall by entering the following command.
New-NetFirewallRule –DisplayName “Allow ICMPv4-In” –Protocol ICMPv4

- First, let’s test routing of network traffic from the myVmPublicVM to the myVmPrivateVM.
From the PowerShell of public VM, run the command tracert myVmPrivate and you would get the following output.

In the previous output…
- You can see the first hop is to 10.0.2.4. It’s NVA’s private IP address.
- The second hop is to the private IP address of the myVmPrivateVM: 10.0.1.4.
- Earlier, you added the route to the myRouteTablePublicroute table and associated it to the Publicsubnet.
- As a result, Azure sent the traffic through the NVA and not directly to the Privatesubnet.
- Close the remote desktop session to the myVmPublicVM, which leaves you still connected to the myVmPrivateVM.
From the command prompt of the private VM, run the command tracert myVmPublic. It tests the routing of network traffic from the myVmPrivate VM to the myVmPublic VM. The response is similar to this example.

- From the performed demo, you can see Azure routes traffic directly from the myVmPrivateVM to the myVmPublicVM.
- By default, Azure routes traffic directly between subnets.
- Close the remote desktop session to the myVmPrivateVM.
That is it for this series where we saw how to route network traffic using a route table. Go ahead and try this for yourself.