AZURE SPRING CLOUD – A BRIEF STEP BY STEP DEMONSTRATION

If you work with Spring Boot based Microservices, then Azure provides a great feature for you. The Azure Spring Cloud is the perfect thing you can use. You can deploy and run your services in it and get all benefits of cloud. Some of the benefits that you get are performance, availability, security, and the best thing – easy connection with other Azure services. Let’s quickly see it how it works.
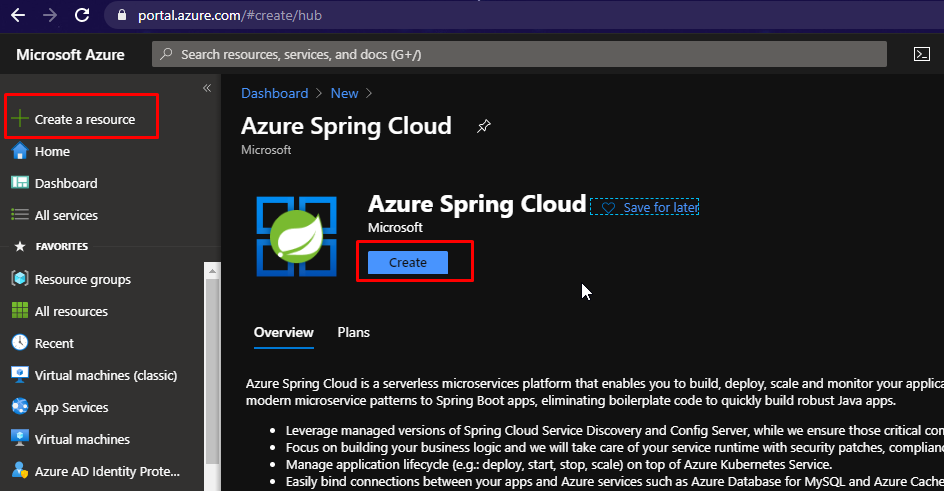
In the Azure portal, go to Create a Resource and search for Azure Spring Cloud. When the blade opens, click Create.
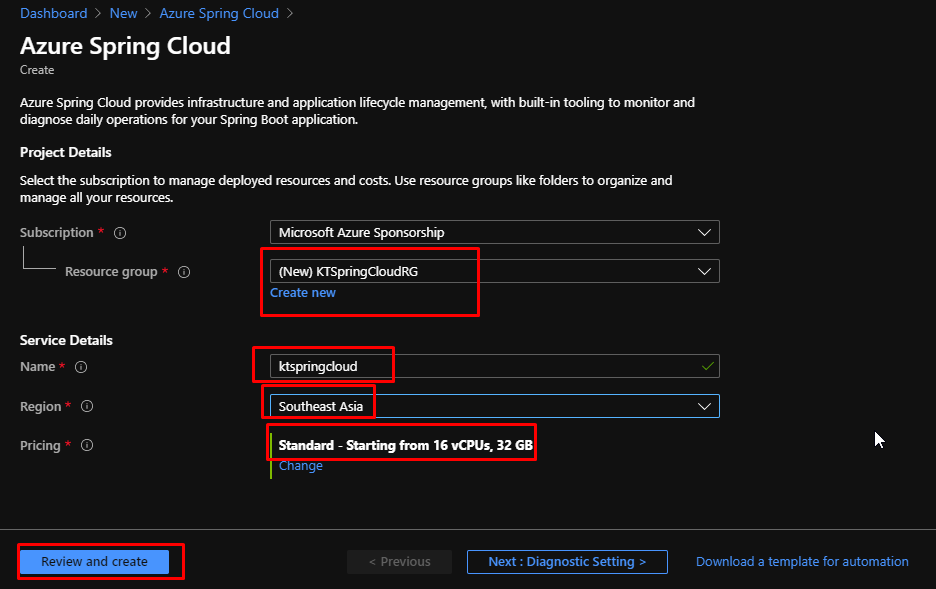
Choose a resource group, give it a name, choose a region and select the pricing tier which fits best for you. Click review and create and once the validation gets passed, click create.
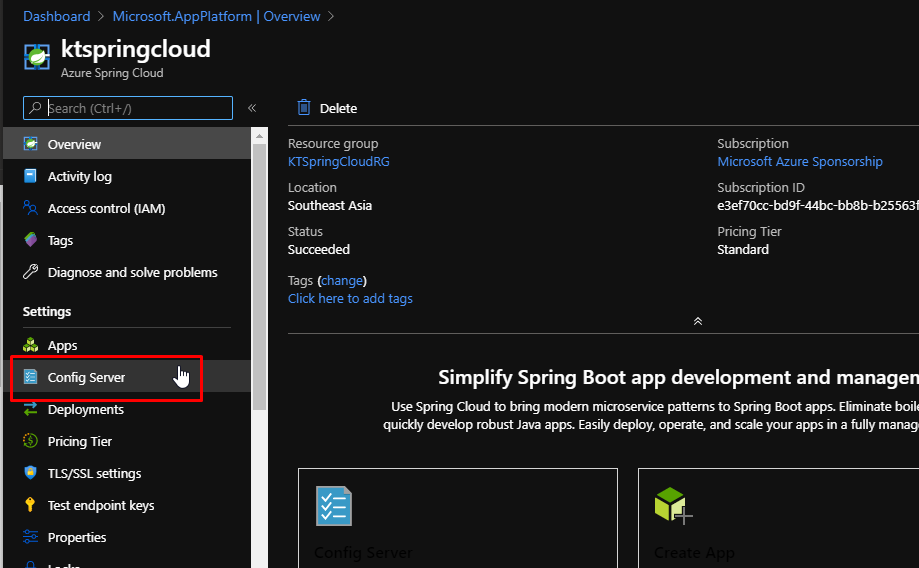
Once configured, the Spring Cloud Server will look like this.

Before we can deploy apps to it, we need to set up its configuration server. We can do that by going to the Config Server tab.
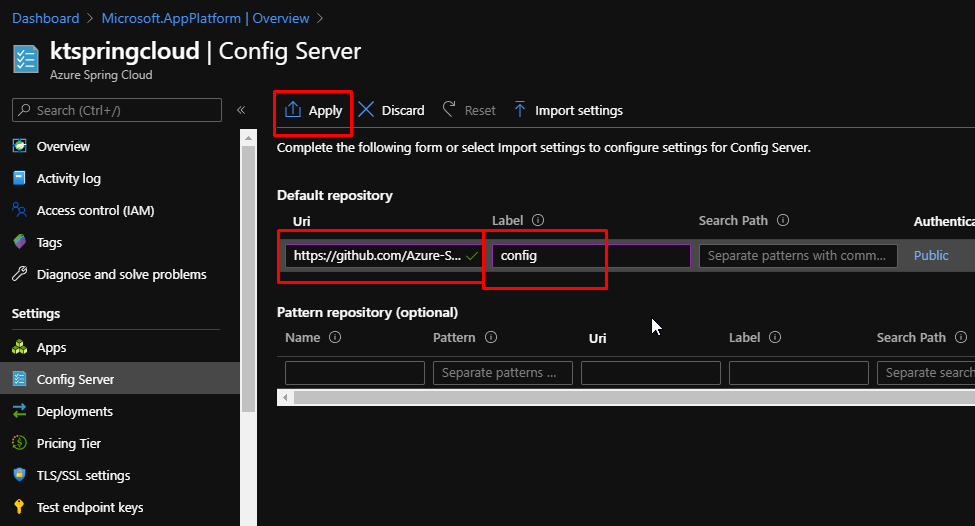
Add a default repository URI – https://github.com/Azure-Samples/piggymetrics and a label called config. Click Apply and the Config Server will be setup.
- Some of the next steps are to be performed in the command prompt.
- So, open an instance of the command prompt.
- To run everything, you need to have the following things installed
- Git
- Azure CLI
- Java Development Kit 8
- Maven
- You can install JDK 8 from the link here:
- To download Maven, you can go to the link here:
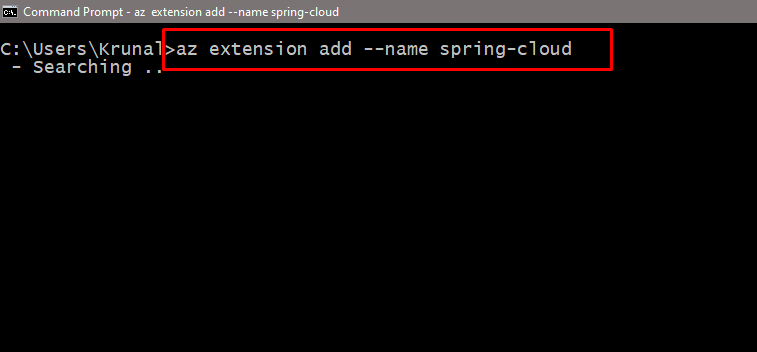
Once every pre requisite is installed, you need to install the Azure Spring Cloud extension. This extension enables us to work with Azure Spring Cloud from the CLI. To install, run the command az extension add —name spring-cloud
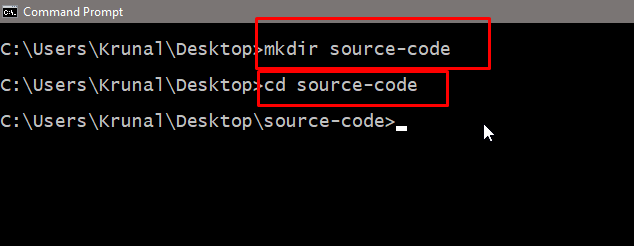
Go to your desired location and make a directory called source-code. cd into the directory.
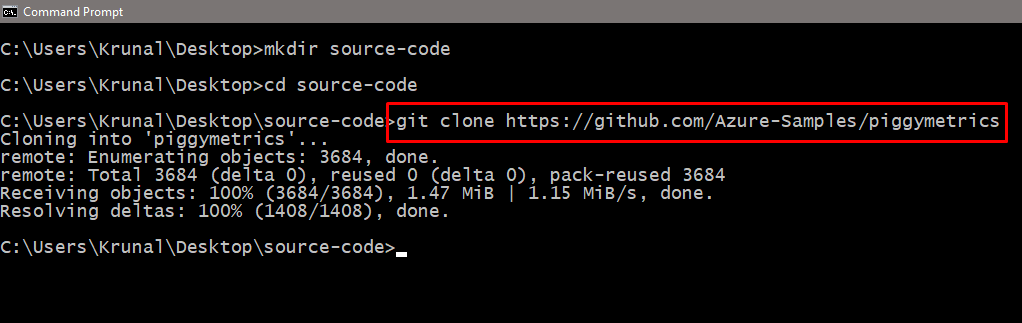
Clone the git repository using the git clone command.
git clone https://github.com/Azure-Samples/piggymetrics
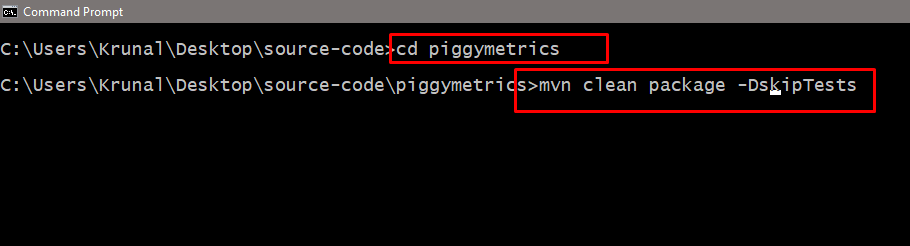
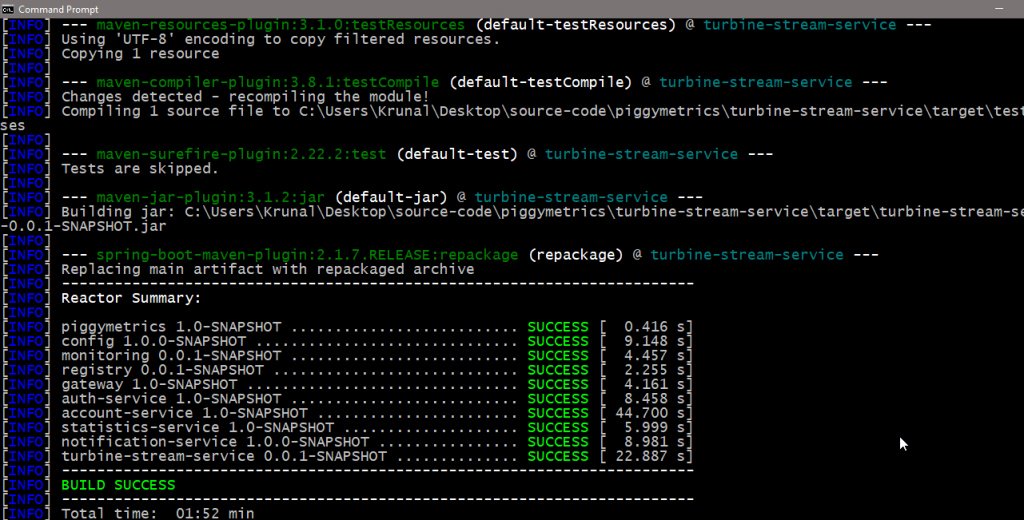
Change the directory to the piggymetrics folder. And then, build the project using Maven. This will take some time to build.
mvn clean package –DskipTests
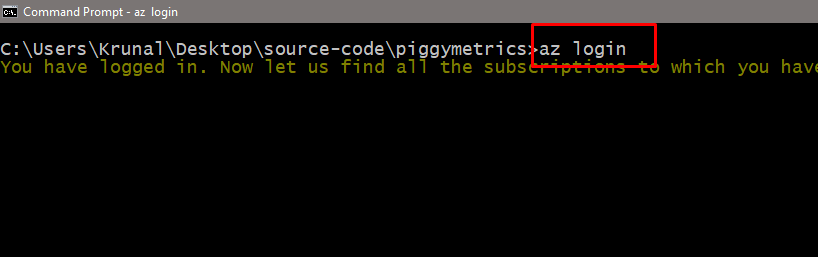
Once the build is succeeded, the code will be compiled into jar files that we can deploy. But before we do that, we need to sign in to Azure.
Login to Azure using the az login command.
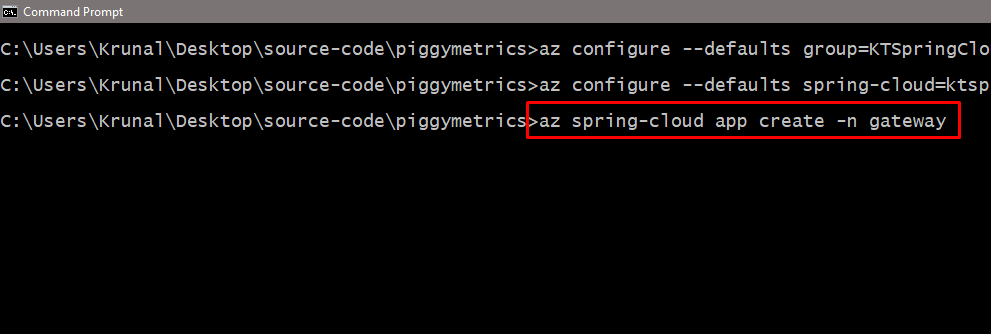
Assign names to the resource group and to the Azure Spring Cloud Server using these commands. The spring-cloud extension will use these later on.
az configure —defaults group=‘YourResourceGroup’
az configure —defaults spring-cloud=‘YourSpringCloudServerName’

Create a new app in the Spring Cloud called gateway. This can take a while to complete.
az spring-cloud app create –n gateway
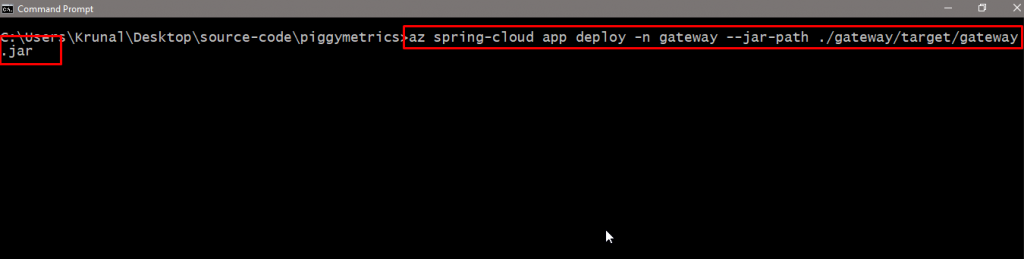
When it is done, we need to publish the jar file from the gateway service to the gateway app in the Azure Spring Cloud. You need to repeat this process for the other microservices of the solution as well.
az spring-cloud app deploy -n gateway –jar-path ./gateway/target/gateway.jar
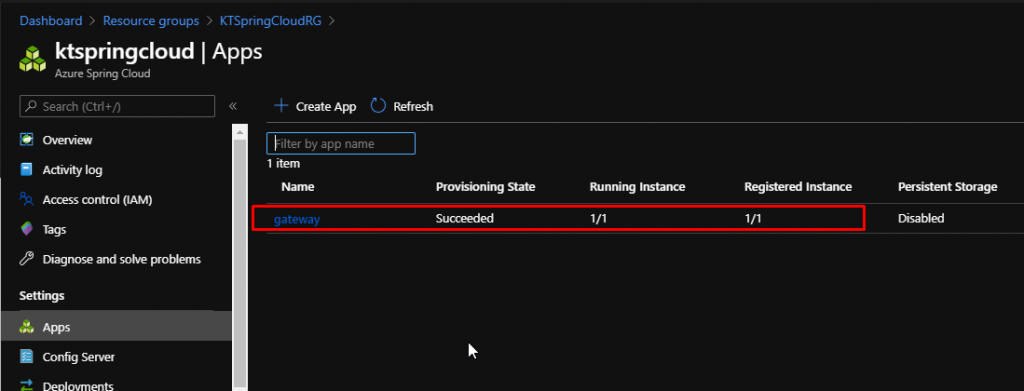
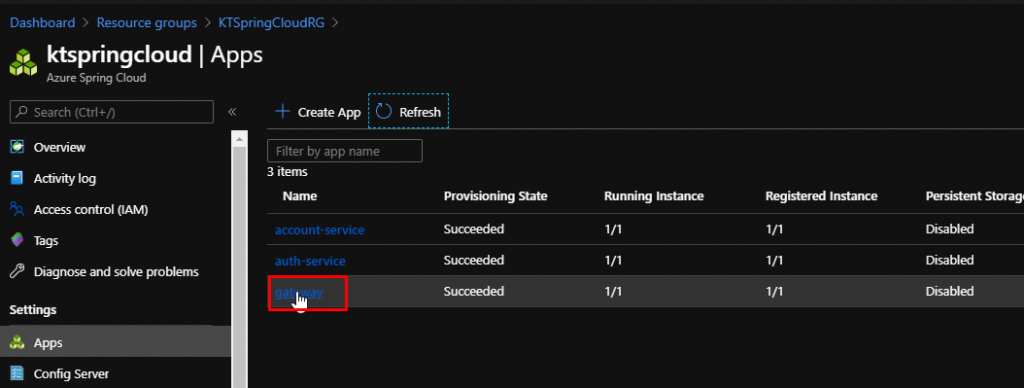
Once the publish gets completed, you will see the app in the spring cloud server. We still need to publish two more apps before we see how this works.
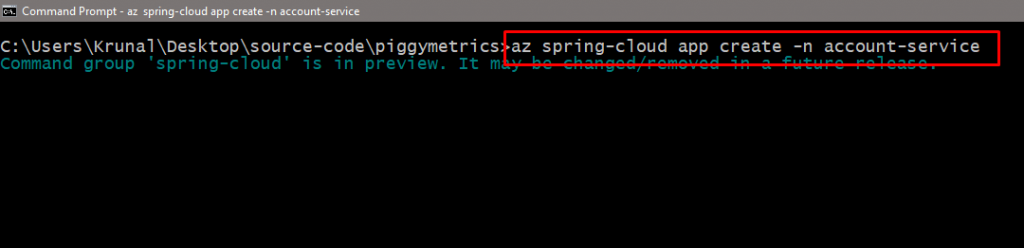
Create a new app in the Spring Cloud called account-service. This can take a while to complete.
az spring-cloud app create –n account-service
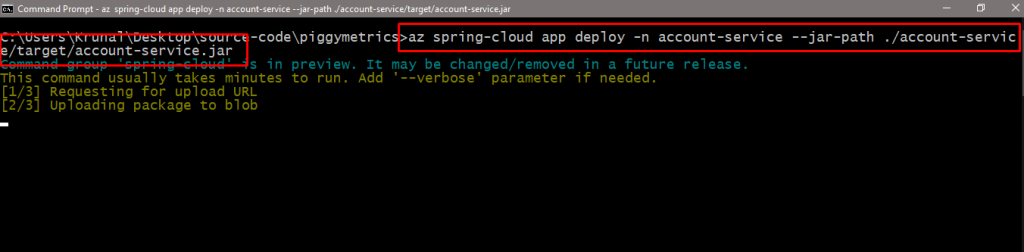
Just like we did earlier, we need to publish the account-service microservice as well.
az spring-cloud app deploy -n account-service –jar-path ./account-service/target/account-service.jar
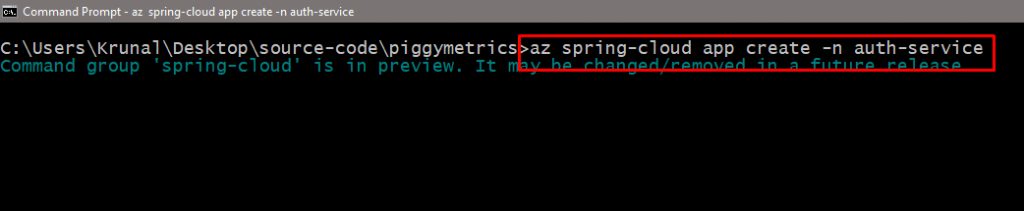
And one more time. Create a new app in the Spring Cloud called auth. This can take a while to complete.
az spring-cloud app create –n auth-service
And finally, we need to publish the auth-service microservice as well.
az spring-cloud app deploy -n auth-service –jar-path ./auth-service/target/auth-service.jar

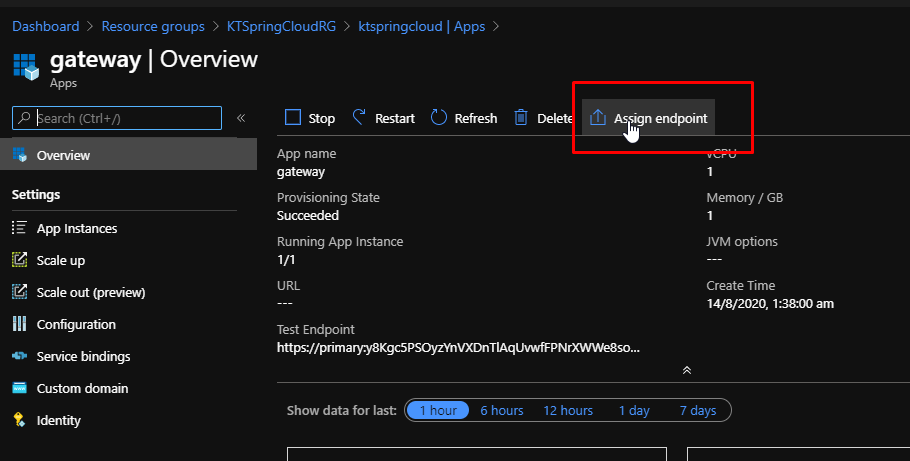
The apps have bee created and the microservices in the form of jar files have been deployed into them. We need to do one more thing though which will be in the gateway app.
This needs to have a domain name/endpoint attached to it. Then we can use it to access the service from the browser.
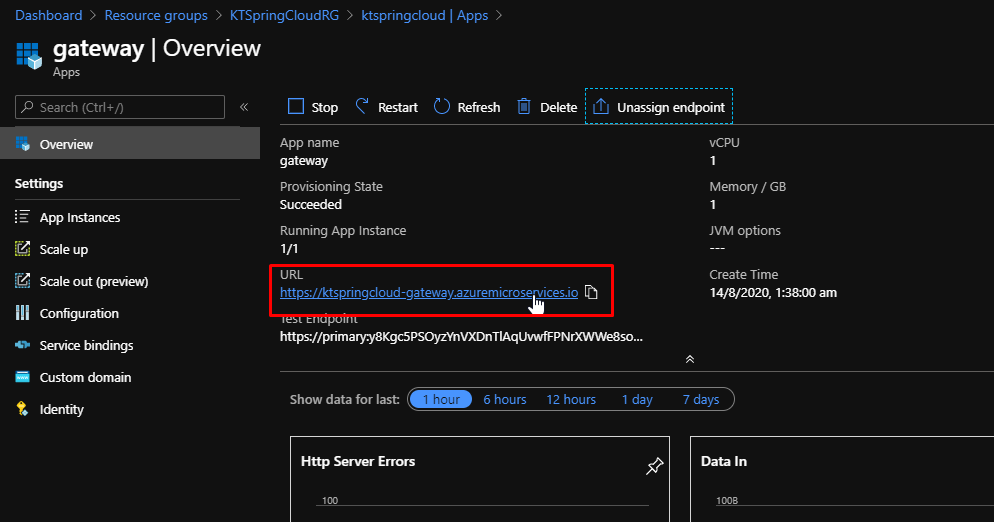
Once it gets assigned, click on it to visit it.
And the application will be up and running on Azure Spring Cloud.
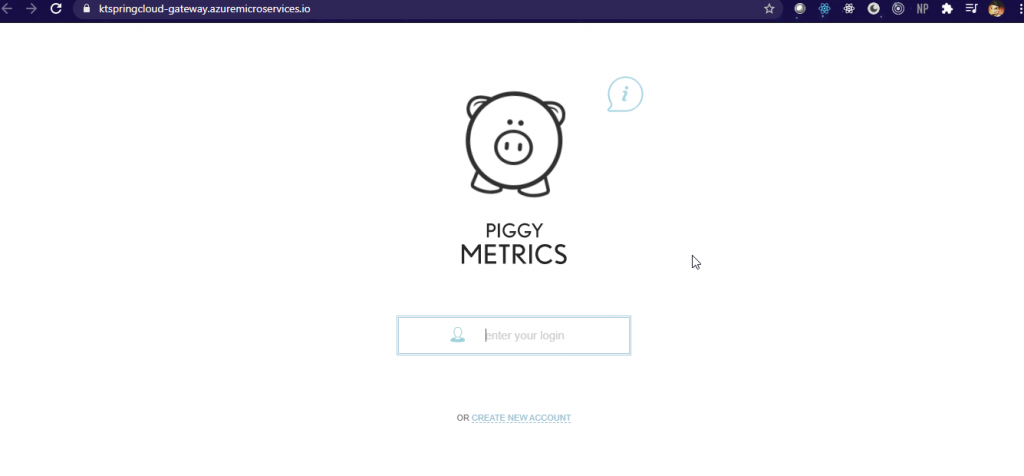
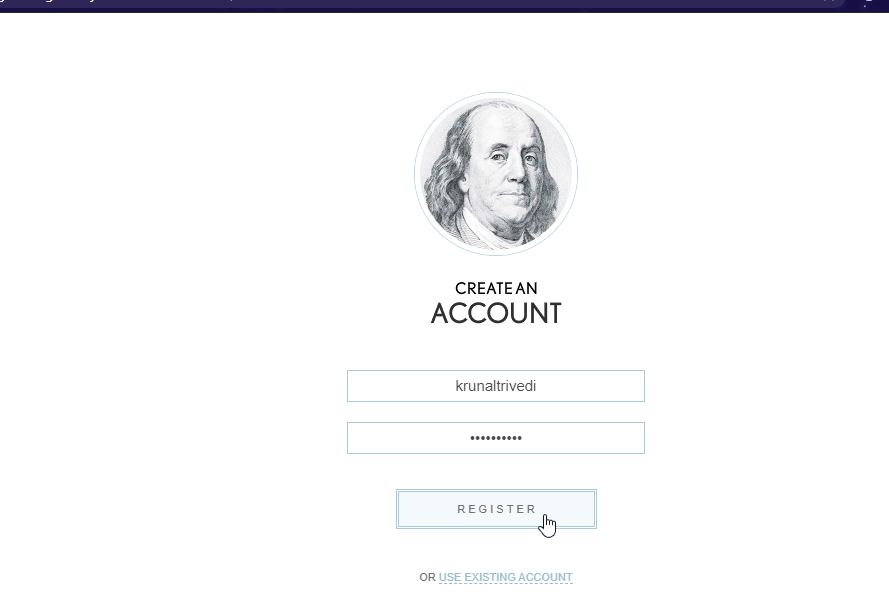
You can create the account, which will call the authentication microservice in the authentication app.
That is how easy to create an Azure Spring Cloud, is managed by Azure. It is highly available, performant and secure and also enables you to connect your apps to other Azure services.