Getting started with Flexible Server in Azure MySQL

Now you can create an Azure Database for MySQL Server with a Flexible Server.
It allows for configuration and control of your original Database server.
Let’s go ahead and watch that in action in this step by step demo.
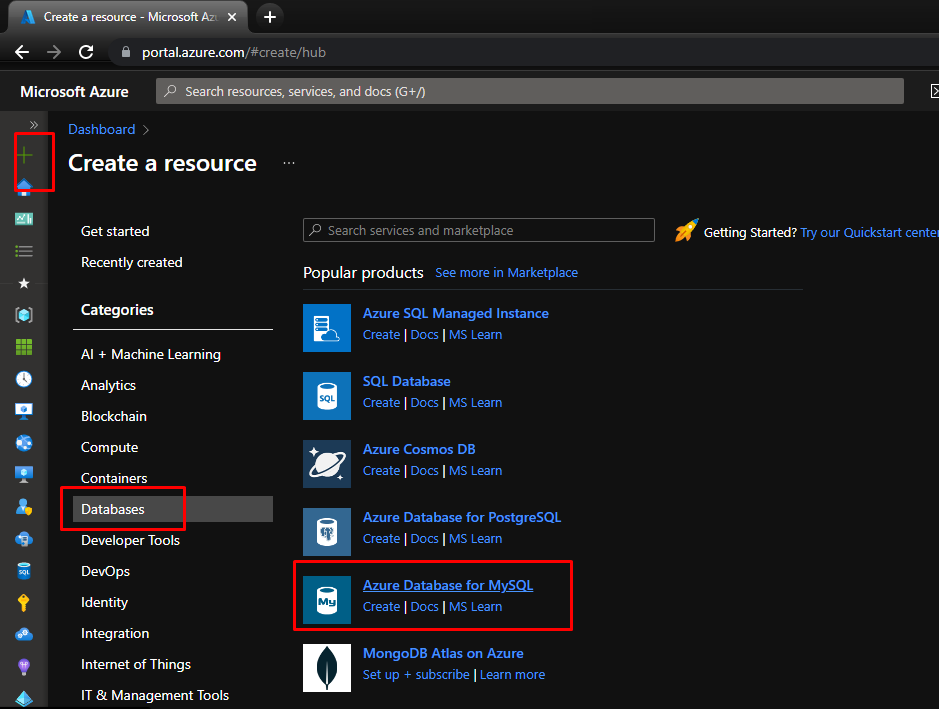
Go to Azure Portal Create a new resource Databases Azure Database for MySQL
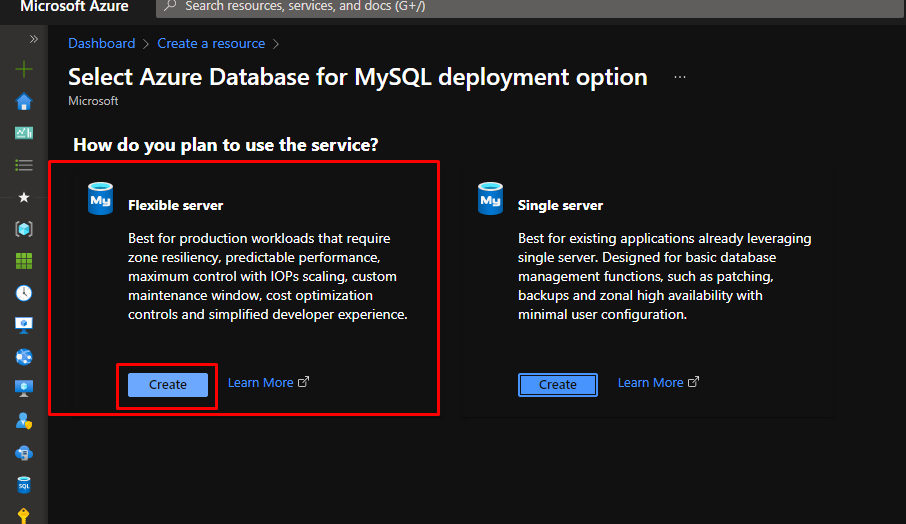
From here, we are going to choose Flexible Server.
Put the database in a Resource Group, give your server a name, choose the region and for the workload type, choose Development.
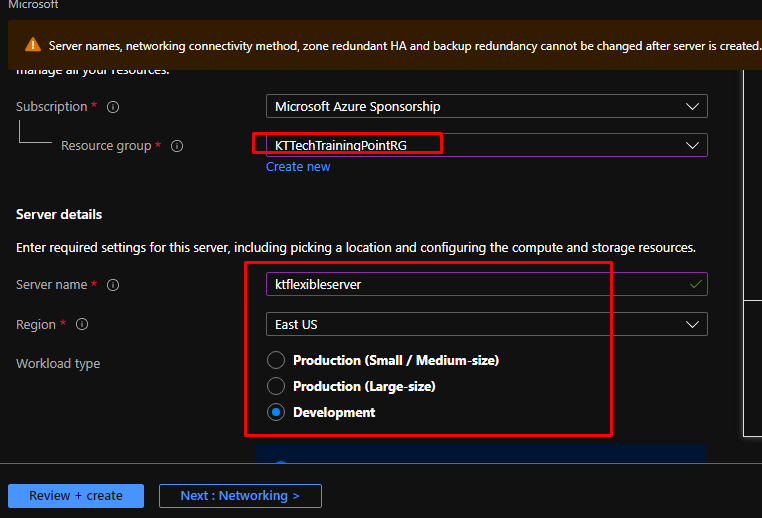
This part preconfigures the settings for you. With Flexible server, you have high control over high availability.
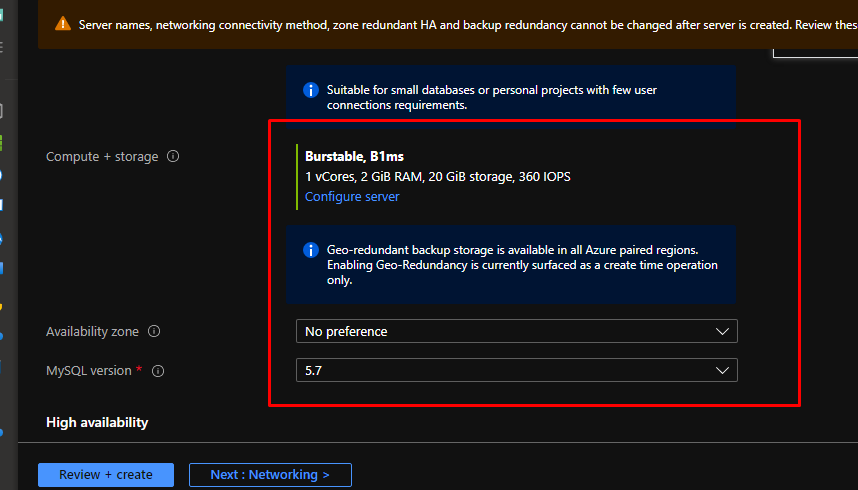
You can configure the availability in the availability zone, like I did here by choosing availability zone 2.
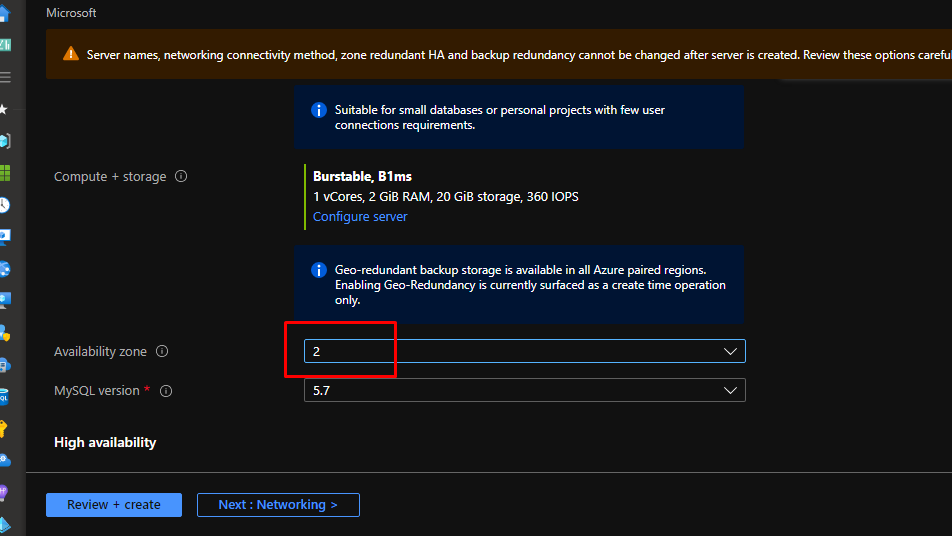
Change the version to 8.0.21 and let’s go ahead and see compute and storage configuration.
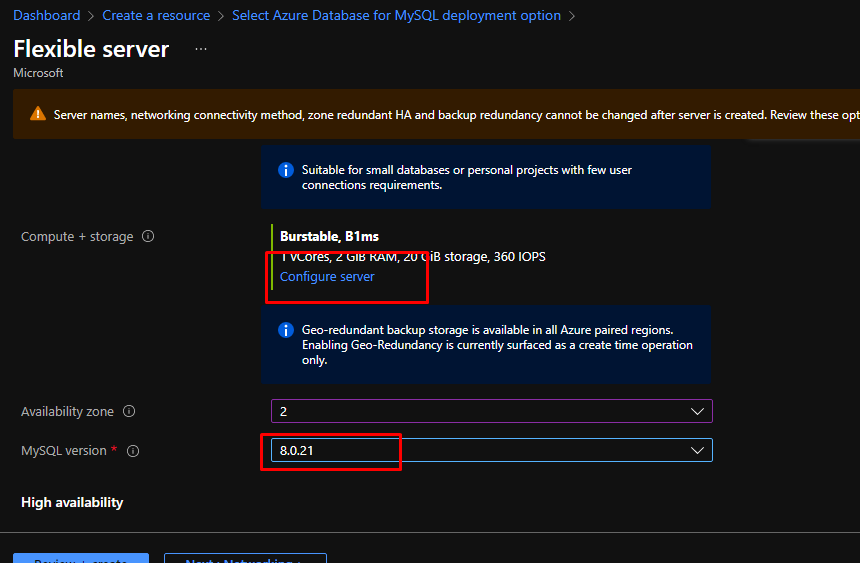
Because we have chosen the development mode, this has pre chosen the Burstable compute tier which is a feature of flexible. This feature saves costs by only increasing your CPU power just when you need and not any other time.

If you want, you can configure the compute and storage here further. However, we are not going to do that now.
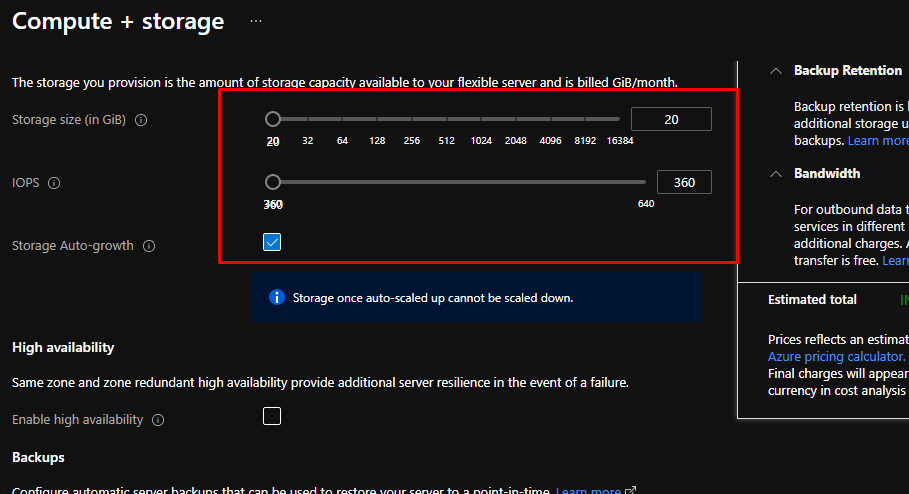
Here you can configure backup retention and redundancy. Right now, we can only choose locally redundant option because we are using the burstable compute tier.
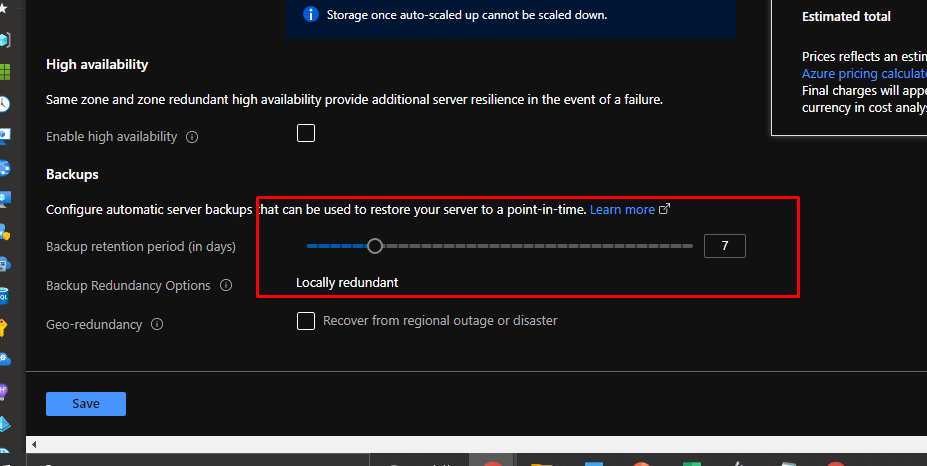
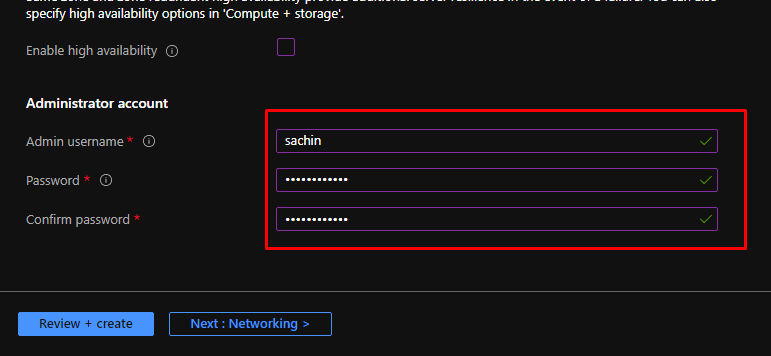
Set up the username and password that will be used to login to the server. Next, go to the networking tab.
The Flexible Server enables you to put the server in a virtual network in order to further enhance your security. However, we are going to with public access only.
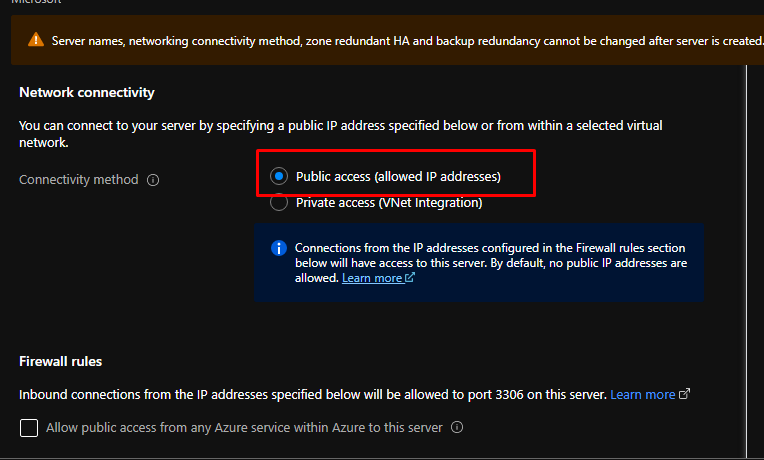
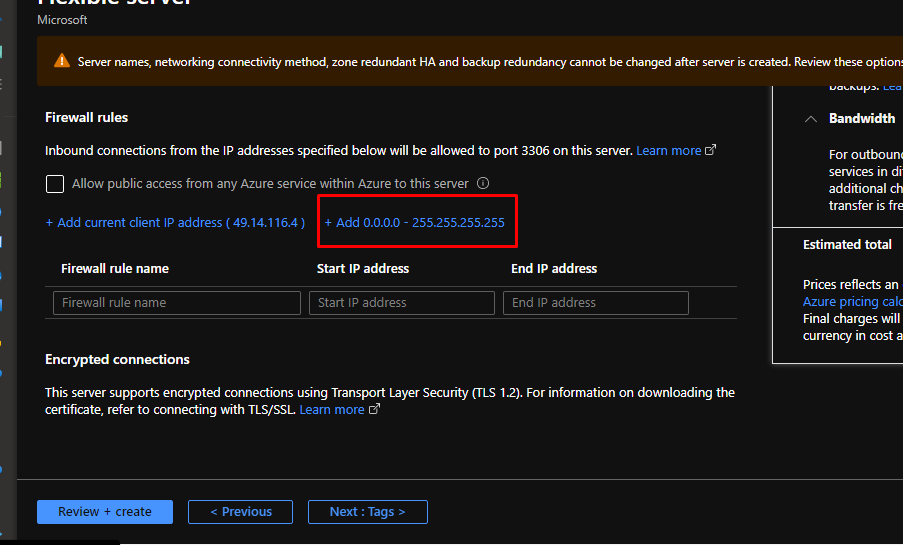
When you choose that option, you use firewall for security purposes. For now, add this blanket IP mask that will allow me to connect to the server. This is not recommended to do in a real world scenario. This should be done only during development or demonstration. Click Review + Create and Create.
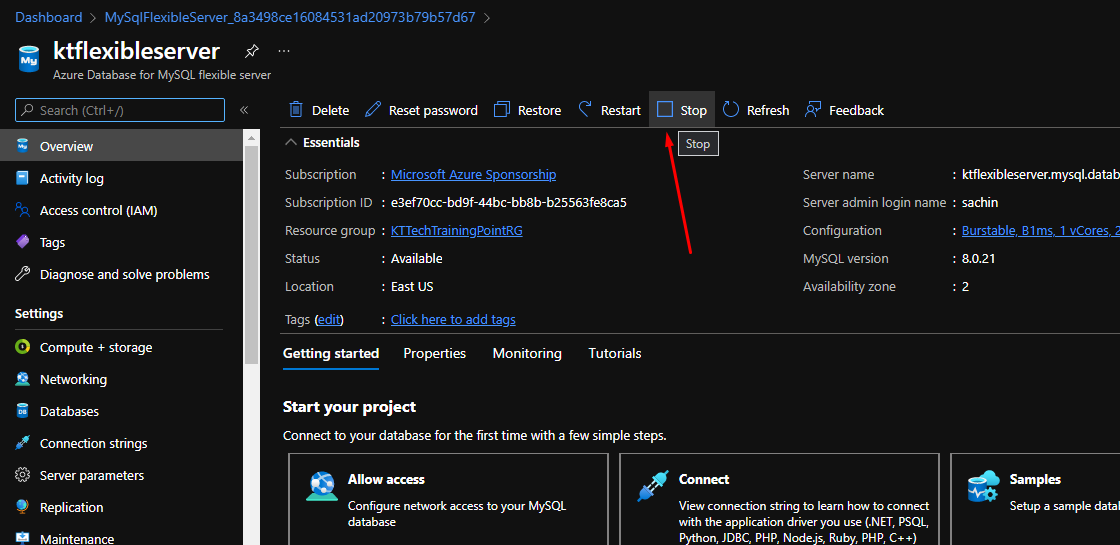
One more feature of the flexible server is that you can stop it to save costs and it allows you to configure your maintenance windows. This massively helps you to manage downtime for your applications.
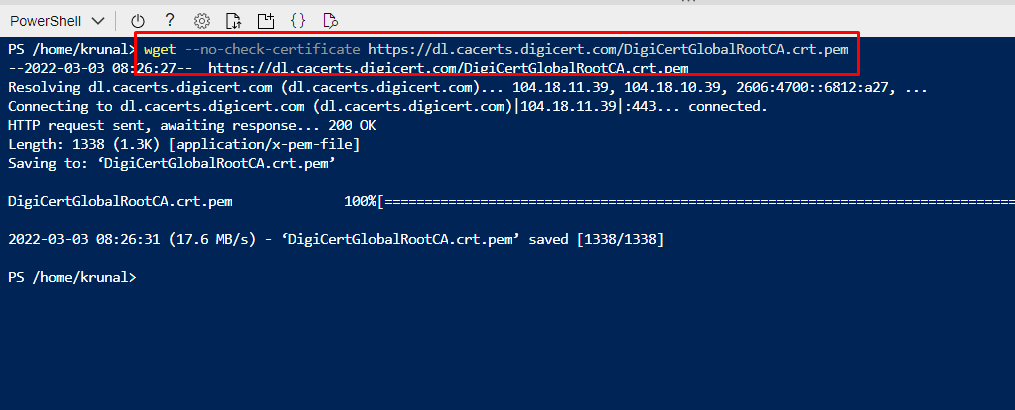
You can connect to the server the you like. Here we will be connecting to it via the cloud shell. Open cloud shell and run the certificate command.
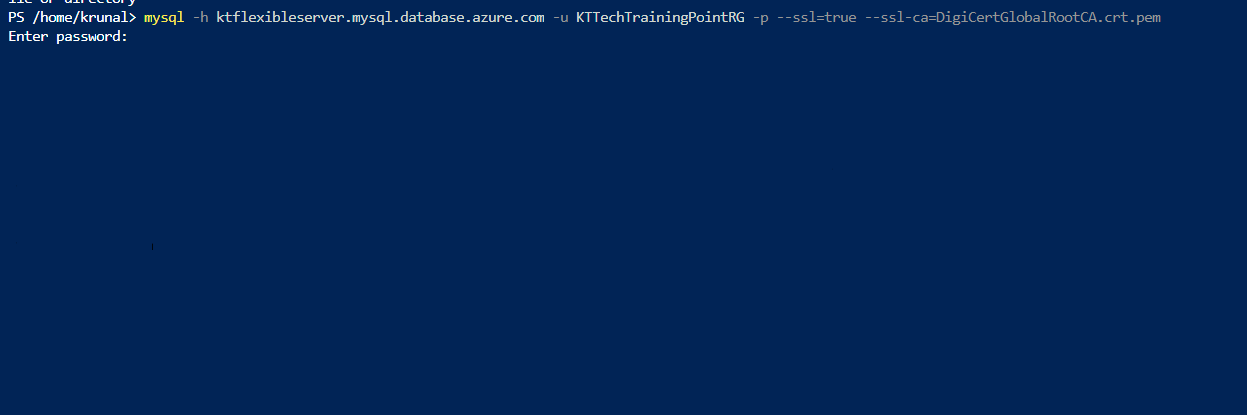
Finally run this command and enter your password. Voila! You will be connected to your server.
You can customize high availability maintenance windows using Azure MySQL Database’s Flexible Server option. You need to try this out now!