Creating Customer Handlers for Azure Functions

This is a step by step demo where I will be showing you how to create custom handlers for Azure Functions.
Customer handlers are kind of lightweight web servers that receive events from the Azure Functions host.
They can also be implemented with any language that supports HTTP calls.
We are going to create a custom handler app with Go. Prerequisites to follow the demo
Prerequisites to follow the demo
- You need to install the latest version of Go
- Azure Functions Core Tools
- VS Code
- Azure Functions Extension in VS Code
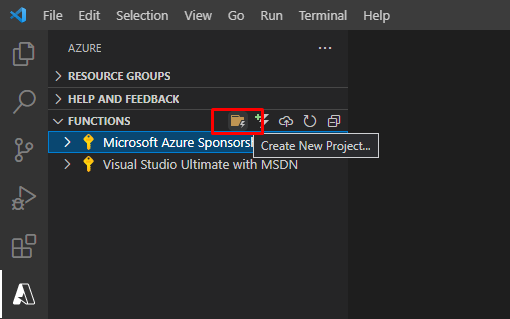
first of all in VS Code, you need to sign in to Azure in the Azure VS Code extension.

After signing in, create new project.
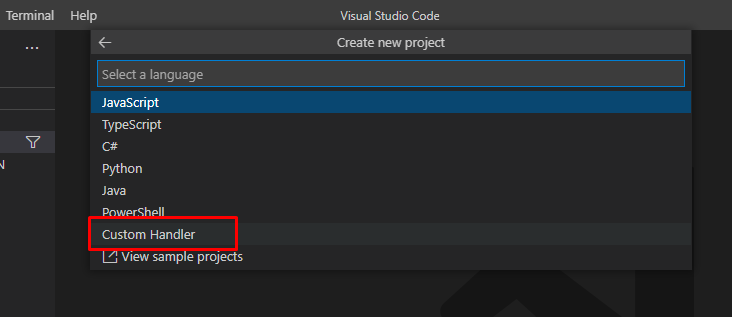
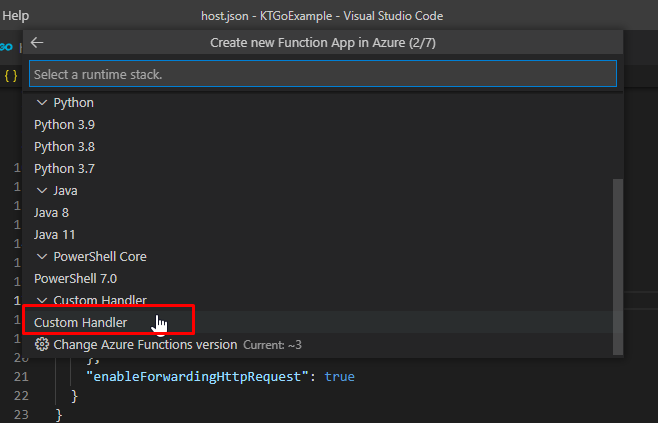
For language, choose custom handler because it can be implemented in any language that supports HTTP calls.
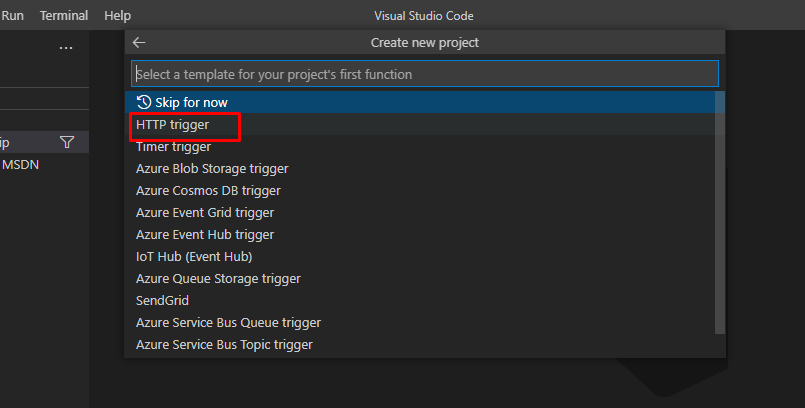
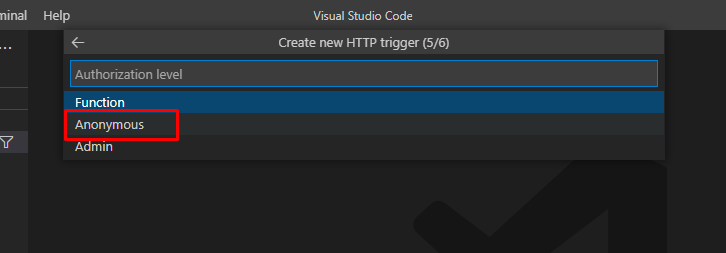
Choose HTTP Trigger from the template.
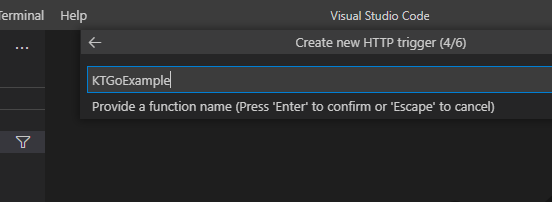
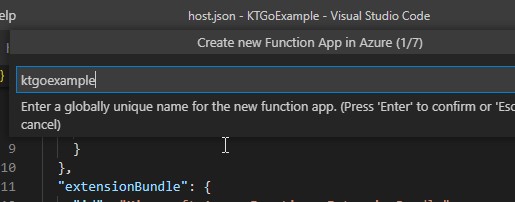
And give it a name.
Keep authorization level Anonymous.
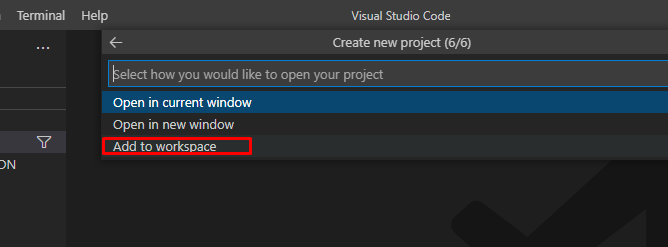
And add it to the current workspace.
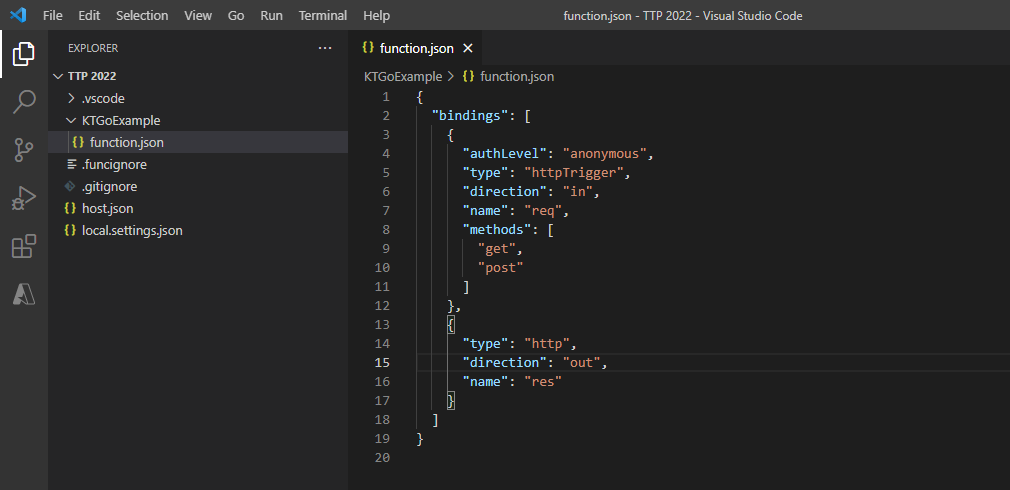
The local function will be created like this.
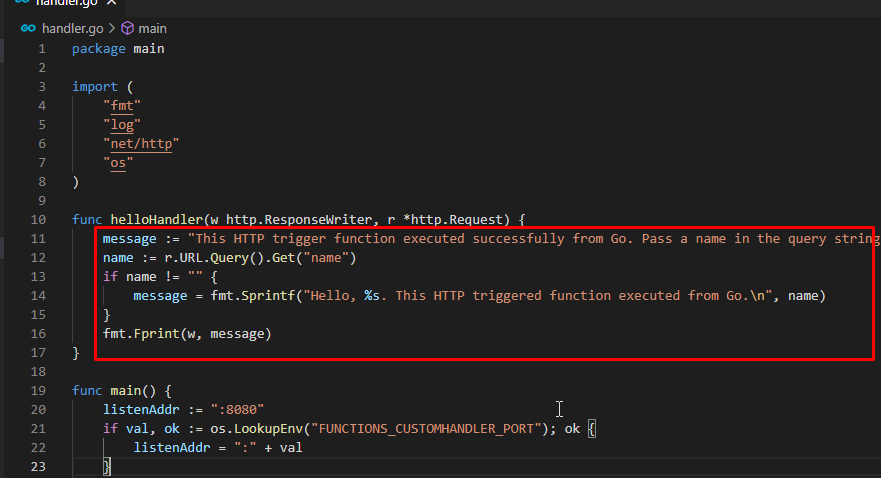
Create a new fie called handler.go and add this code in it.
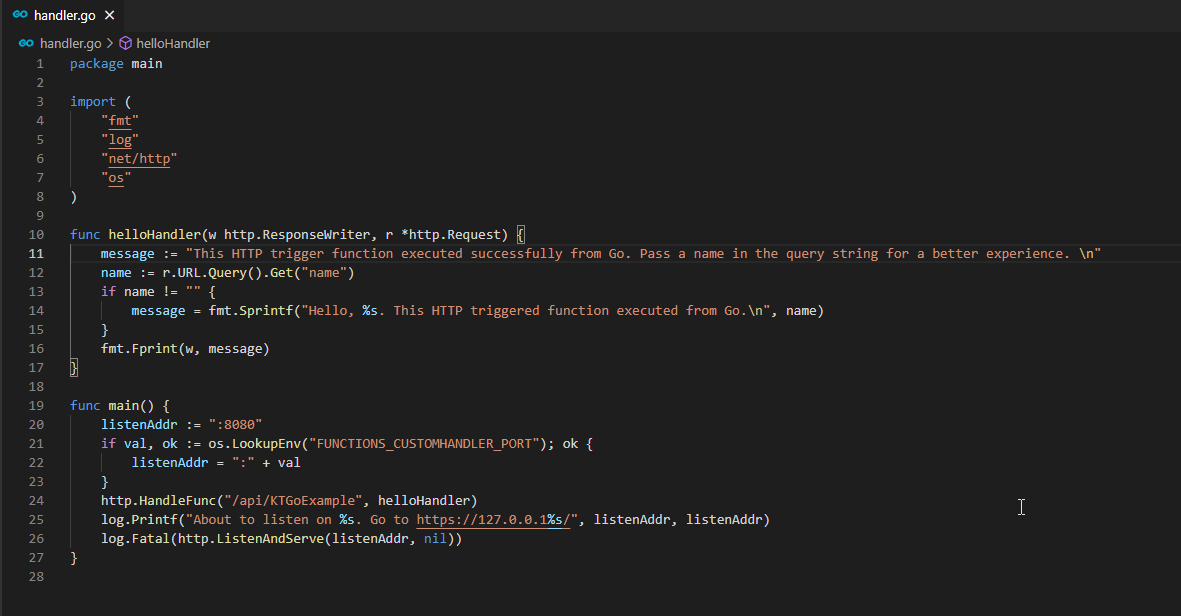
In this code, it forwards the HTTP trigger calls to the custom Go Handler called Hello Handler.
It is important that this is the same name as the name of the function.
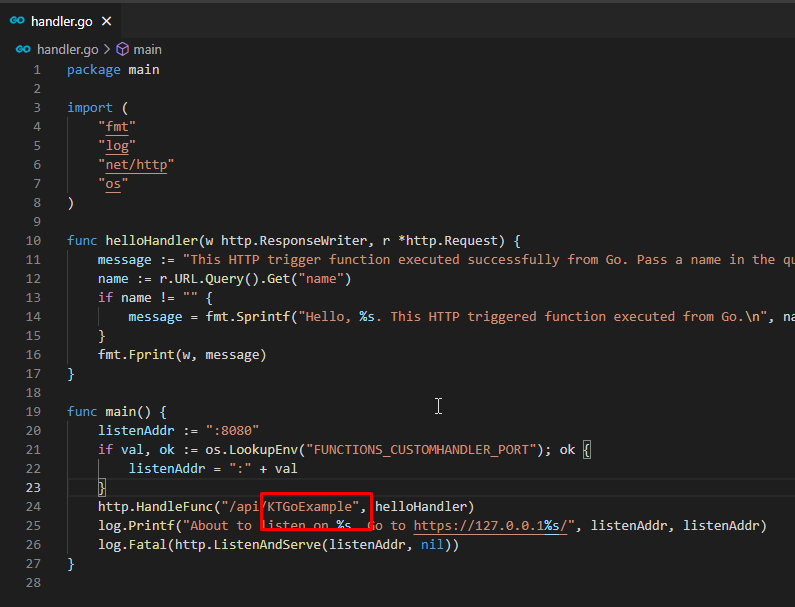
The custom handler calls the Go Code that we want to execute which is this code. This can be anything.
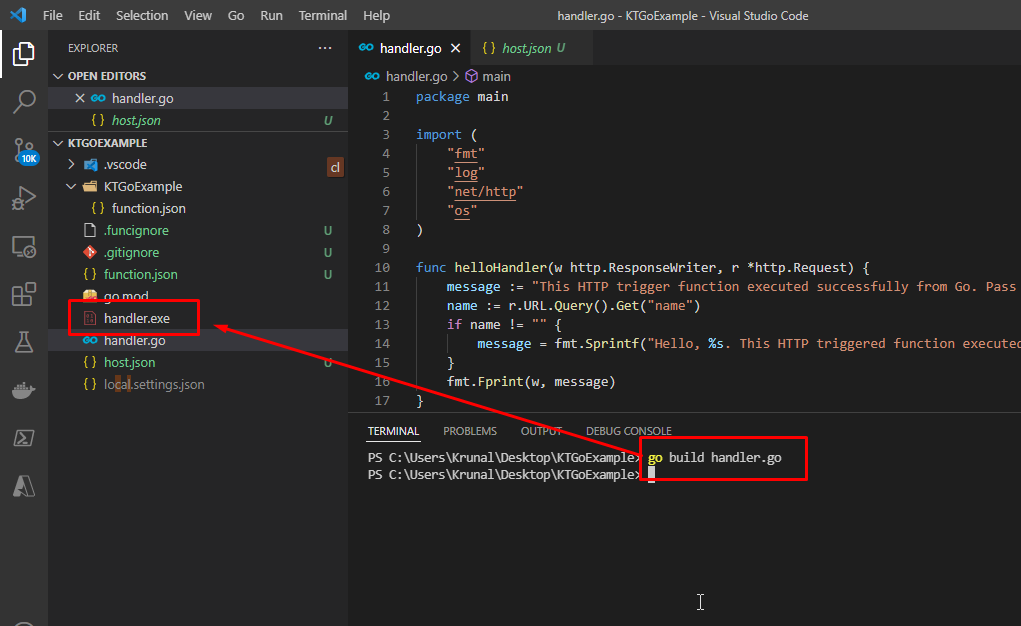
Next up, open a terminal shell and run the command go build handler.go This command will create a new file on its own called handler.exe.
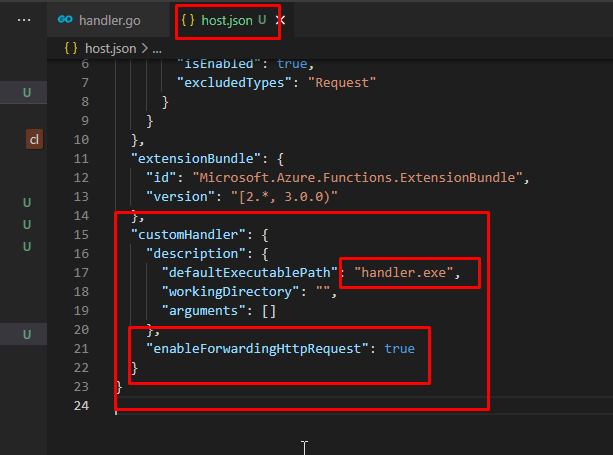
Next up, go to host.json and change the customHandler code to make it look like this. This points to the exe file.
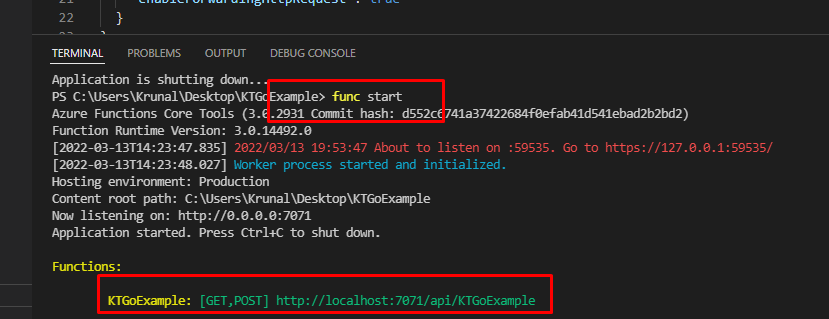
In the terminal, run the command func start to start the function. And notice the URL on which the function will be running.
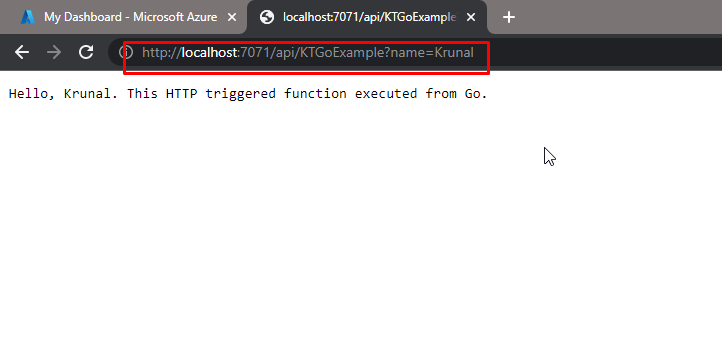
Run that in the browser and add the name parameter in the URL. You would get the desired output.
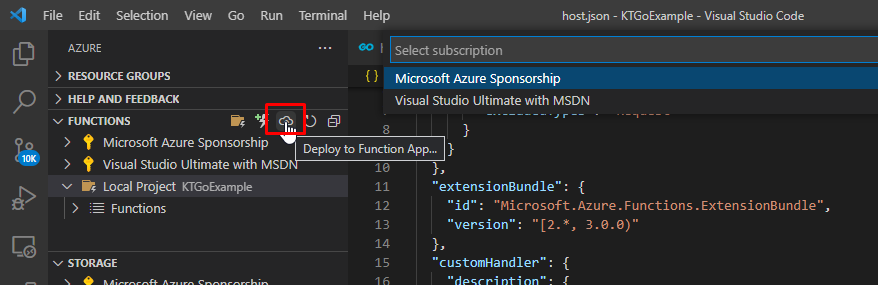
Now let us upload the function in Azure.
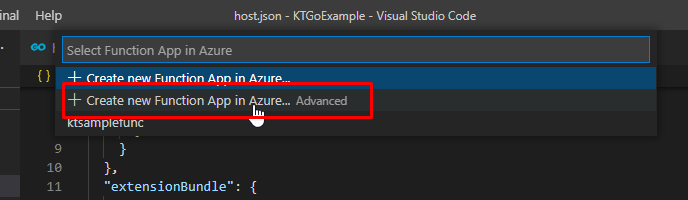
Choose the advanced option.
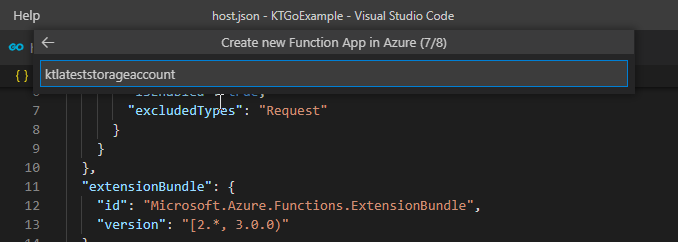
Give it a name.
Choose custom handler as the runtime stack.
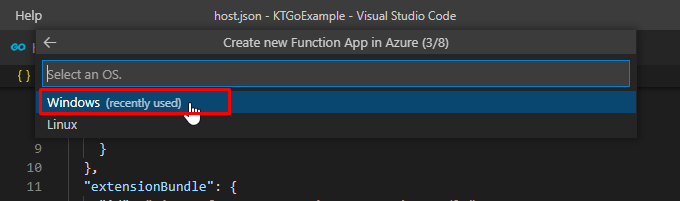
Choose windows and in the next step, choose a resource group and the location.
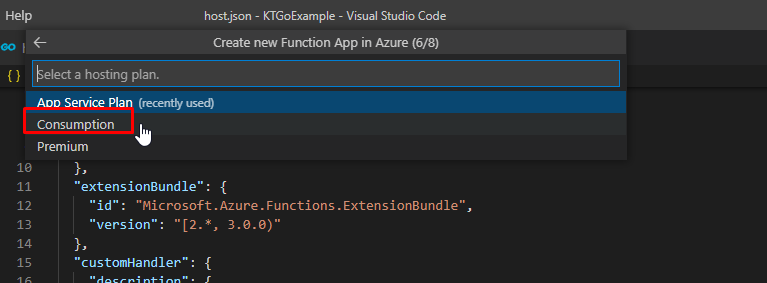
Choose a consumption plan.
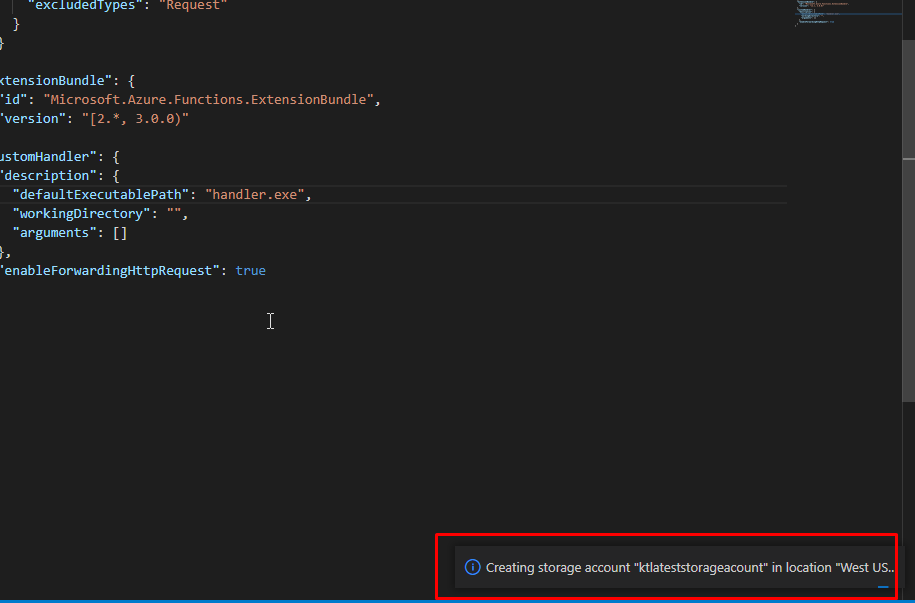
Create a storage account for the same.
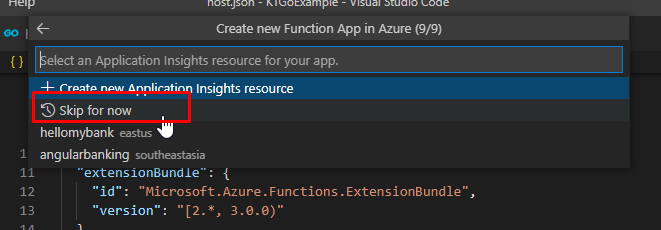
And finally skip the application insights step.
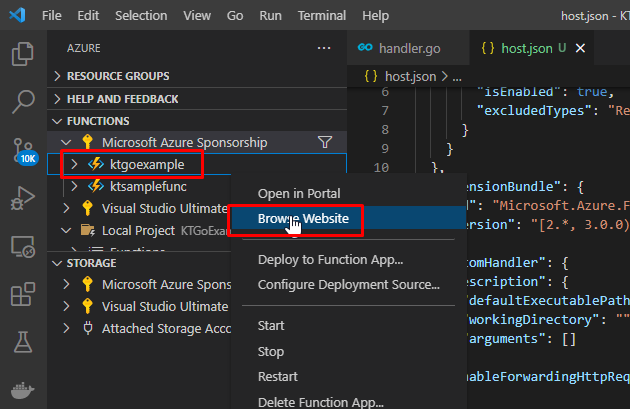
You will see the process down here. Once uploaded, you will see the function here
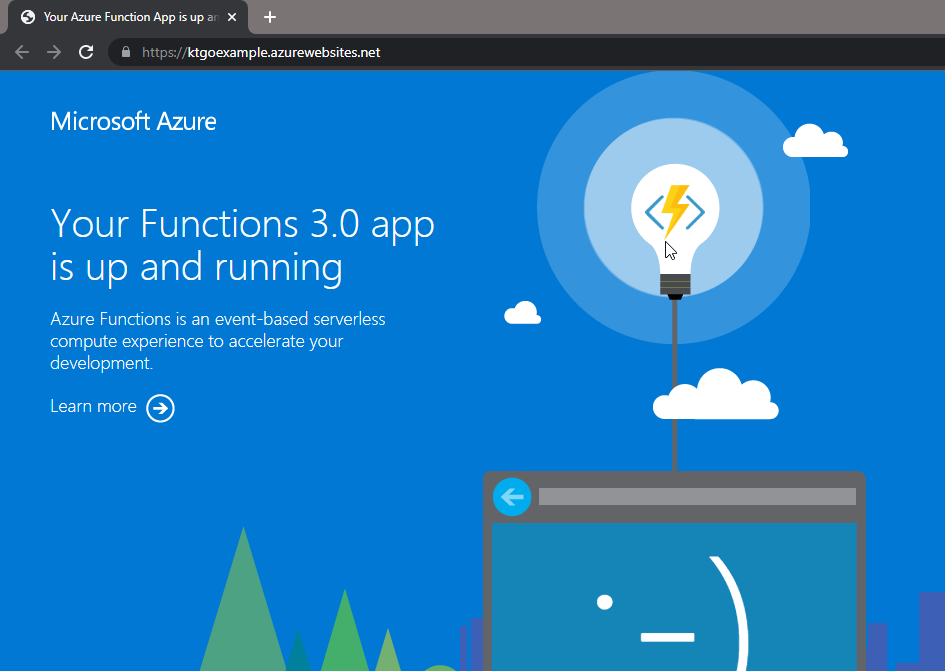
Right click and browse website.
It will look like this.
And you can try using the API URL along with the name parameter and it would still work.
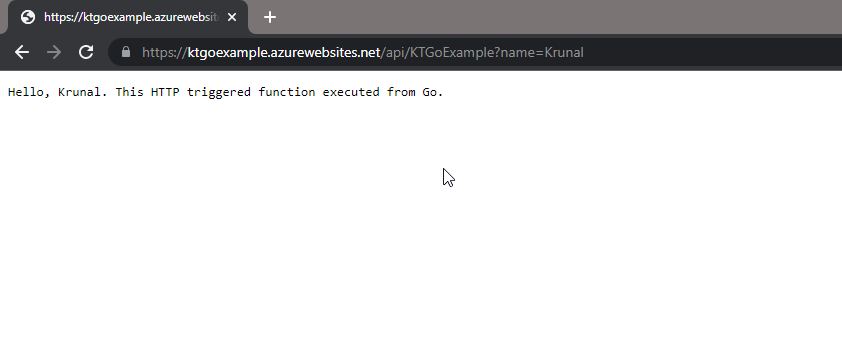
That is it for this demo. This was long and might be new to some people. So, go ahead and try it for yourself.