CONNECTING ON-PREMISES ACTIVE DIRECTORY WITH AZURE ACTIVE DIRECTORY – STEP BY STEP DEMO

What is Azure AD Connect?
- Microsoft Azure Active Directory Connect (Microsoft Azure AD Connect) is a tool that connects on-premises identity infrastructure to Microsoft Azure Active Directory.
- Azure AD Connect guides organizations through Azure AD integration with local directories and streamlines the process so fewer tools are required.
- Prior to the release of Azure AD Connect, enterprises that wanted to combine on-premises Active Directory accounts with cloud-based Azure AD services needed to use DirSync and Azure AD Sync Services.
- Azure AD Connect combines the previous two tools and, according to Microsoft, connects an on-premises Active Directory to a tenant in Azure AD in four steps.
- Azure AD connect also reduces the on-premises footprint, eliminating the need to deploy multiple servers.
- Azure AD Connect became available for public preview in December 2014, and got released for general availability in June 2015.
- Let us see a demo of it.
Create a new VM with Windows Server 2012 R2 Datacenter Image and D2sv3 size.

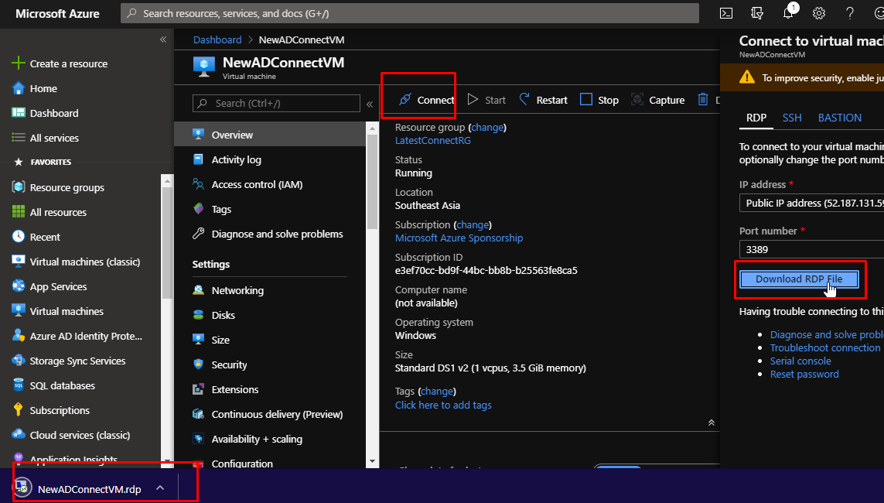
The first thing that we need to do is connect to the VM.
- Here the VM that we have created will act as an on premises active directory for us.
- We will connect that to our Azure Active Directory.
- So we will first implement the active directory in the VM and then create a user.
- Then we will install Azure AD connect in the VM and connect both our active directories.
- Then the user that we created on premise will be available on our Azure Active Directory.
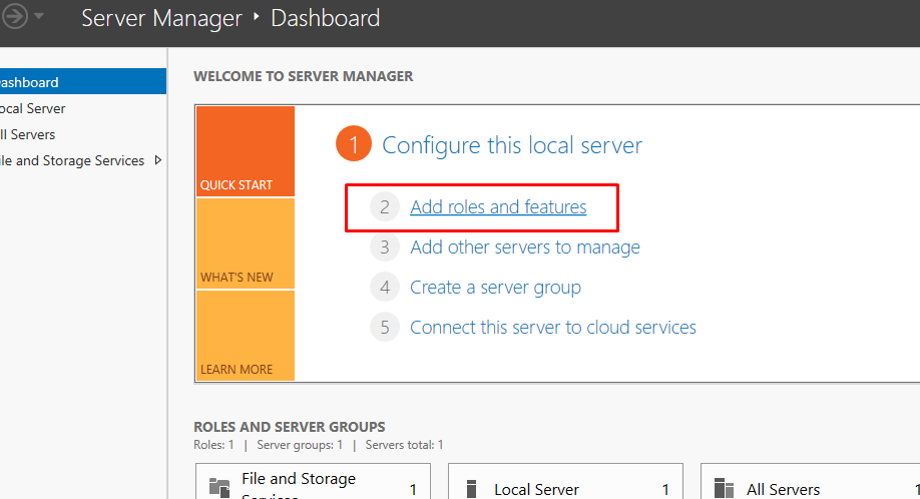
Once you connect to the VM, the server manager will open. Click Add Roles and features.
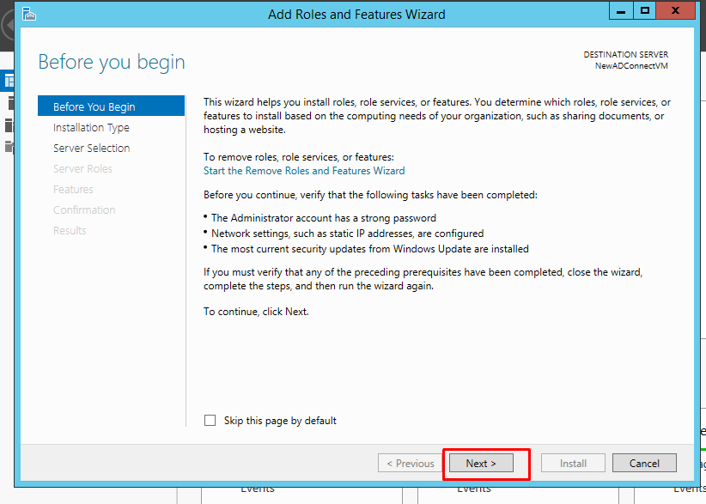
Click Next.
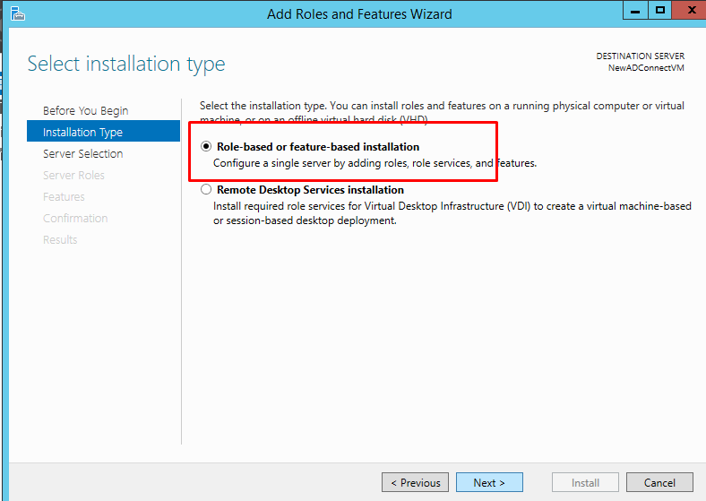
Choose Role-based installation.
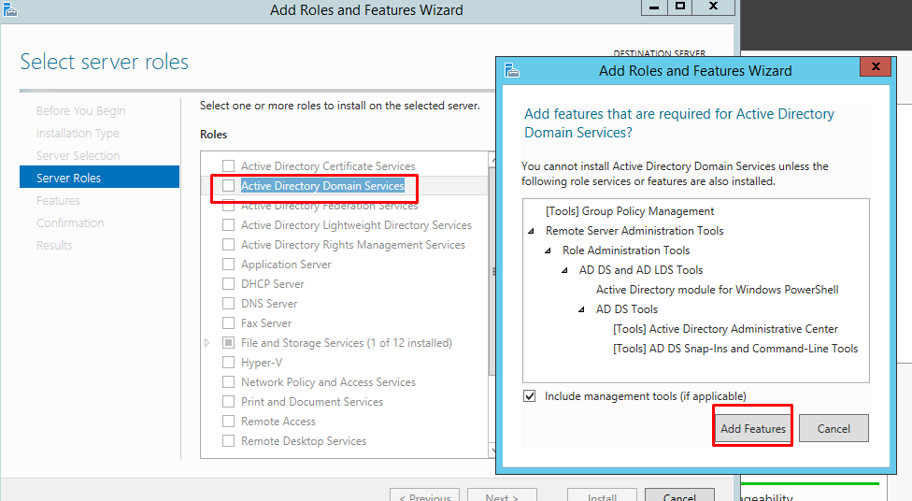
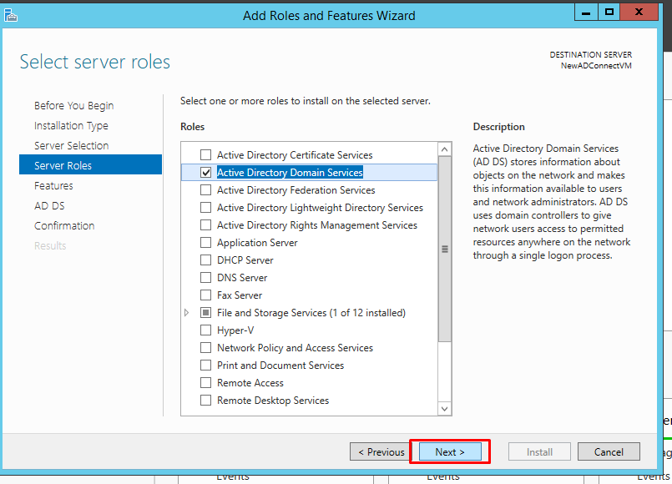
Choose Active Directory Domain Services and click Add Features.
Click Next.
- Keep clicking Next and go with the defaults.
- Finally, click Install.
Next, click the notifications tab and select to promote the server to a domain controller.

- A domain controller(DC) is a server that responds to security authentication requests within a Windows Server domain.
- A domain controlleris the centerpiece of the Windows Active Directory service. It authenticates users, stores user account information and enforces security policy for a Windows domain.
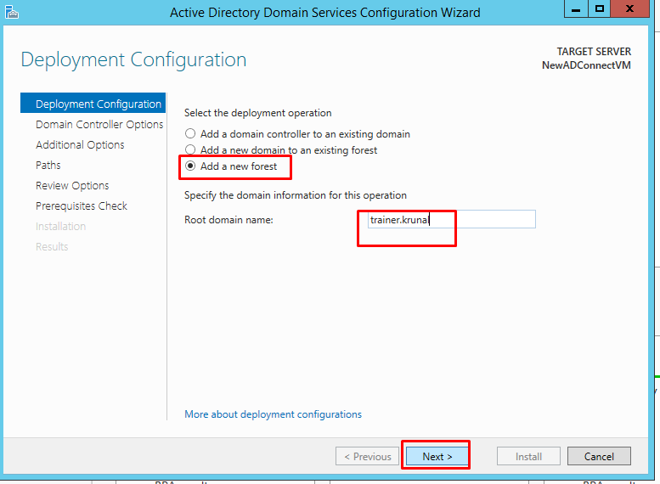
In the deployment configuration, choose to add a new forest. Give the root domain name and click next.
- A tree is a collection of one or more domains and domain trees in a contiguous namespace, and is linked in a transitive trust hierarchy.
- At the top of the structure is the forest.
- A forest is a collection of trees that share a common global catalog, directory schema, logical structure, and directory configuration.
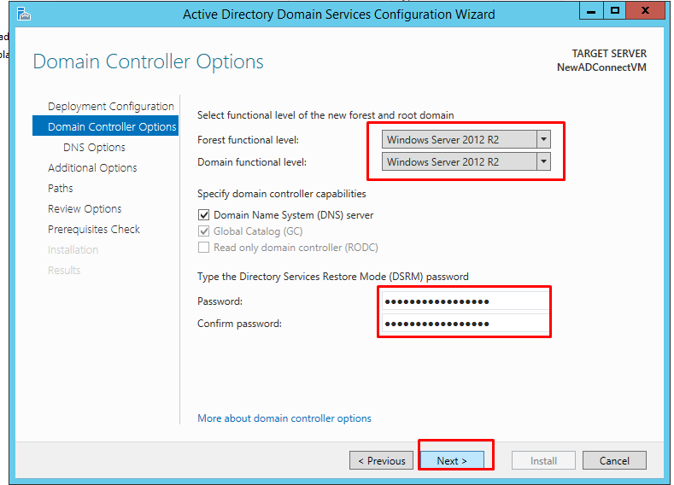
The forest and domain functional level would be selected by default which would be your servers. Choose a password and click Next.
Since we would not create our own DNS delegation, we can skip this step by clicking next.

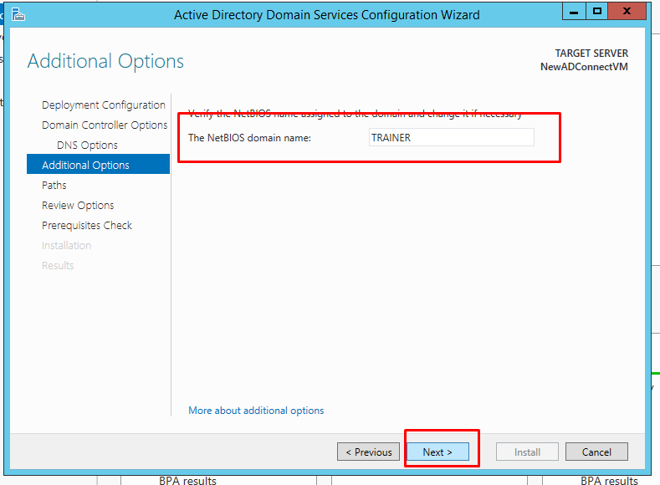
The NetBIOS name would be assigned to the domain. We will go with the default.
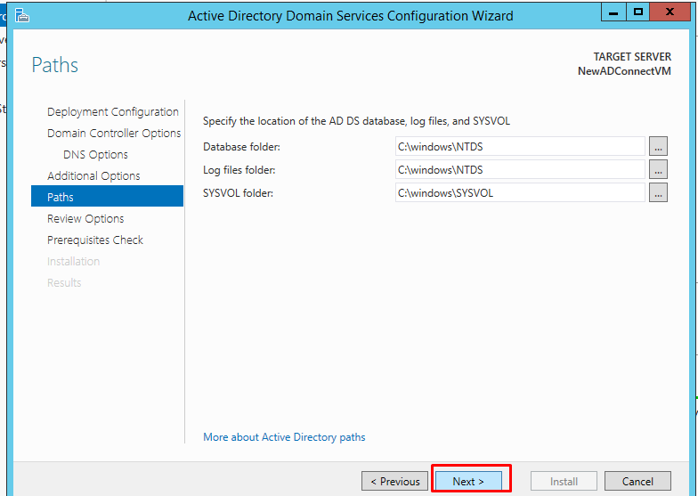
These are the paths for the database, log files and system volume folders. Going with the defaults is suggested here. Click next.
On the next page, you can review your options.

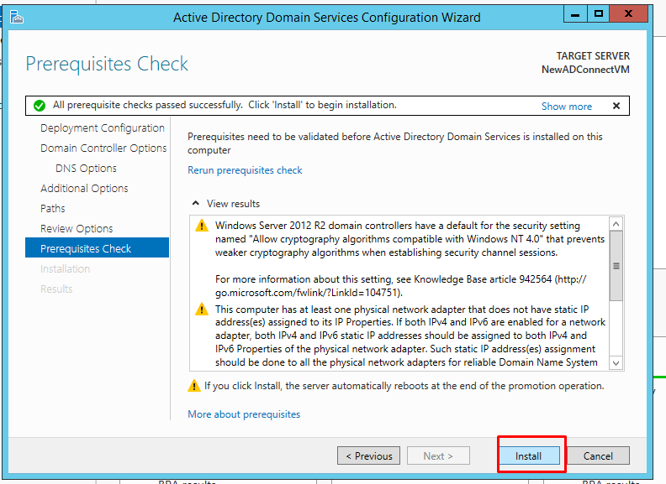
Once the prerequisite check is done, you can click install. Once the installation is completed, your server will be rebooted.
- Now we need to download and install Azure AD Connect on our server.
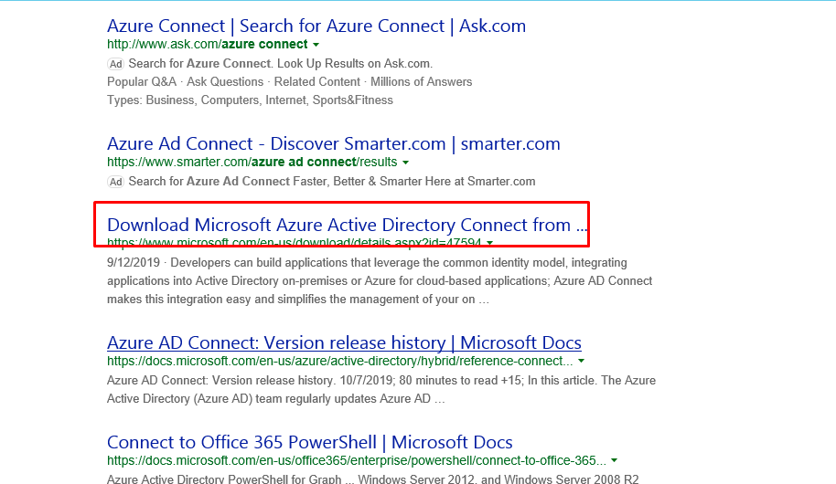
Once you server gets rebooted, search to download Azure AD Connect in the browser. Click this link.
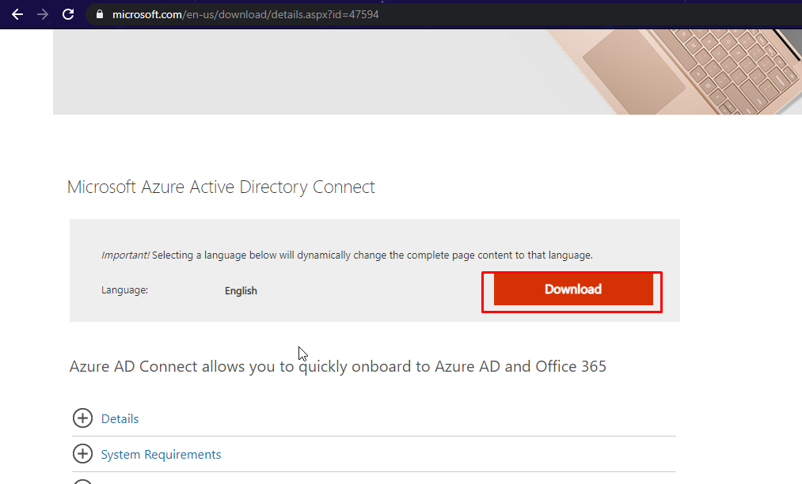
Click Download.
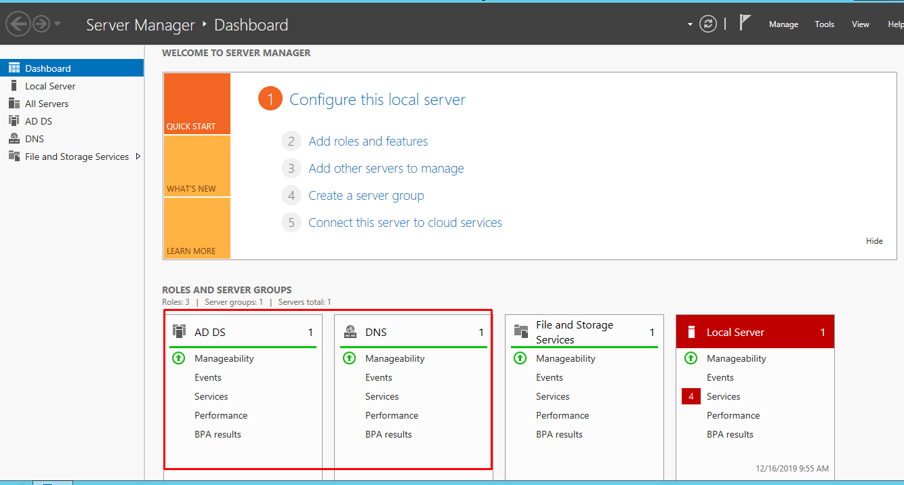
If you go to server manager, you will see AD DS and DNS there. Which means that they have been configured successfully.
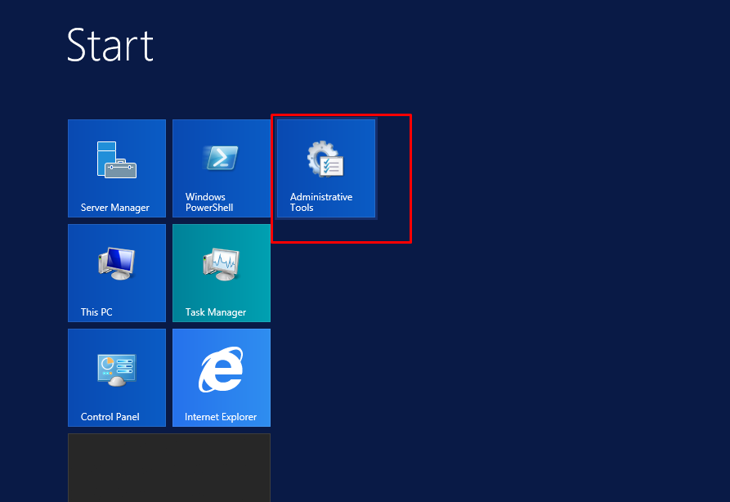
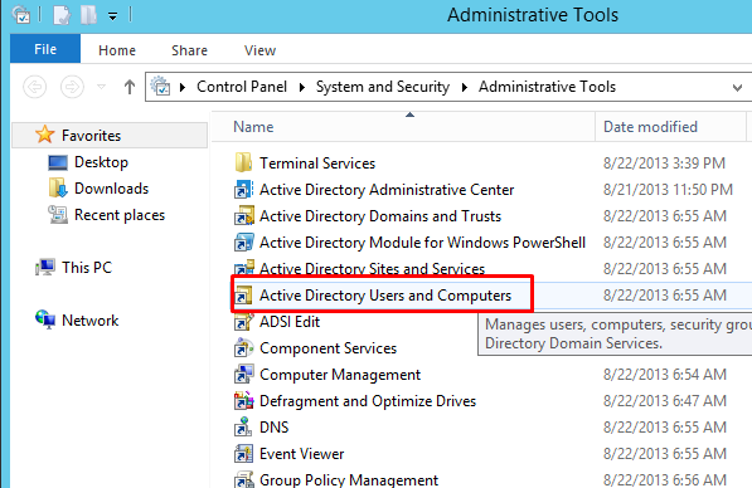
Click Start and go to Administrative tools.
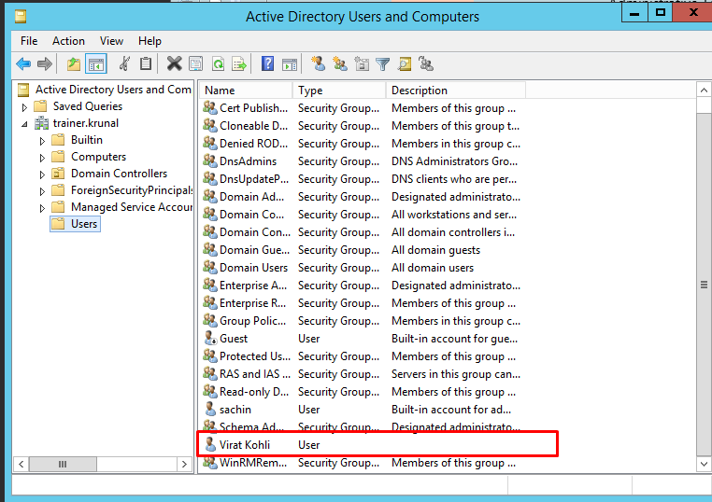
Go to Active Directory Users and Computers.
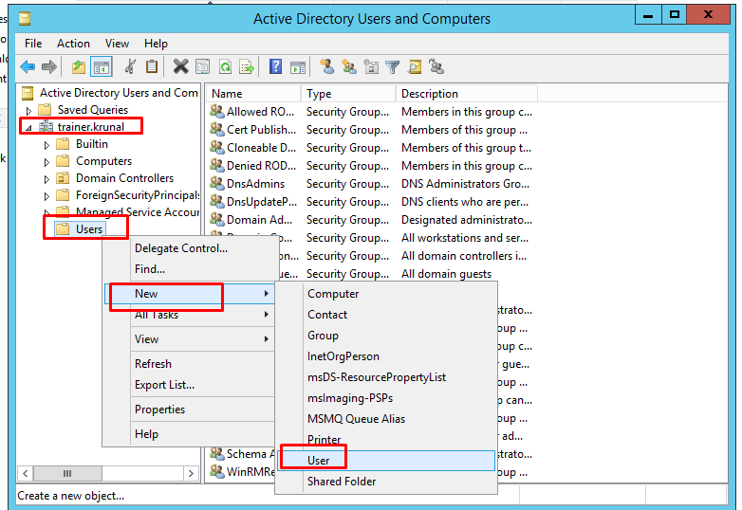
Under your domain –> users, create a new user.
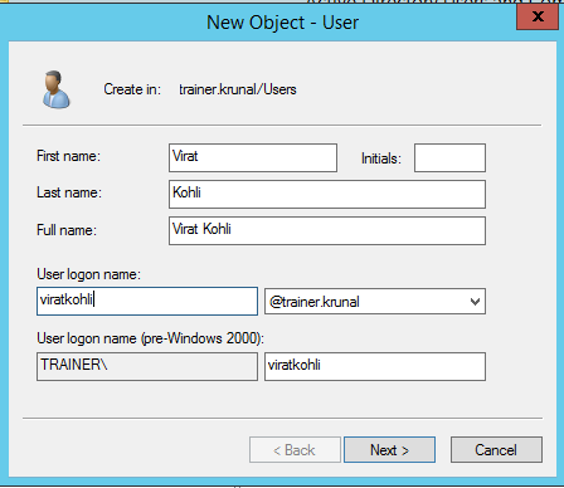
Provide the basic details.
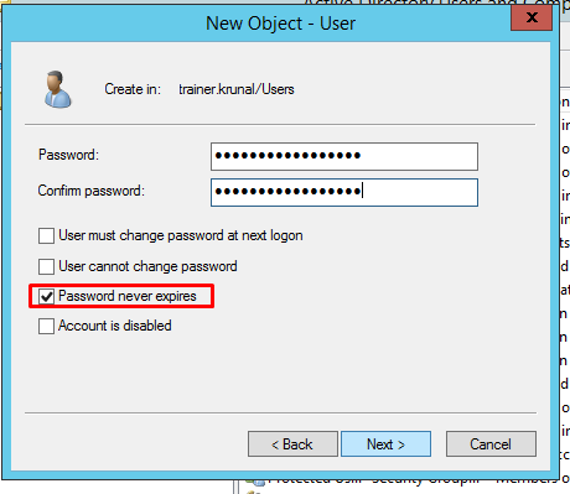
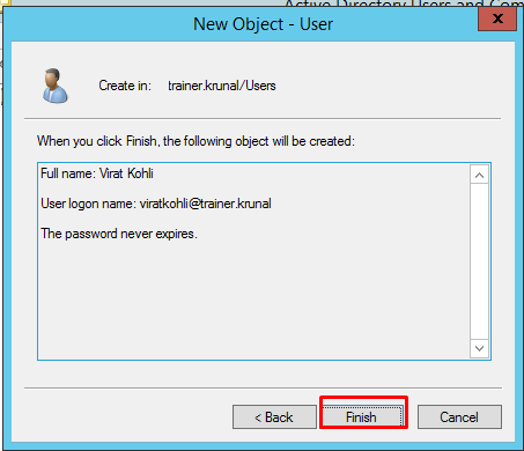
Create a new password. Make sure that the password never expires checkbox is ticked. Click next.
Review your options and click Finish.
Your user will be created. Now we will migrate this user onto our Azure active directory account.
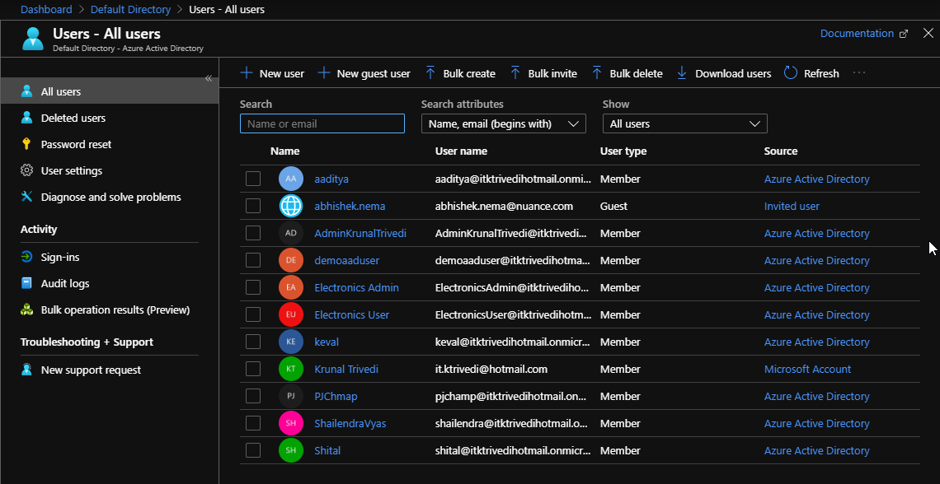
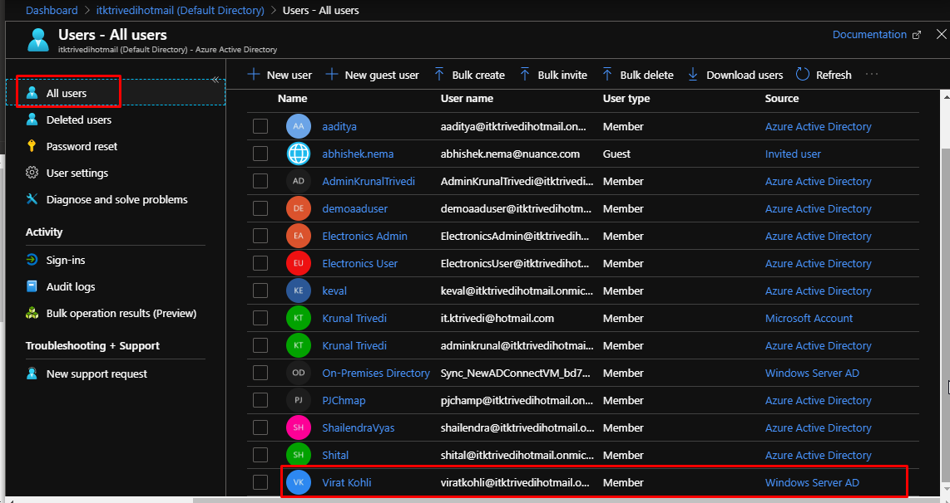
As you can see, right now I am in my Azure Active Directory and right now I have only these many users.
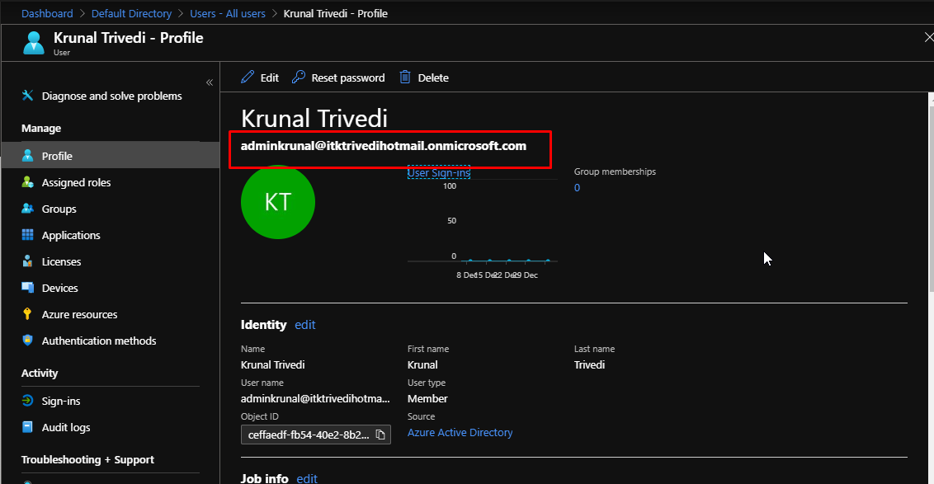
But before we go ahead, create a new user in the Azure AD that has GLOBAL ADMINISTRATOR rights. This would be the one through which we will use in the Azure AD Connect.
- Next up, we will install the downloaded Azure AD Connect and configure.
- Then the user that we created, Virat Kohli will be synced and visible in the Azure Active Directory account.
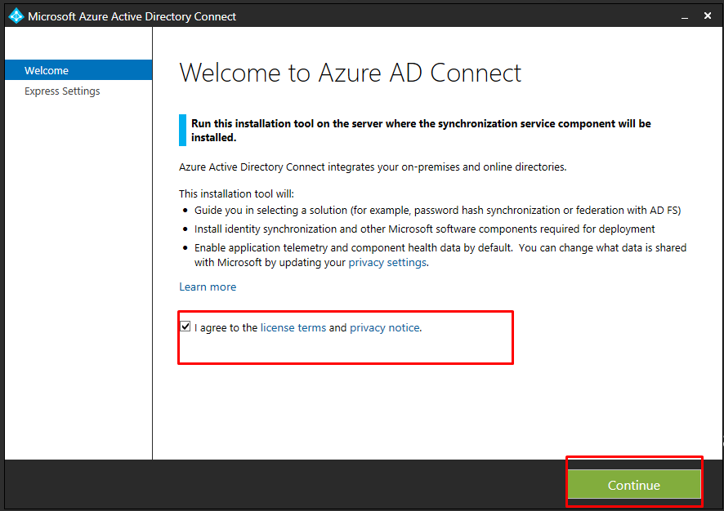
Open the msi installer.
Agree and continue.
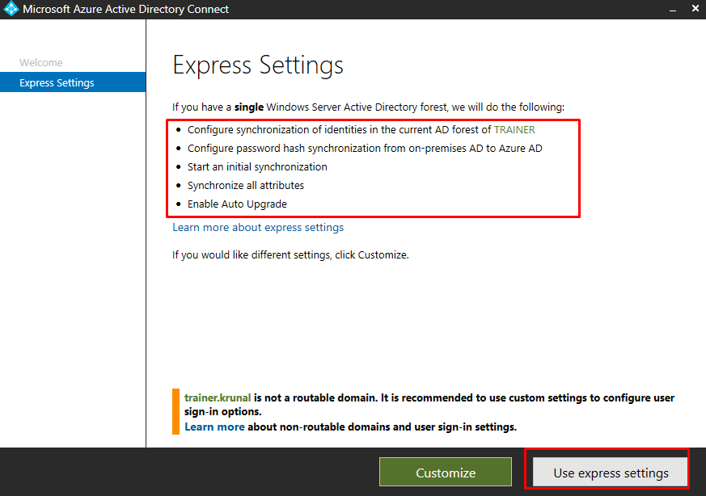
We are going ahead with Express settings. The express settings offerings are listed and we are good with them for our current requirements.
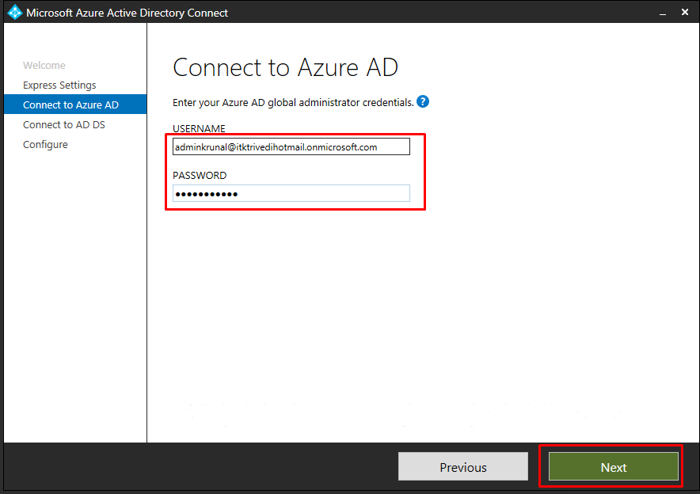
Here is where we enter our Global Azure AD admin credentials. Make sure you enter the username of the latest user you created in Azure AD that had Global Administrator role.
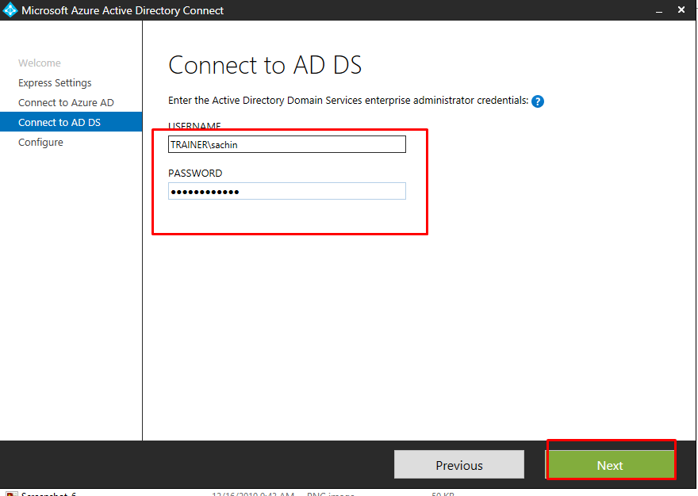
Here is where we add the VM credentials. Make sure to add the forest name before the username now. In my case, it would be TRAINERsachin.
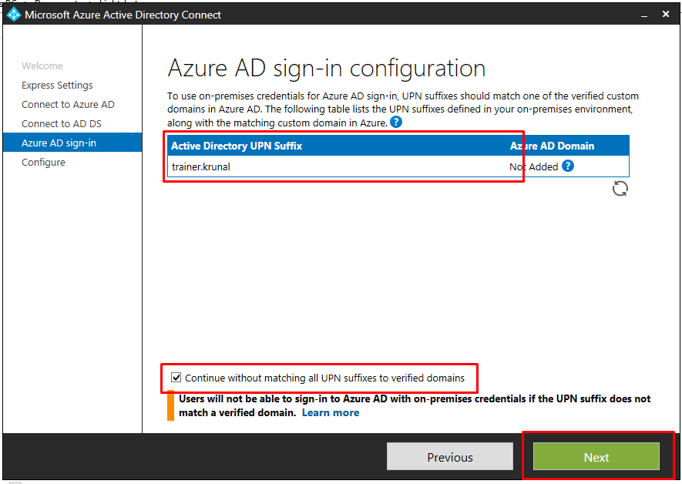
In my case, the UPN suffix won’t match because my Azure Active Directory account has some other suffix and my on prem has trainer.krunal. Tick the checkbox to continue without matching the UPN suffix and click next.
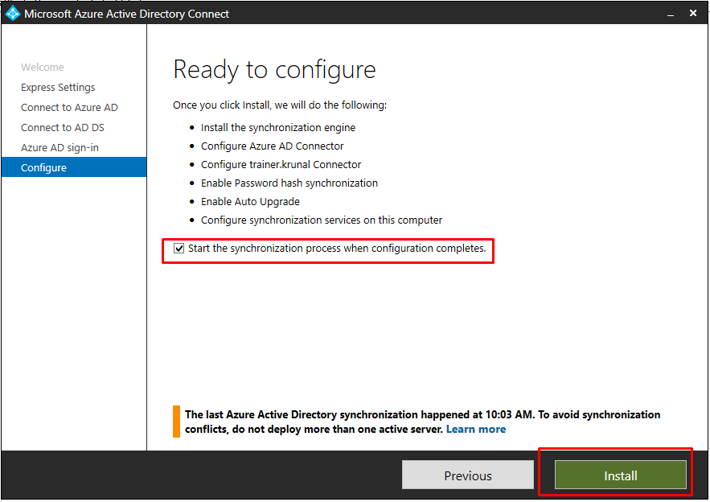
Review your options. Tick the synchronization checkbox and click install.
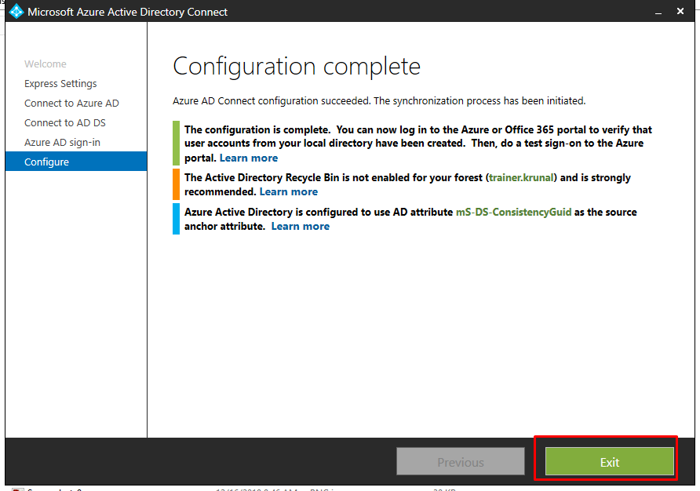
Once the configuration gets completed, you will see this. You can now exit the configuration window.
Go to your Azure Active Directory –> Users. There you will be able to find the synced user from your Windows Server. Notice the source of the user as well that says Windows Server AD.
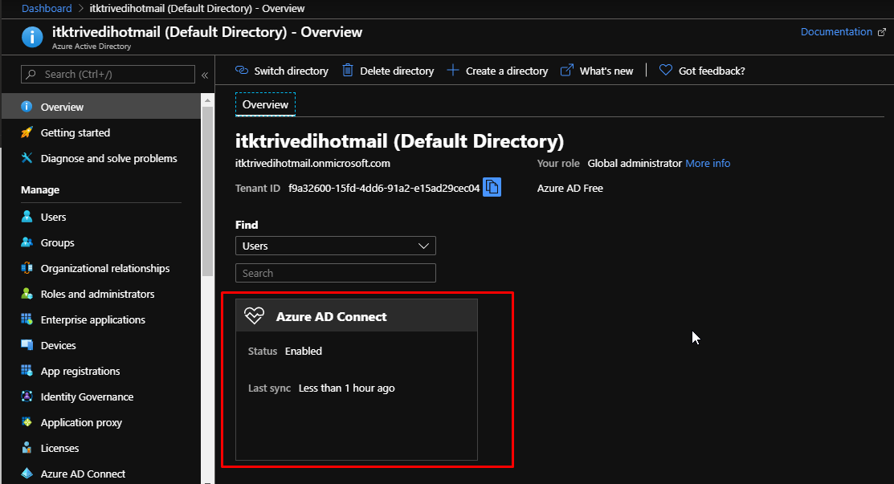
If you go to the overview tab, you will see that it now shows Azure AD Connect’s status as enabled. And the time of the last sync as well.