Brushing Up The Basics With Azure Service Bus

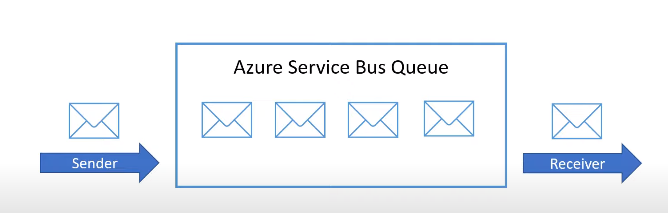
You can use Azure Service Bus Queues when you want to decouple your applications and have them become more scalable and available.
The applications send messages to an Azure Service Bus Queue and the messages just stay there until they are either deleted or get expired.

Similarly, receiving applications read and delete messages from the queue and process them in their own time. Let us see how this works.
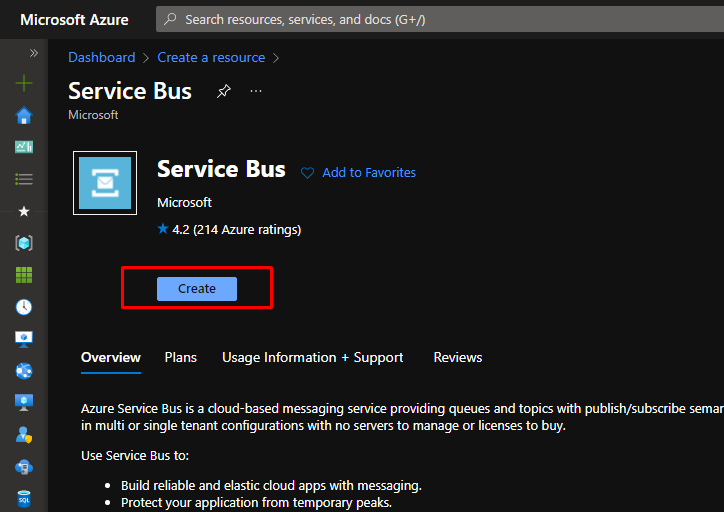
In the Azure Portal, search for Azure Service Bus. Creating this will create a new namespace in the service bus.
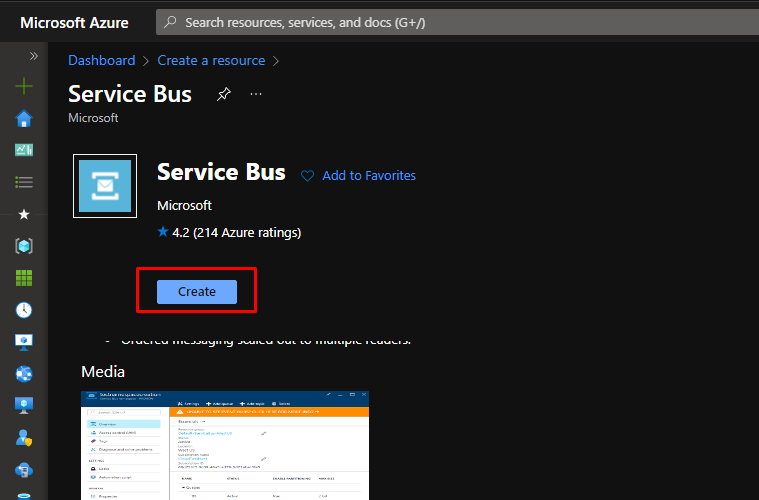
Put the namespace in a resource group. Give your namespace a name. For this demo, Standard pricing tier is good. Click Review + Create and then click create,
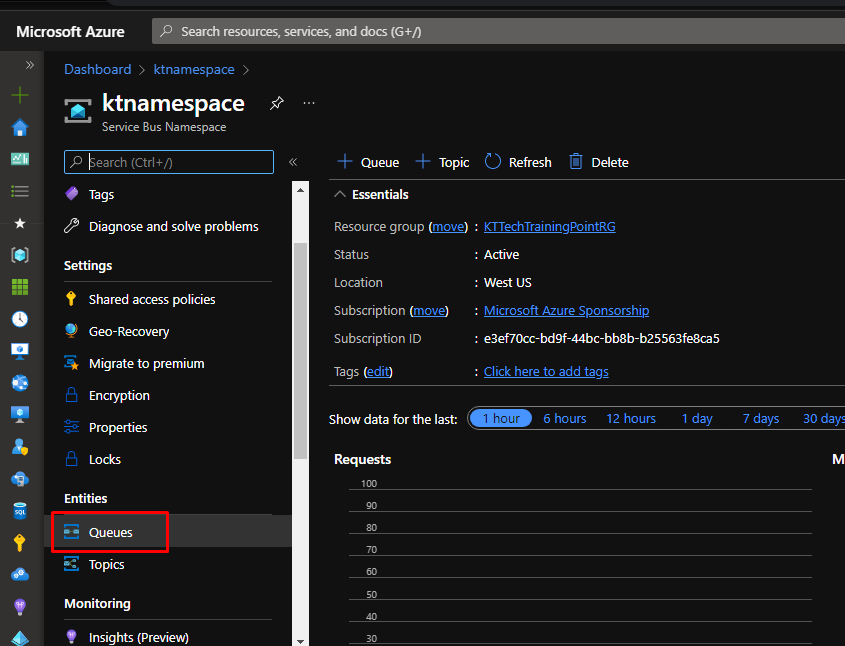
Once your namespace gets created, you will see that you can have queues and topics in it. Go to queues.

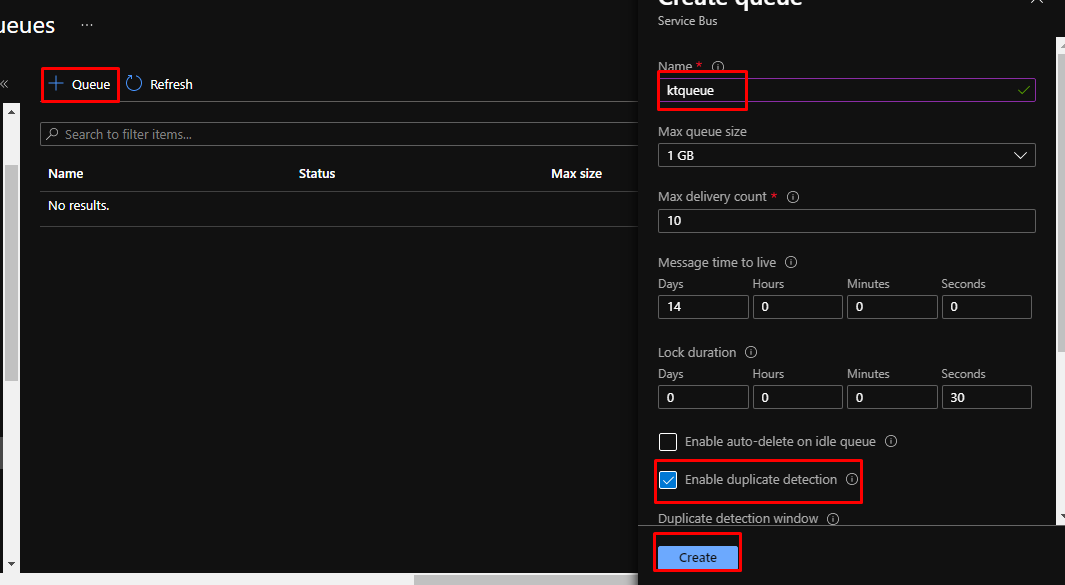
Since there won’t be any queue present in the namespace, create a new queue. Give it a name and enable duplicate detection. Click create.
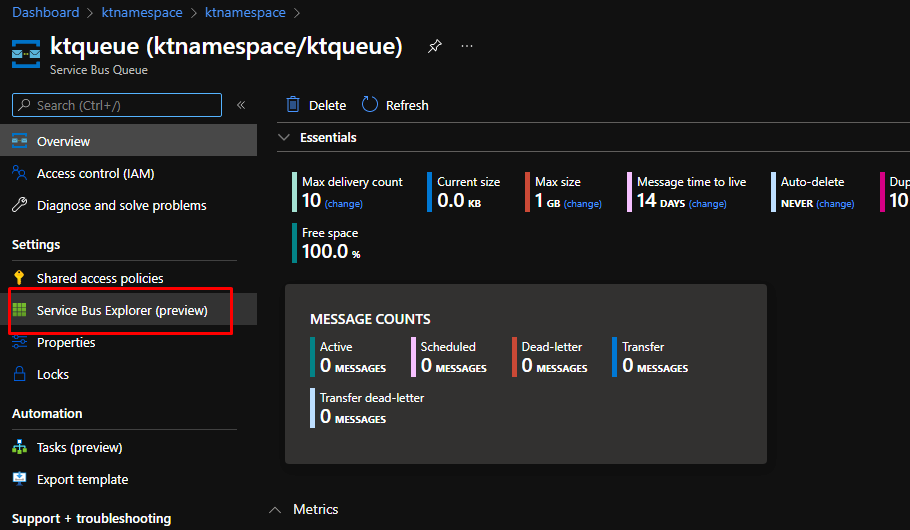
Once the queue gets created, to test the queue, go to the Service Bus Explorer.
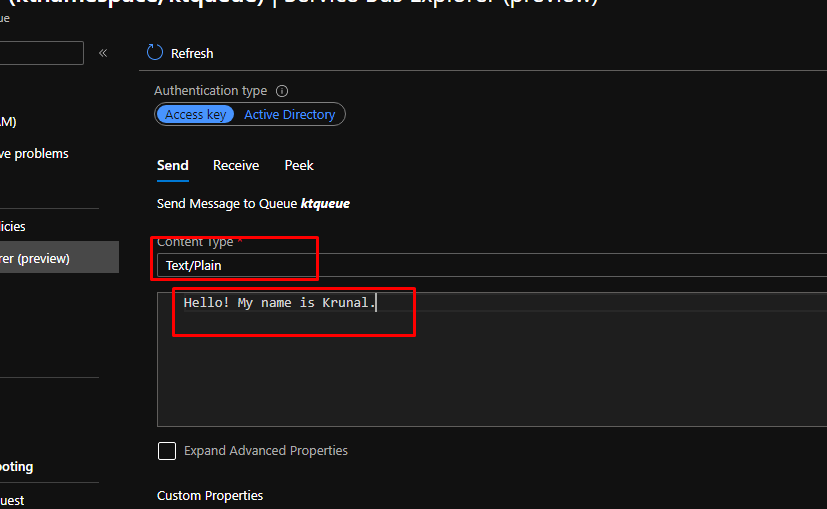
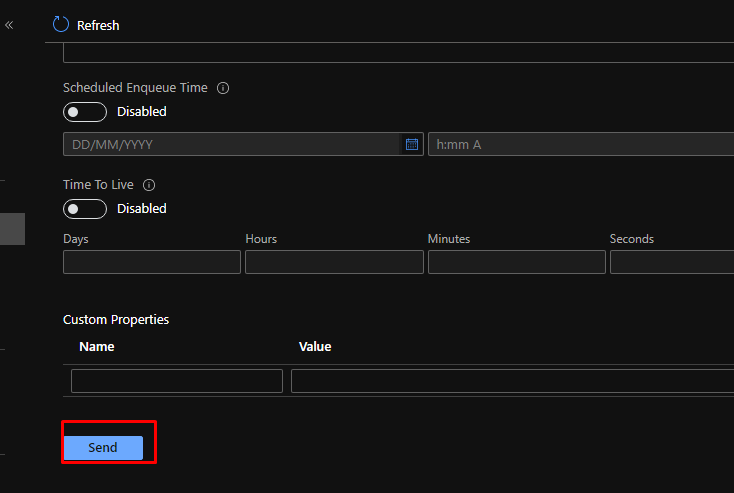
Choose the content type as plain text and type in a some text.
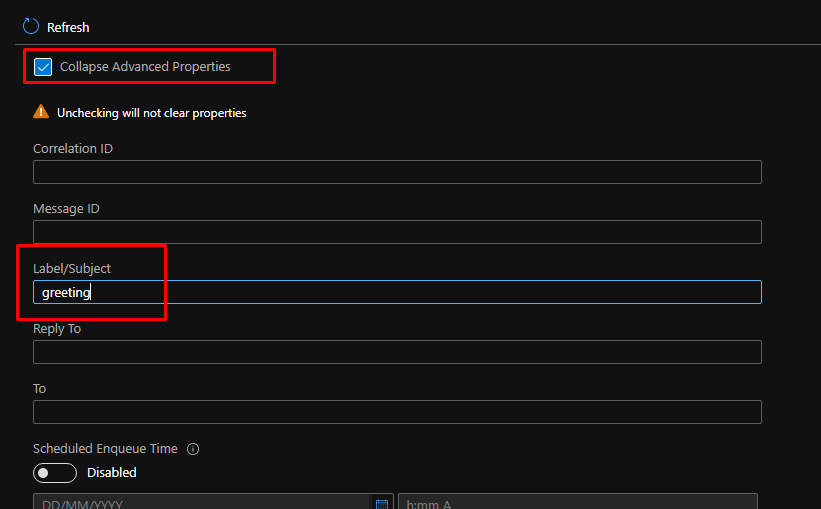
You can also enable advanced properties through which you can pass key-value arguments. Here, in the label, add greeting.
And finally click send to the send the message.
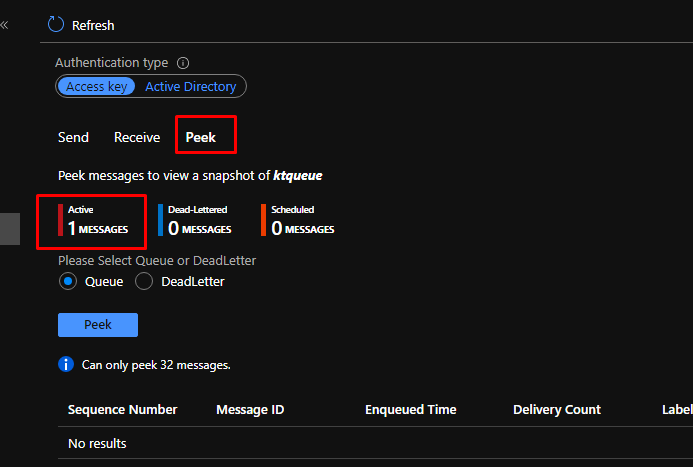
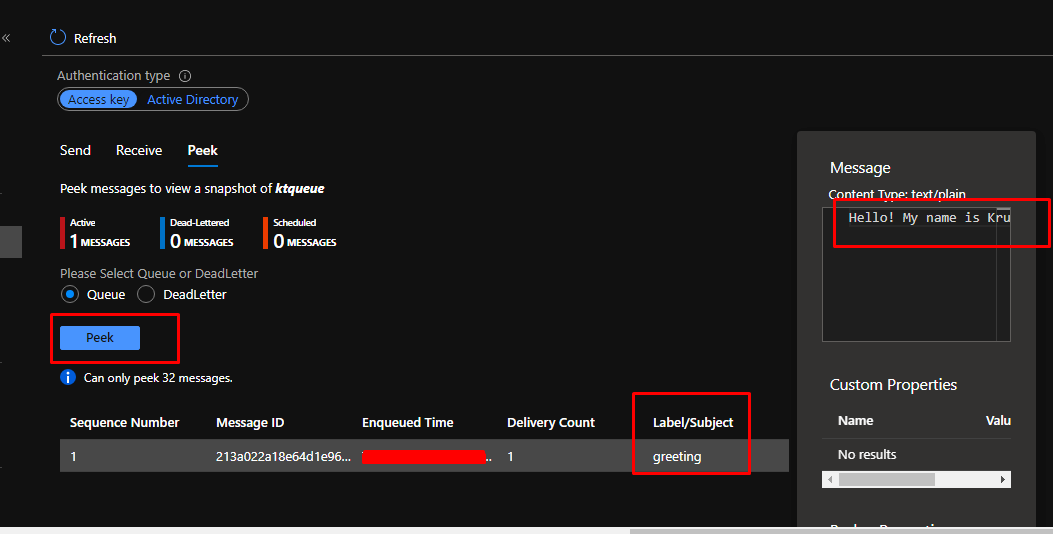
If you go to peek, you will see that the message is in the queue. It will stay there until it is deleted or gets expired.
If you go to peek, you will see that the message is in the queue. It will stay there until it is deleted or gets expired.
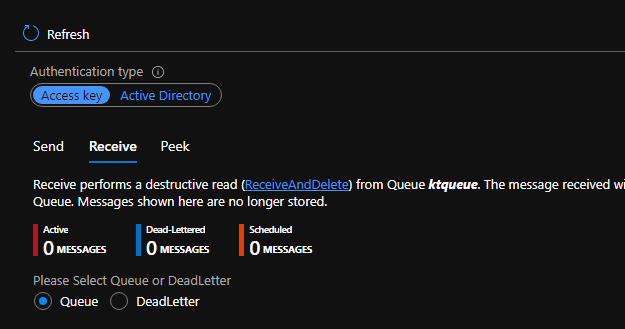
You can also peek the message. Note that peeking the message wouldn’t delete the message. Next, let us receive the message.
When you click on receive, you will see that it will prompt you that it is a destructive receive, meaning it will delete the message once received. Click Yes.
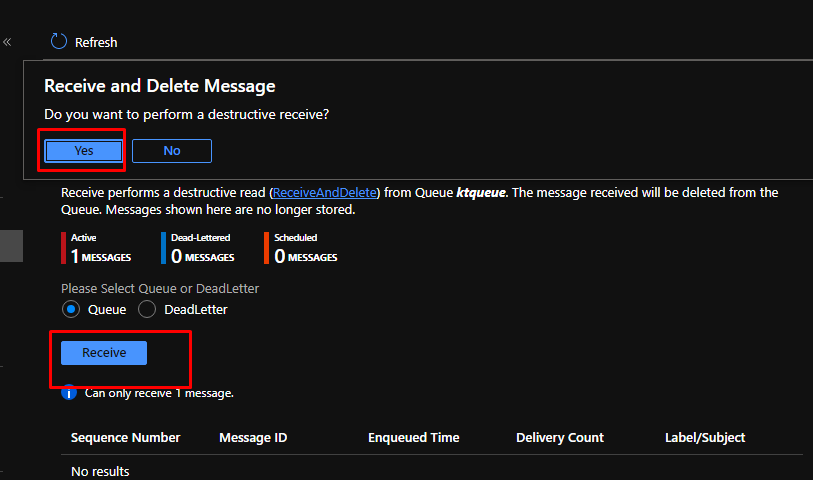
And that is it. Once you message is received, it will not be in the queue anymore.
Once again, you can use Azure Service Bus Queues when you want to decouple any part of your application and solution to make it more scalable as well as available.