Azure Web PubSub doing wonders with publishing and subscribing messages

Now you can publish and subscribe messages with Azure Web PubSub fairly easily.
Let’s see a step by step demo of how to do it.
Azure Web PubSub provides you real-time web socket communication between clients without the need to pull for messages or set up any kind of complicated plumbing.
To get started, go to Azure Portal.
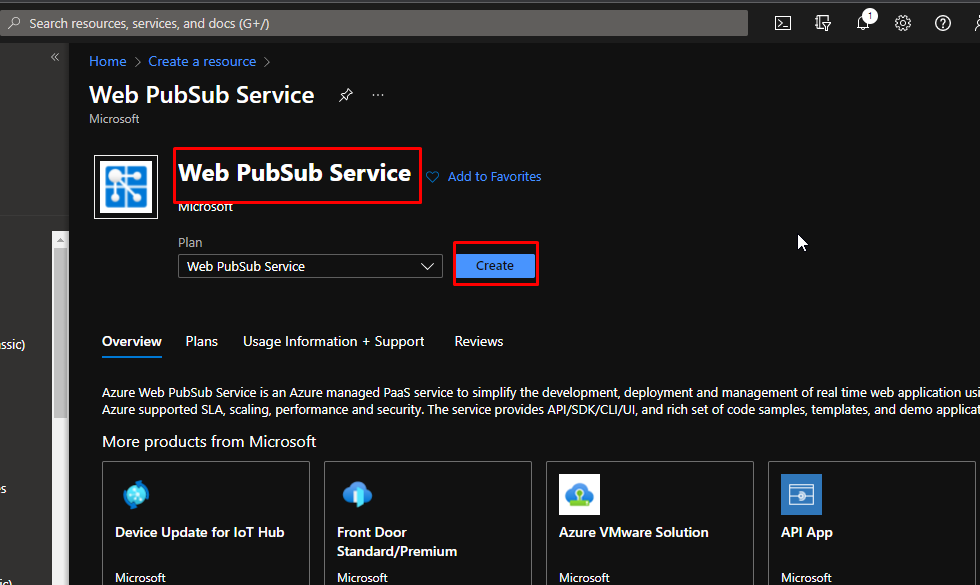
Go to Azure Portal and search for Azure Web PubSub Service. Click Create.
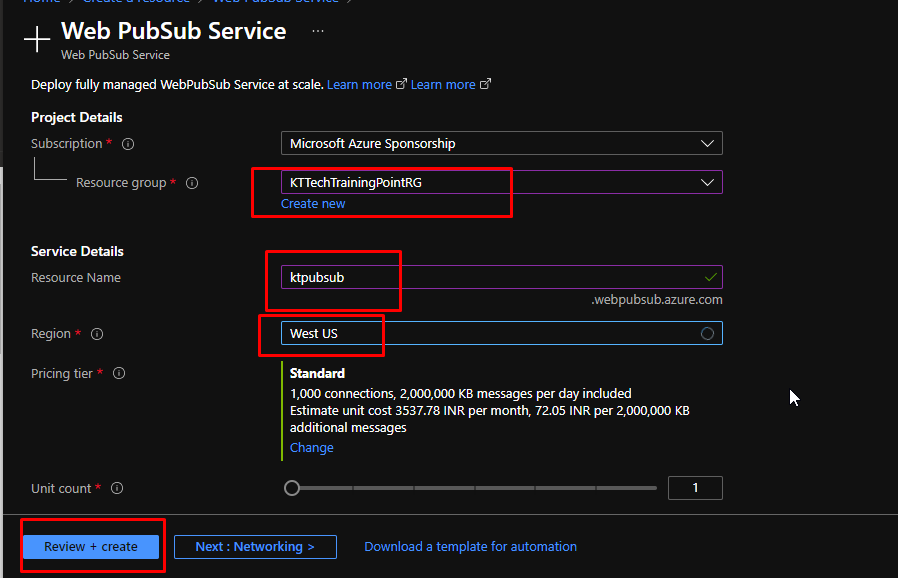
Put the service in a resource group. Give it a unique name and put it in a region. Keep everything else as default and click create.
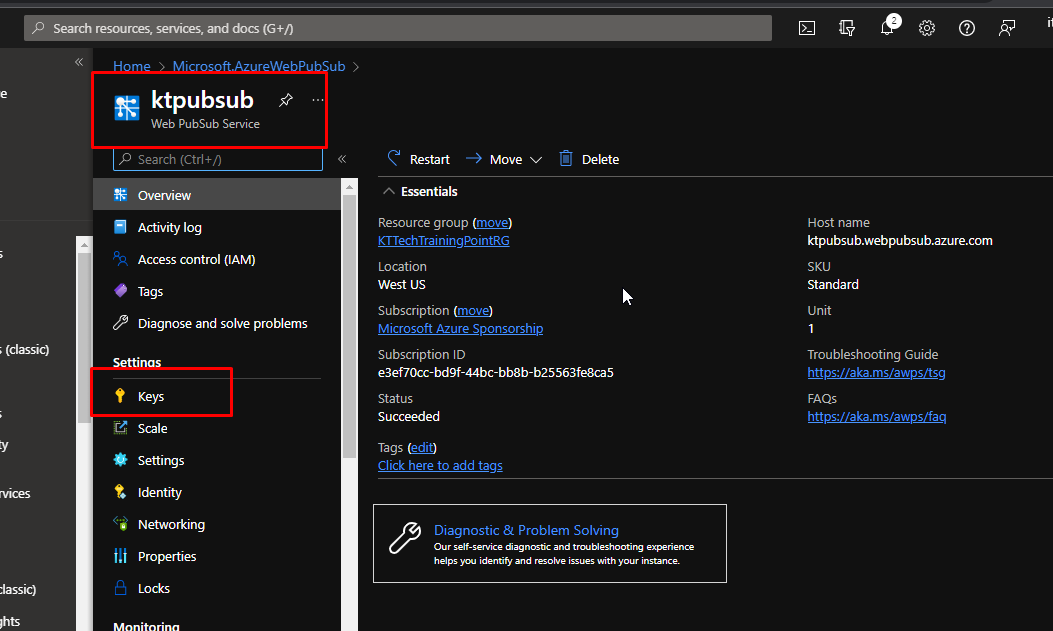
This is what your PubSub service would look like. Go to keys.
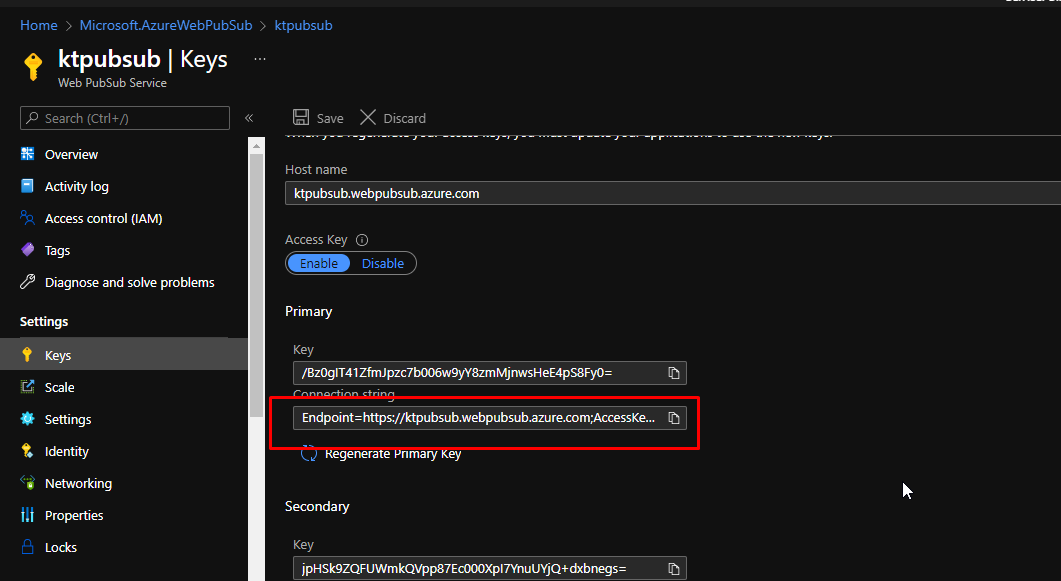
To use it, we are going to need the connection string. Copy it and keep it aside for some time.
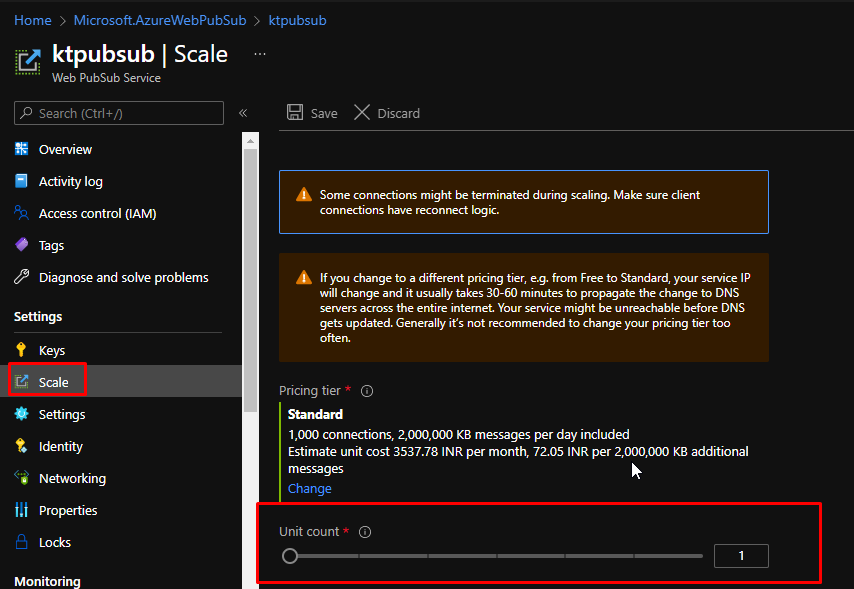
You can also scale the service to add more clients. However, we are going to do that right now.
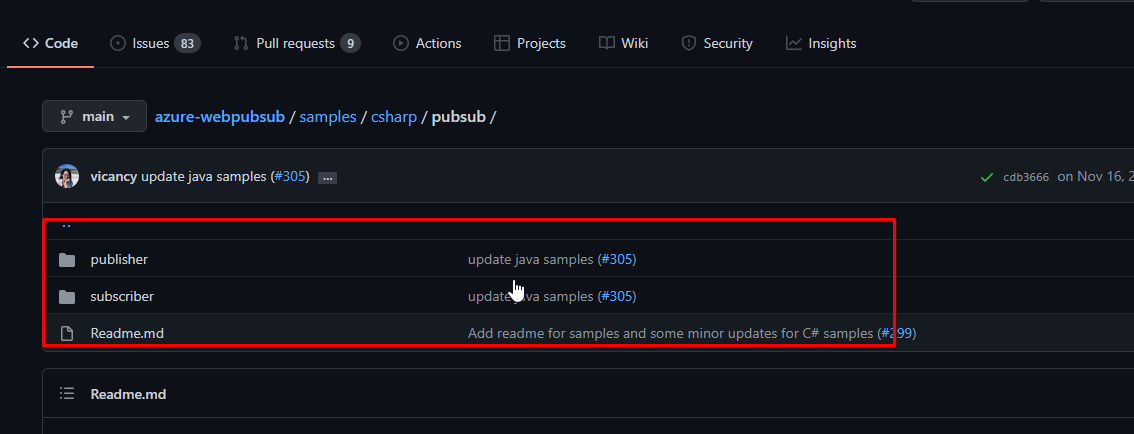
We are going to use this demo application. You can find this demo application at this URL - https://github.com/Azure/azure-webpubsub/tree/main/samples/csharp/pubsub/
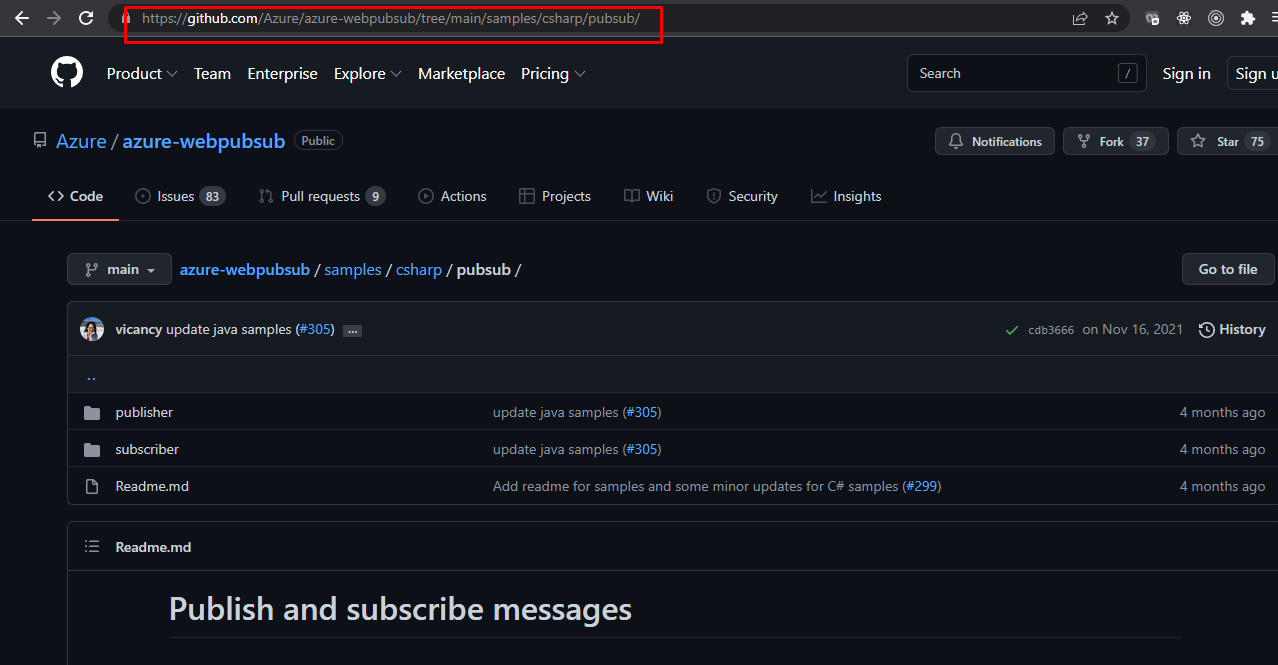
This contains two console apps that subscribe to Azure WebPubSub and publish messages.
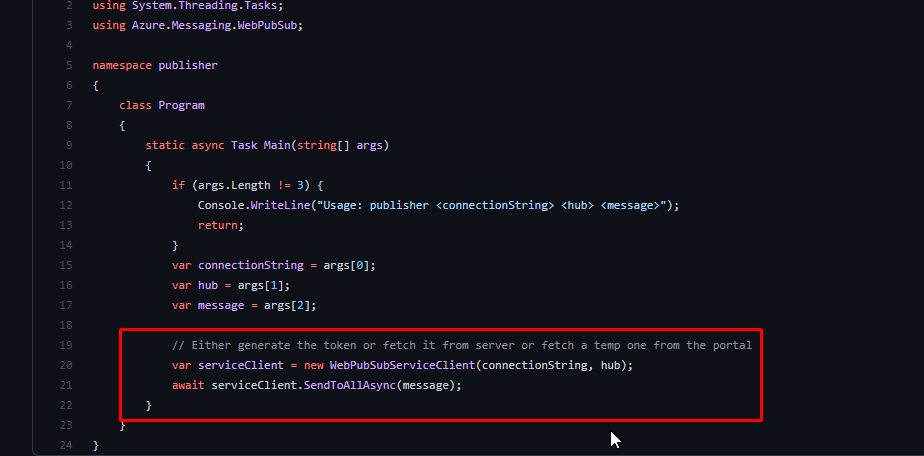
This is very simple. All this does is connect to the Azure Web PubSub and send the messages.
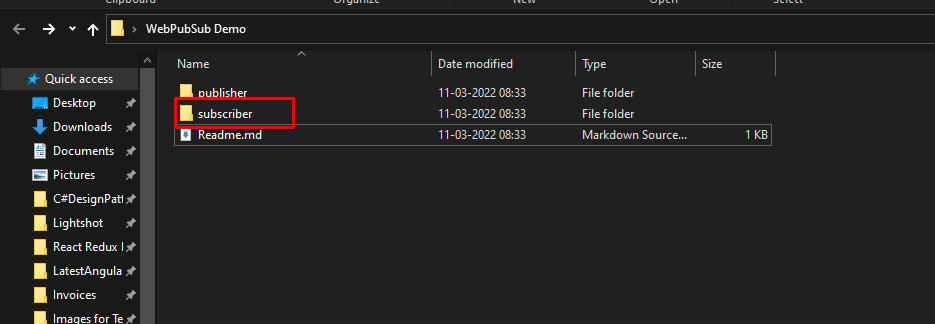
Now, I have downloaded the code. We are going to start with the subscriber code.
Run the dotnet run command along with the connection string followed by the hub name. The hub can by anything you want.
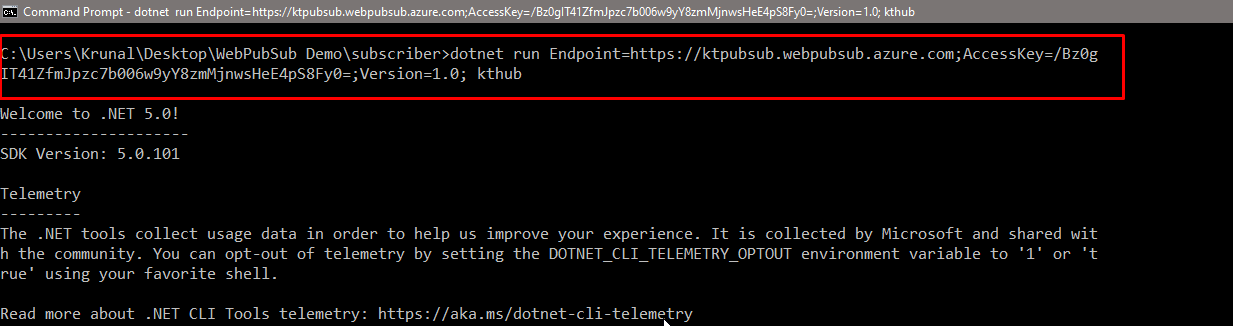
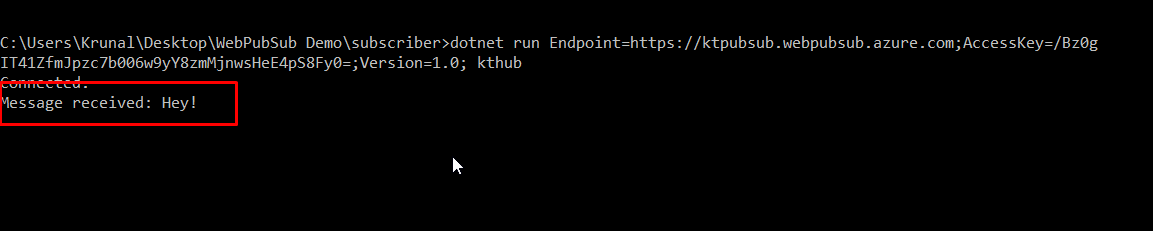
You will see that it will return with a message connected.

Open another instance of the command prompt and go to the publisher folder instead of the subscriber. Run the dotnet run command along with the connection string and the hub name. However, this time, pass a message as well.

In the subscriber command prompt, you will see that the message will be received.
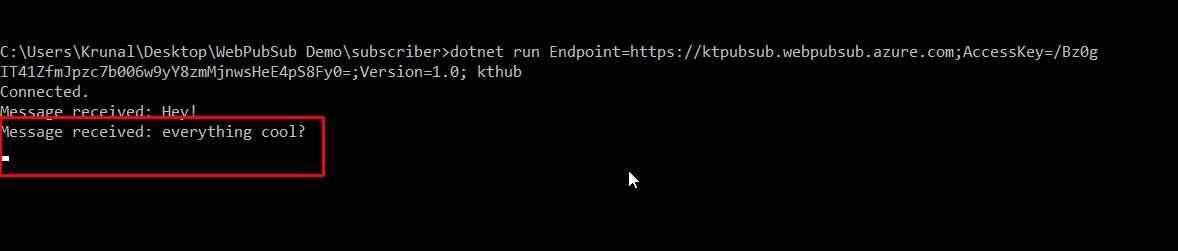
Try another one as well.

You will see that it will be received as well.
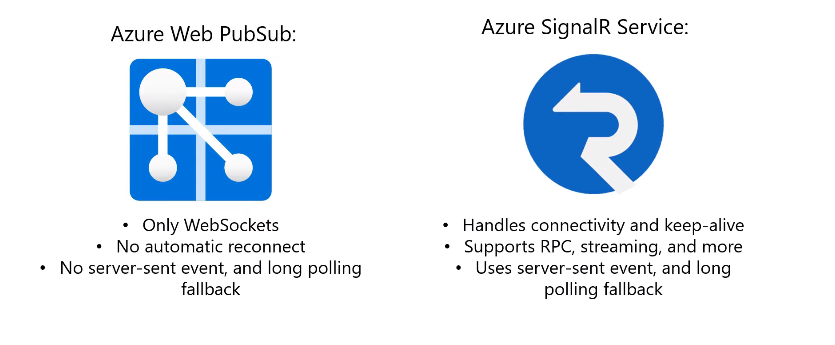
- You might ask that why use Azure PubSub when both Azure Web PubSub and Azure SignalR does the same thing.
- Let us see some brief differences between the both.
Here are the key differences between Azure WebPubSub and Azure SignalR Service.
That is it for this demo. Grab a cup of coffee and go ahead try this.