AZURE POLICY – TUTORIAL
In this article, I am going to show you an Azure Policy Demo in which we are going to work with a built-in policy.
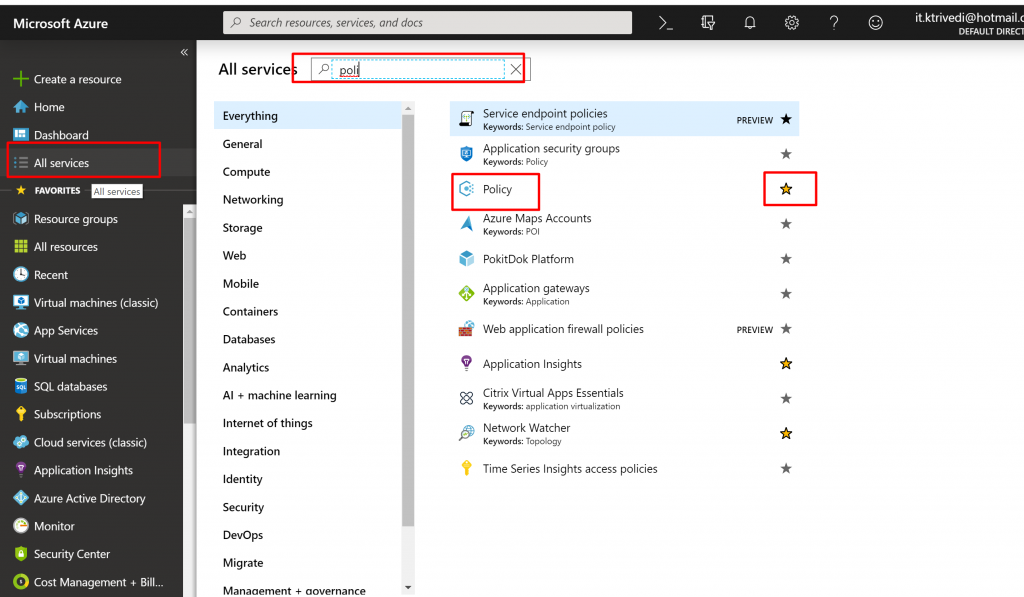
- Open Azure Portal. Click on All Services and Search for Policy. You can also click on star icon and set it as your favorite service to be displayed in the left side navigation menu.
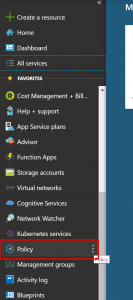
- You can also drag and drop it to change the sequence it appears.
- Click on the Policy and you can see the policy dashboards. Also, you can see Policy Definitions, Policy assignments, Blueprints and Resource Graph.
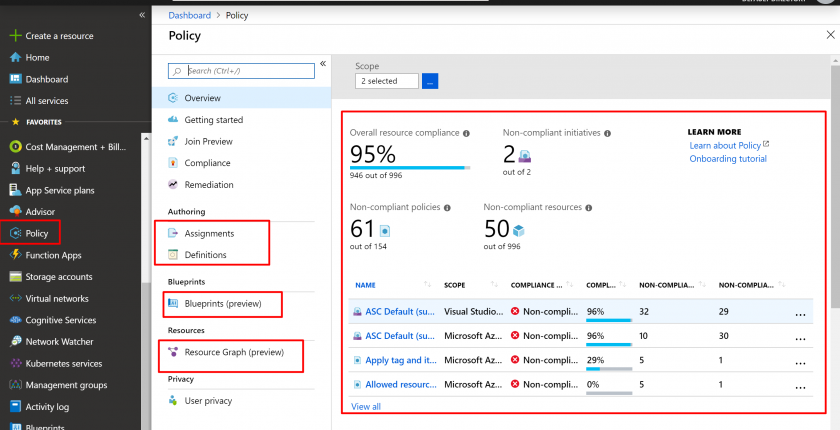
- Click on Assignments –> Assign Policy
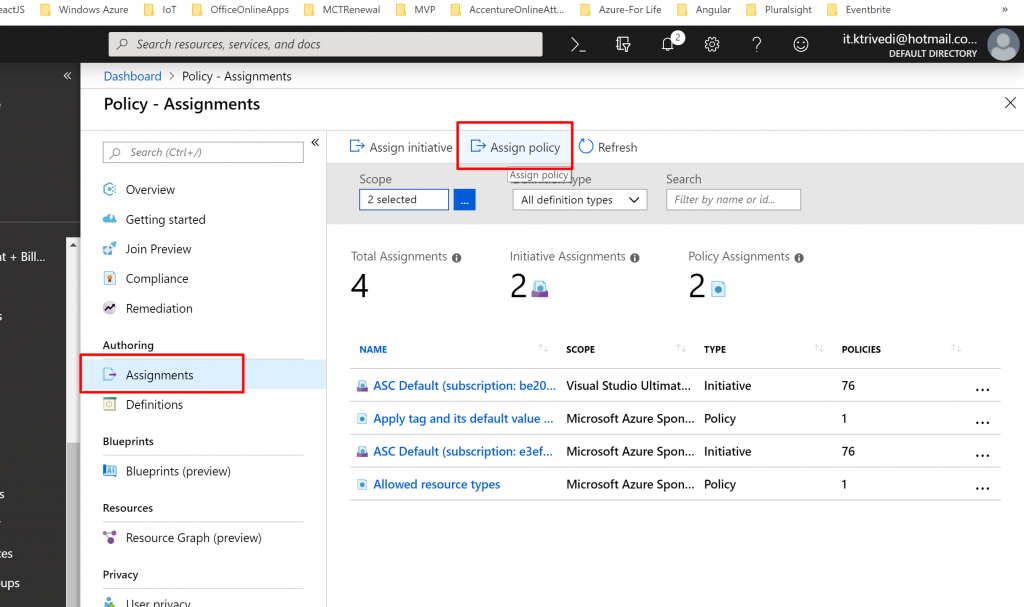
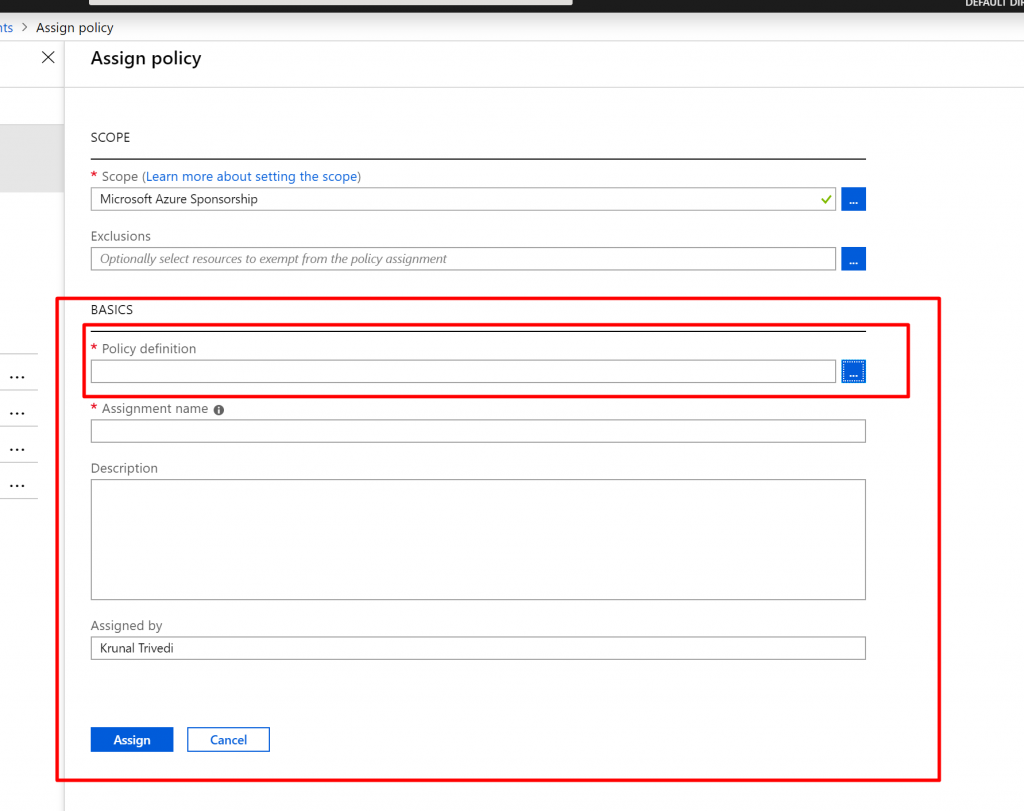
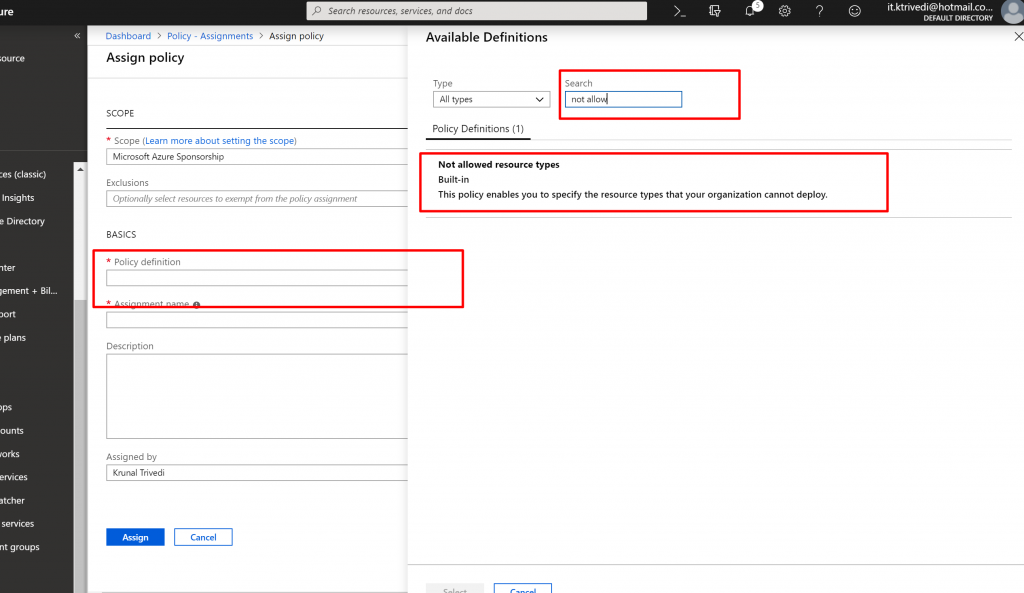
- Once you click on the Assign Policy you will get the screen as below.
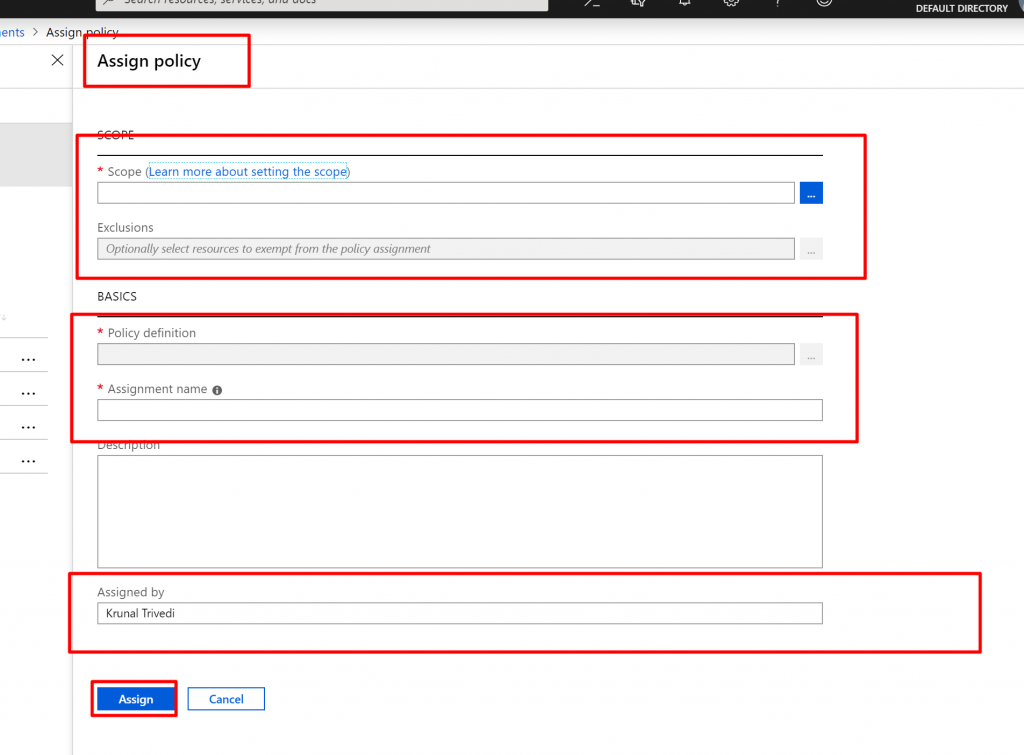
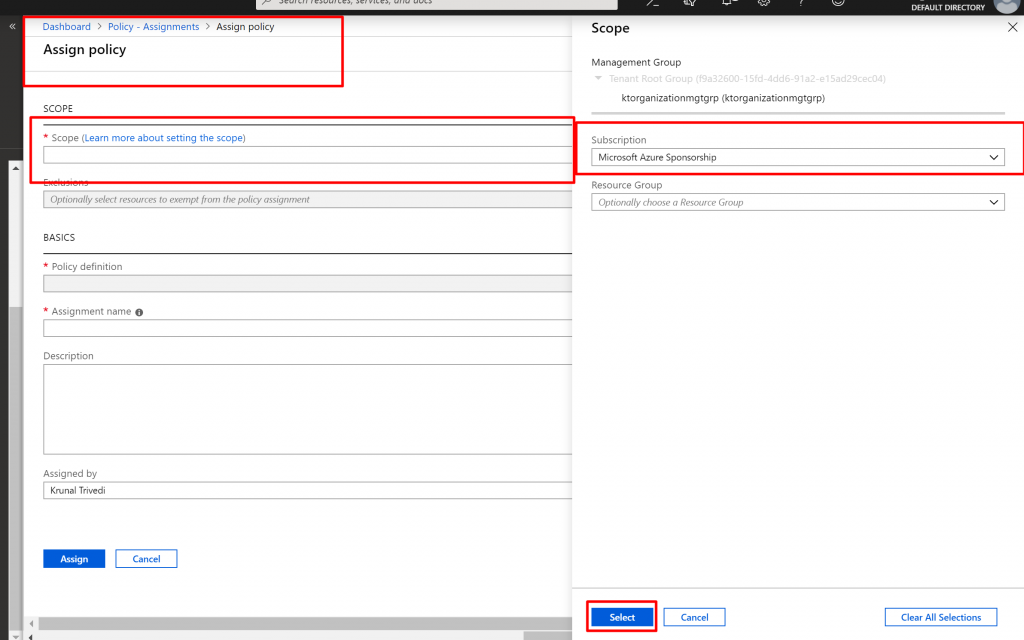
Here we have two sections. One is Scope where you can define the scope where the Policy would be applied. We can choose Management Group, Subscription or Resource Group. We can also define the exclusions here – where this policy would not be applied. Second section is BASICS. Here you select Policy Definition – what the policy does , Assignment Name and Description.
- Click on the dots next to Scope. Here I am going to select Subscription and not going to select any Resource Group. This means, Policy would be applied to all the Resource Groups in the Subscription level.
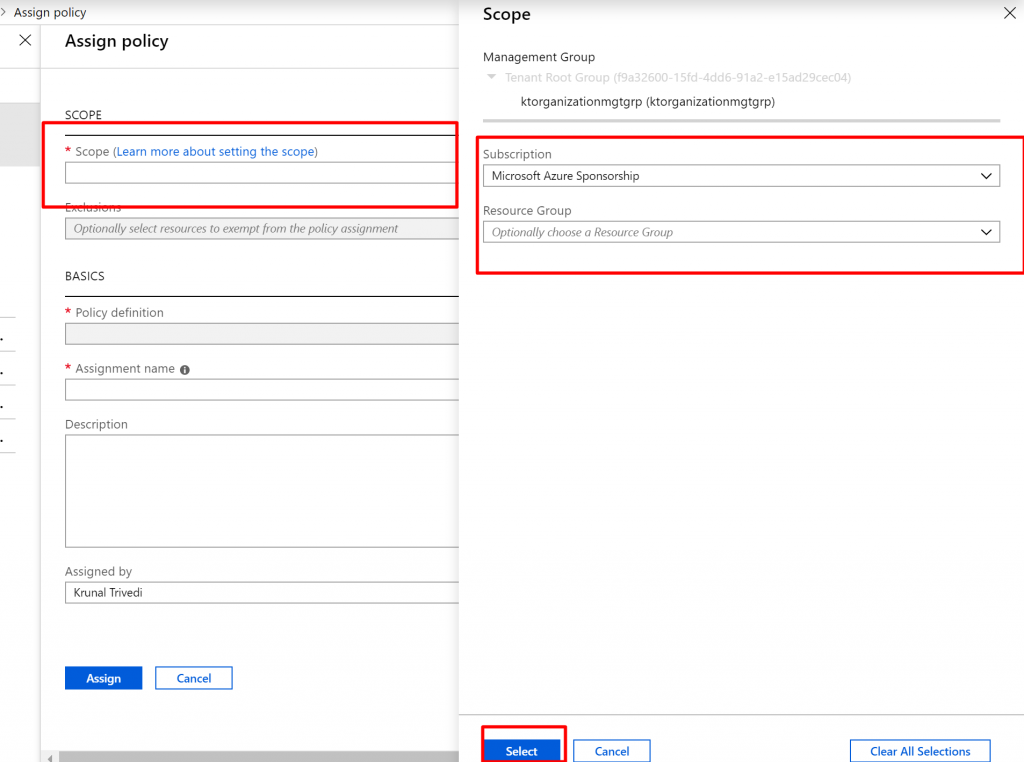
- Here we are not going to select Exclusions.

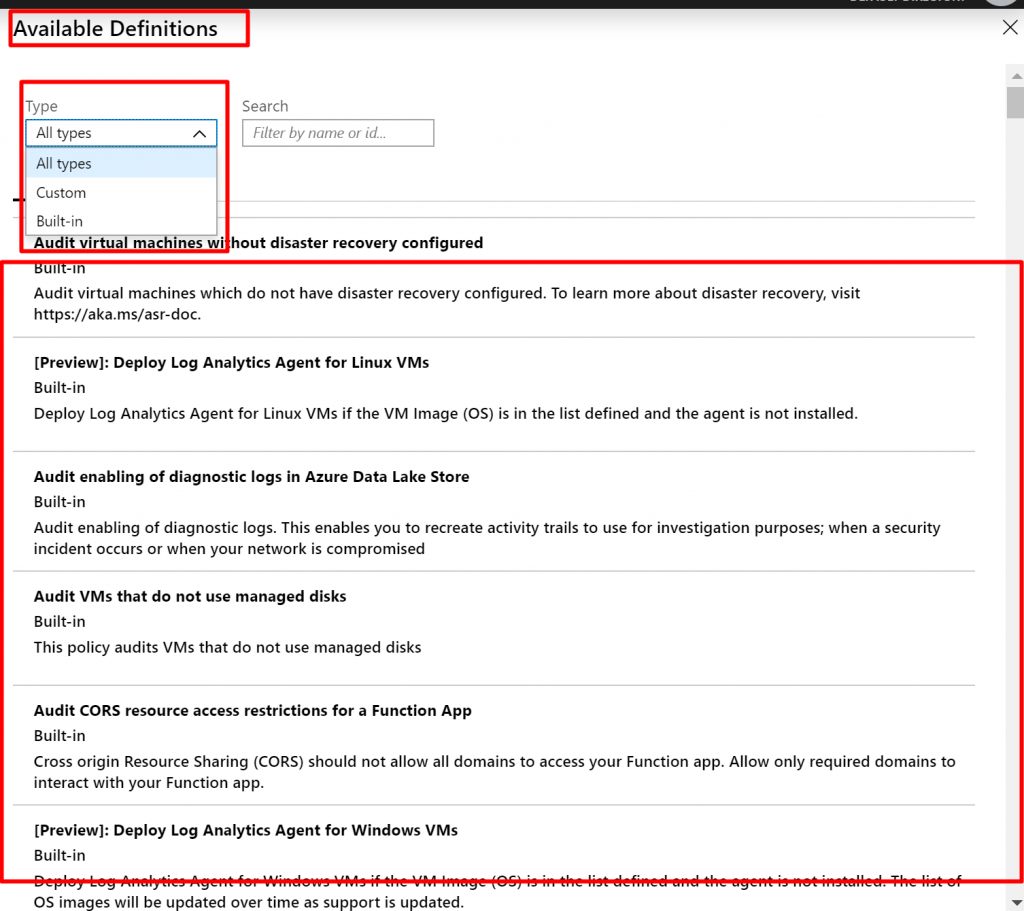
- Now click on dots next to Policy Definition. Here we can see all available Policy Definitions including both Built-In and Custom. There are more than 50 Built-in Policy definitions.
- We narrow down our search by typing “allow” in the search box.
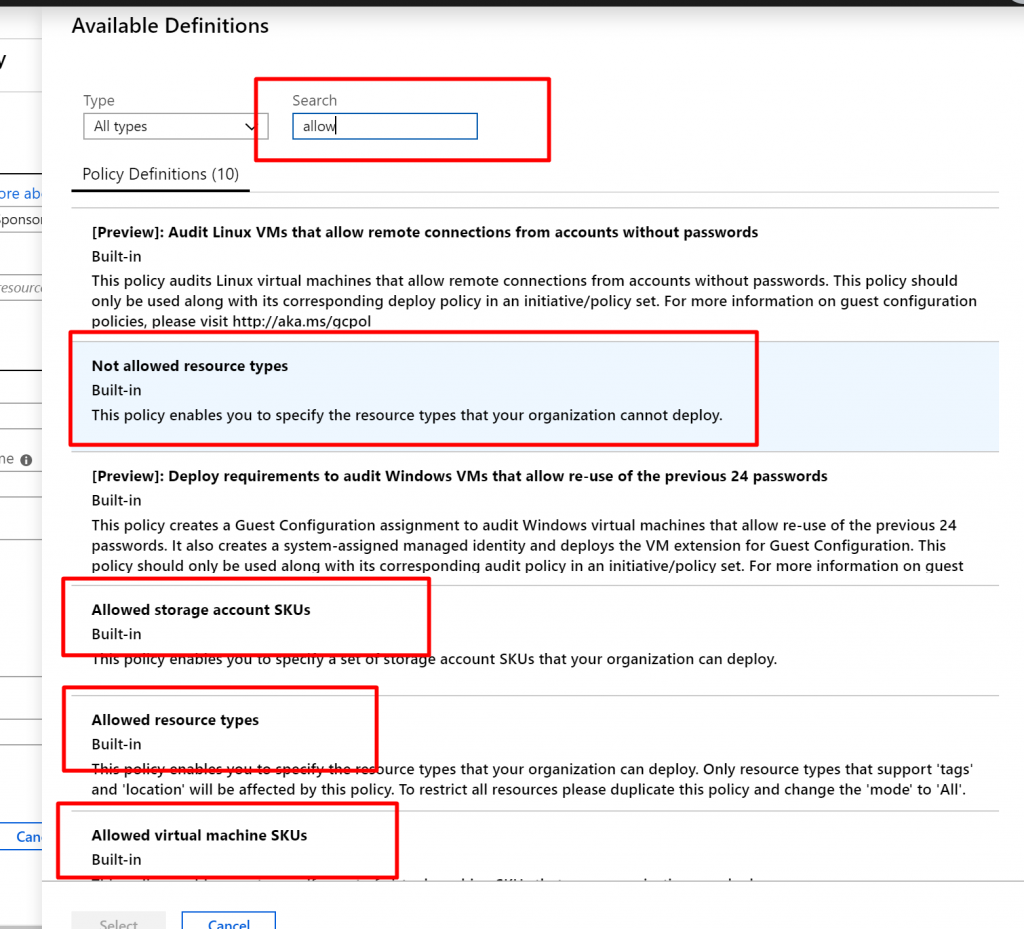
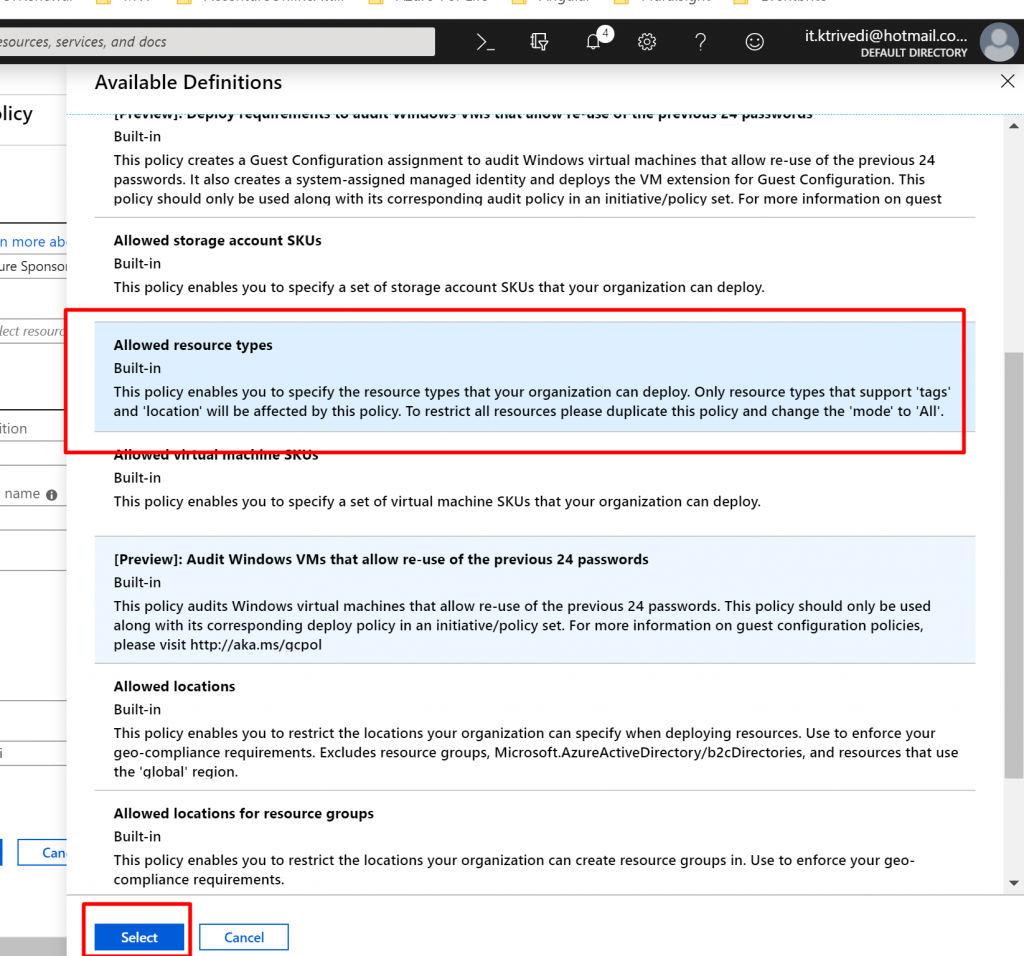
- You can see couple of Policies are available such as Allow resource types will allow only certain types of resources to be provisioned in the Subscription, Allow Virtual Machine SKUs will only allow certain SKUs of VM, Allow location will restrict the location where your organization can provision the resources within the subscription etc. Here we are going to select Allowed resource types.
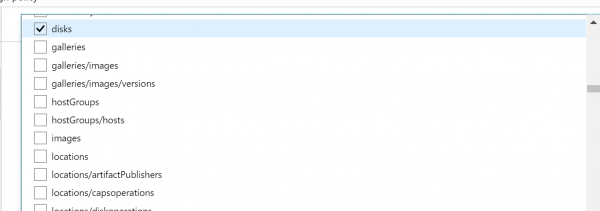
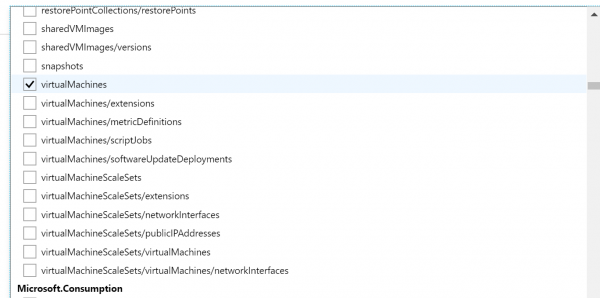
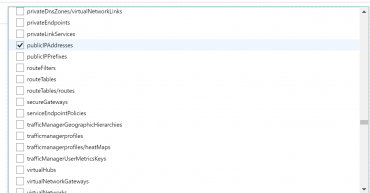
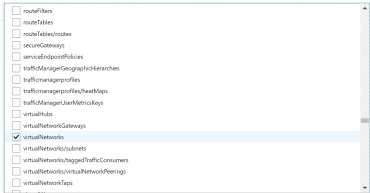
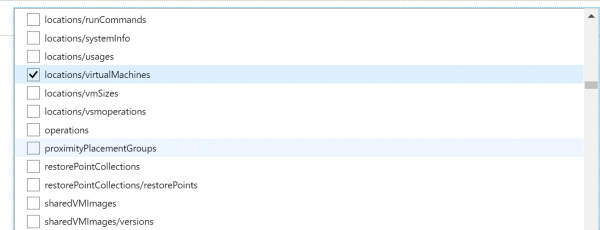
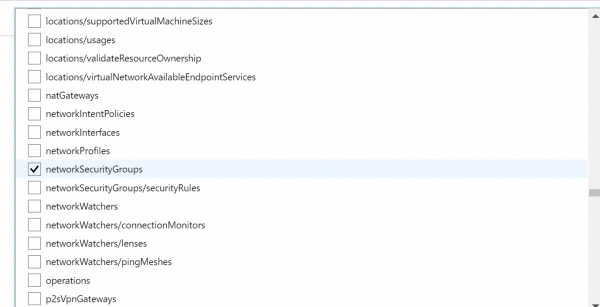
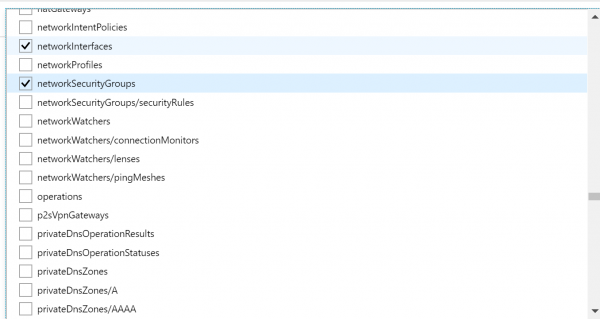
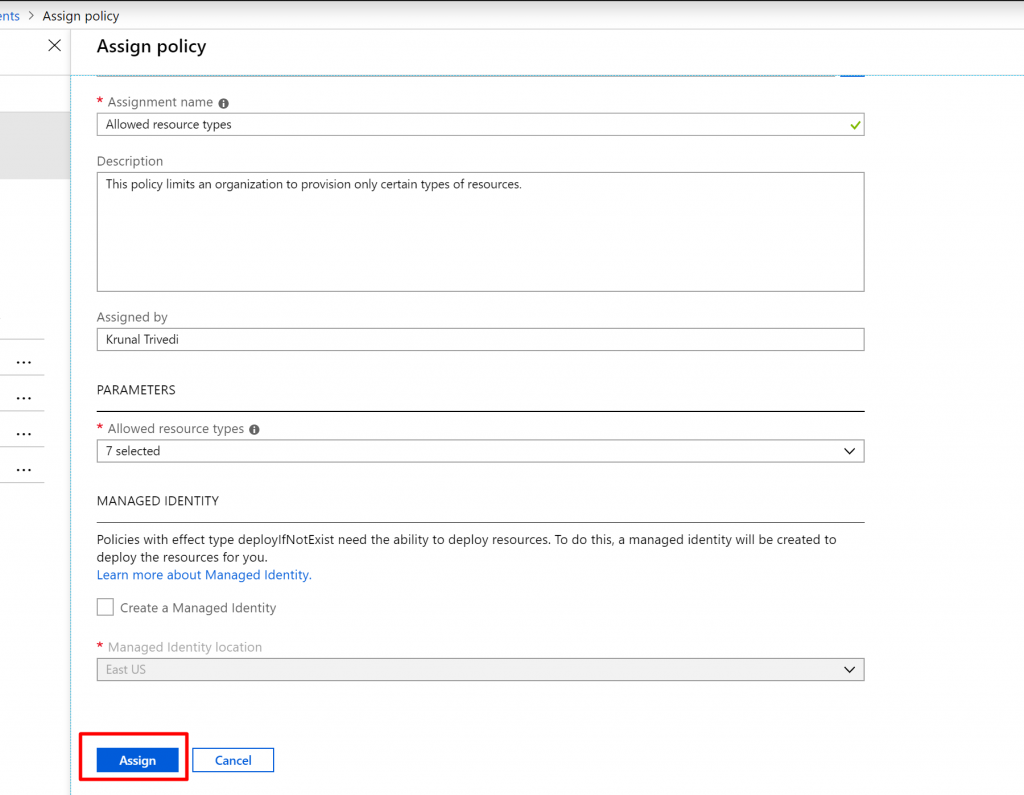
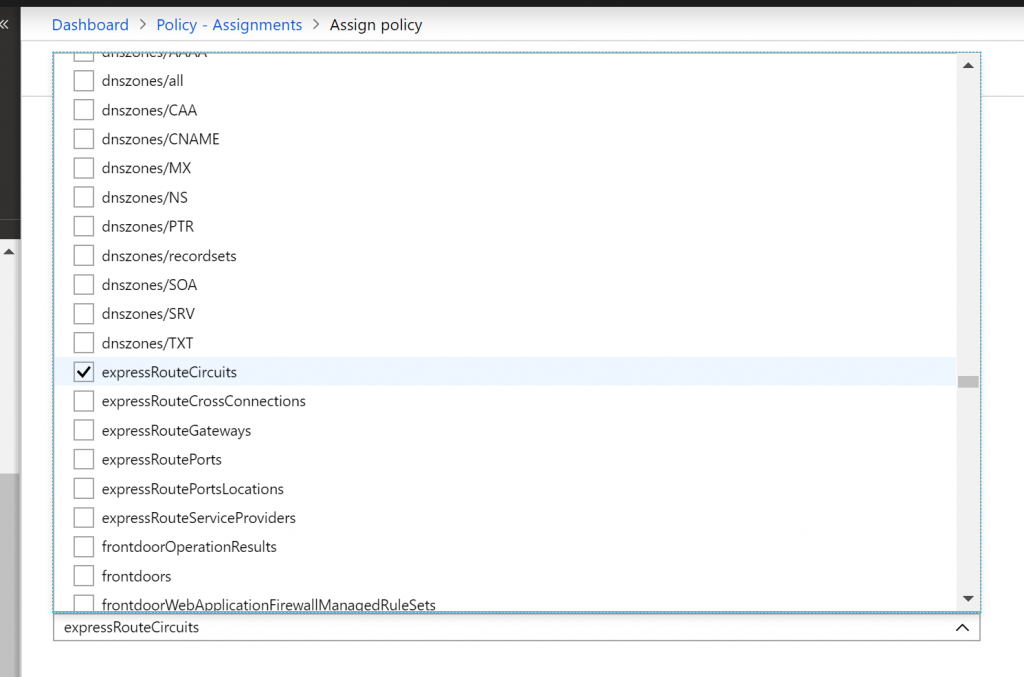
- Now we have to select which Resource types we want to allow. Click on the drop-down list. It is a long list of items, so it takes few moments to populate. Here we are going to select disks,virtual machines, network interfaces, network security groups, public IP addresses, express routes, virtual network.
- Finally click on Assign.
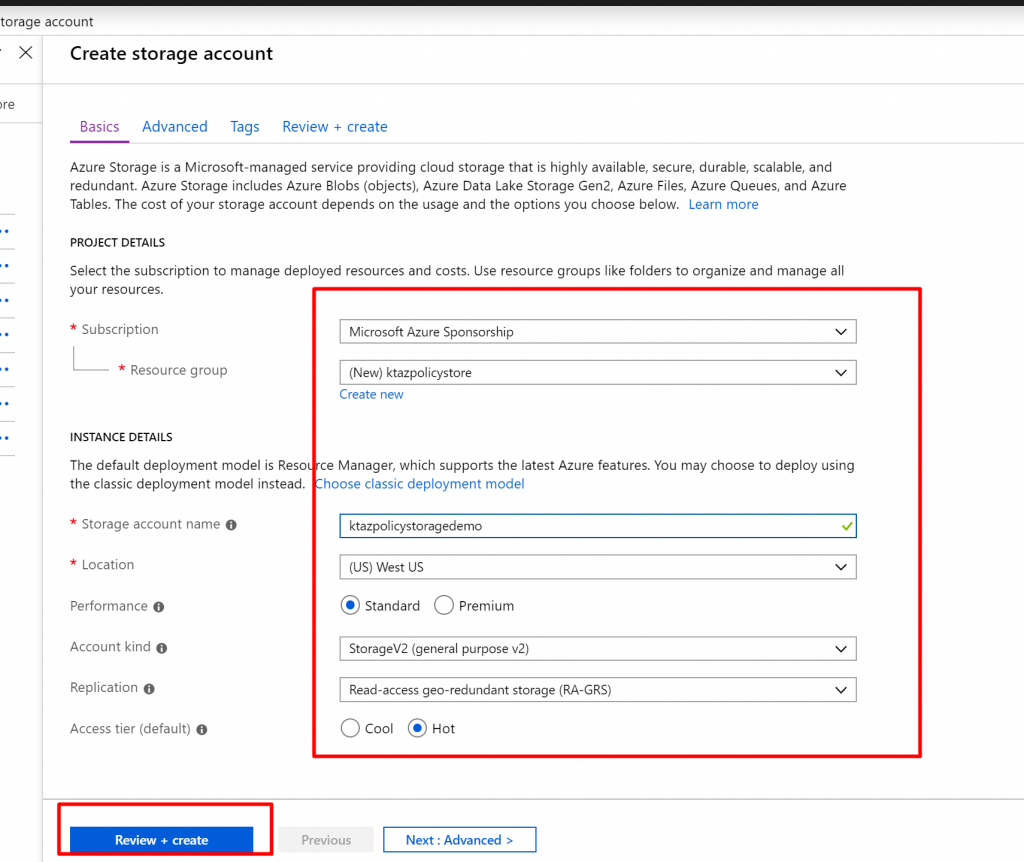
- Now, let us try to create a resource and see whether the Policy works. So, now let us create a Resource out-side of the policy. We didn’t allow Storage Account at this subscription level. So let us try to create Storage Account.
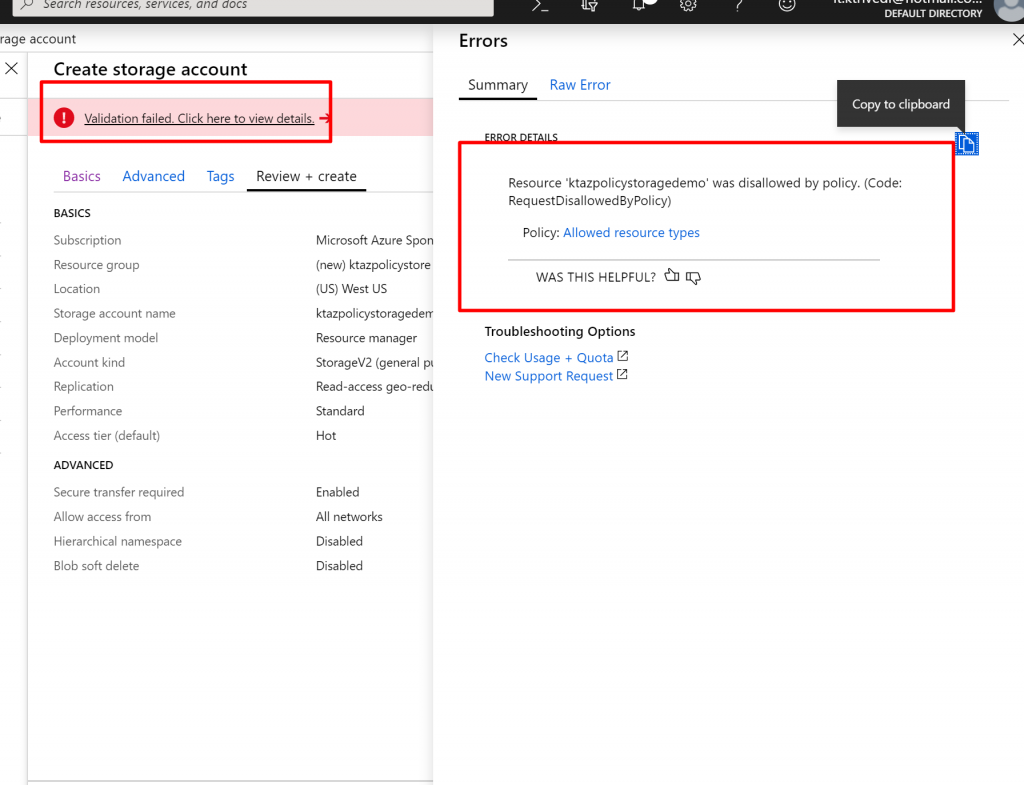
- When you try to create it you can see validation error and if you click on it, it will show policy violation. Disallowed by policy.
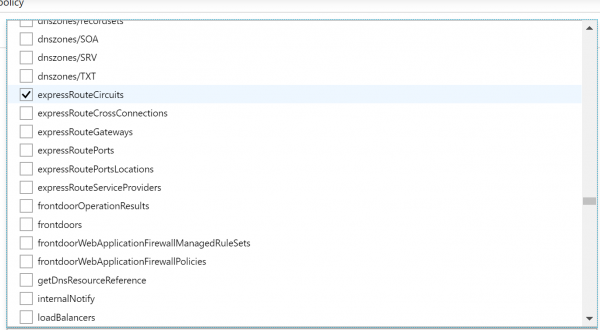
- Now, let us create another assignment. Click on Assign Policy. This time select not-allowed resource types. Here we are going to select expressroutescircuit resource. . ExpressRoutes are expensive so this is the way how can we limit it.
- But in this case , within a subscription there would be one group where I do want to allow ExpressRoutes. That’s how IT team managing ExpressRoutes can provision it. So click on the dots in the Exclusion drop-down list and select your ResourceGroup. And finally click on Assign. So here I select not-allowed resource types is expressroutes circuit but there is one group in the exclusion where I can create expressroutes.
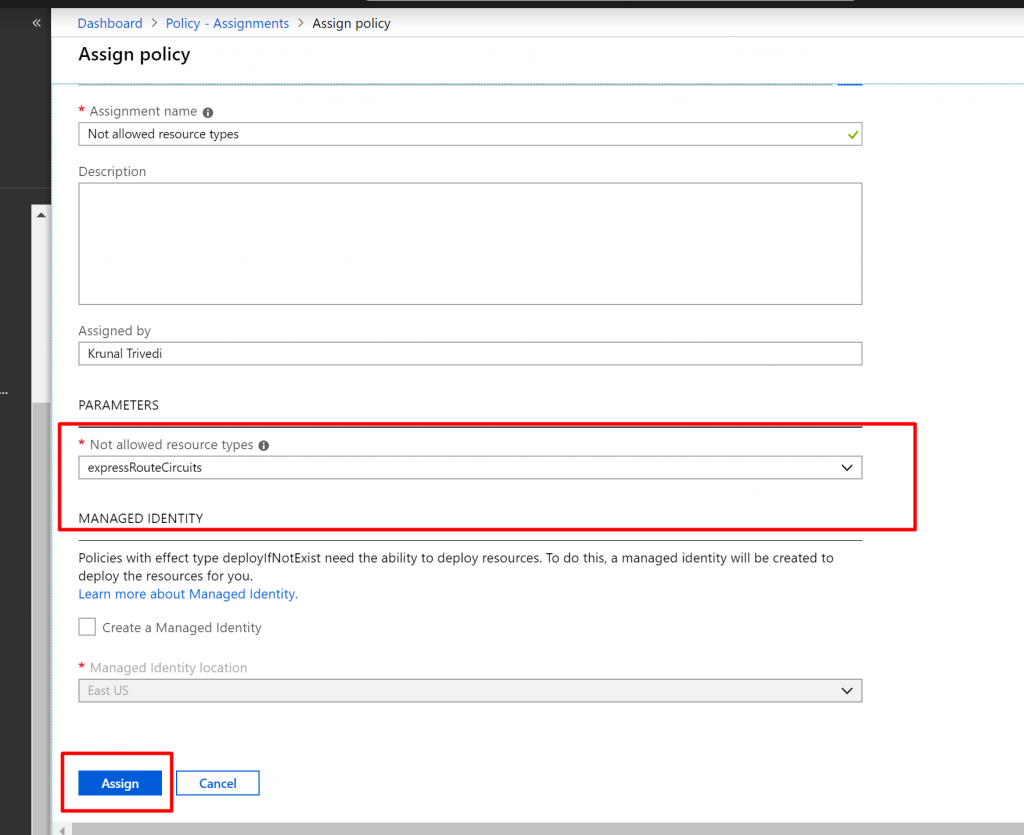
- Now click on Assign.
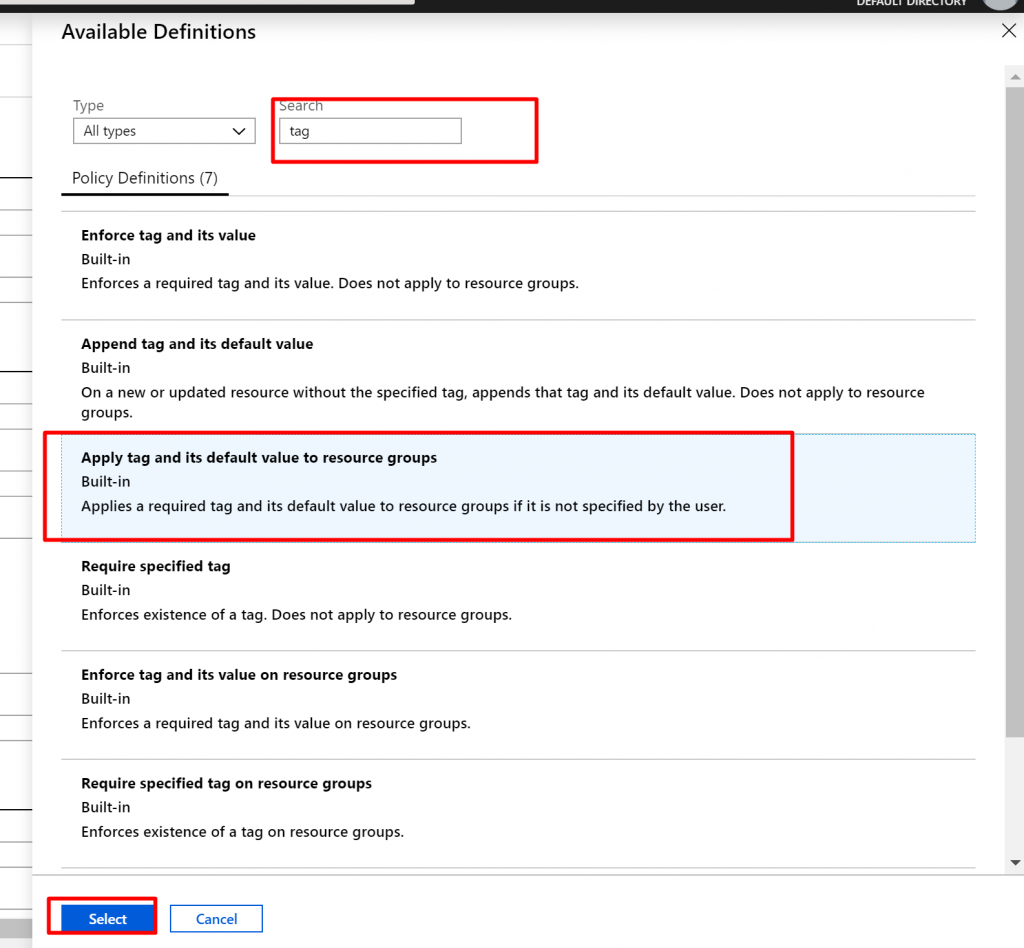
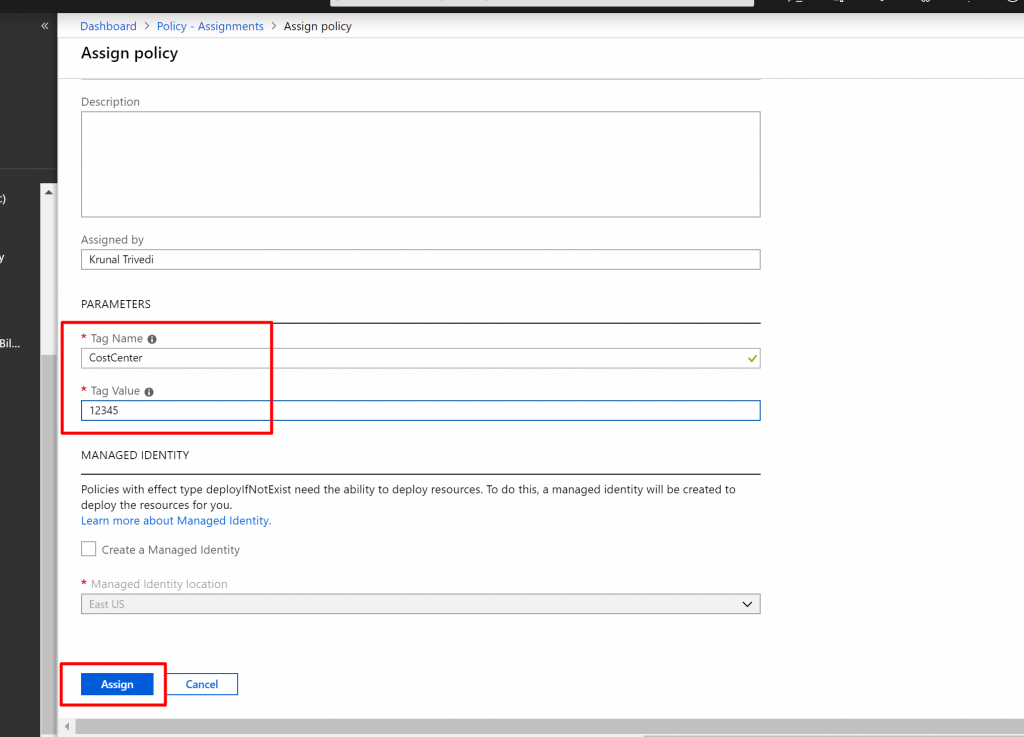
- Before we test this Policy let us have one more Policy Assignment. Again click on Assign Policy and search for Tags. You can see here we have couple of Built-in policies such as Enforce tag and its value, Apply tag and its default value. So we are going to select Apply tag and its default value here.

- Now here are going to specify tagName and tagValue. Name is CostCenter and the value is 12345. We are going to assign it at the subscription level.
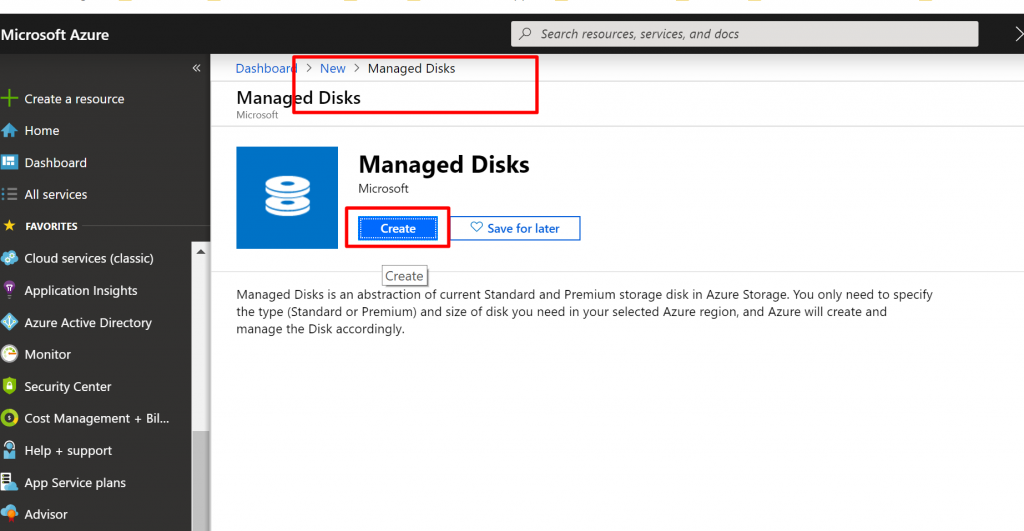
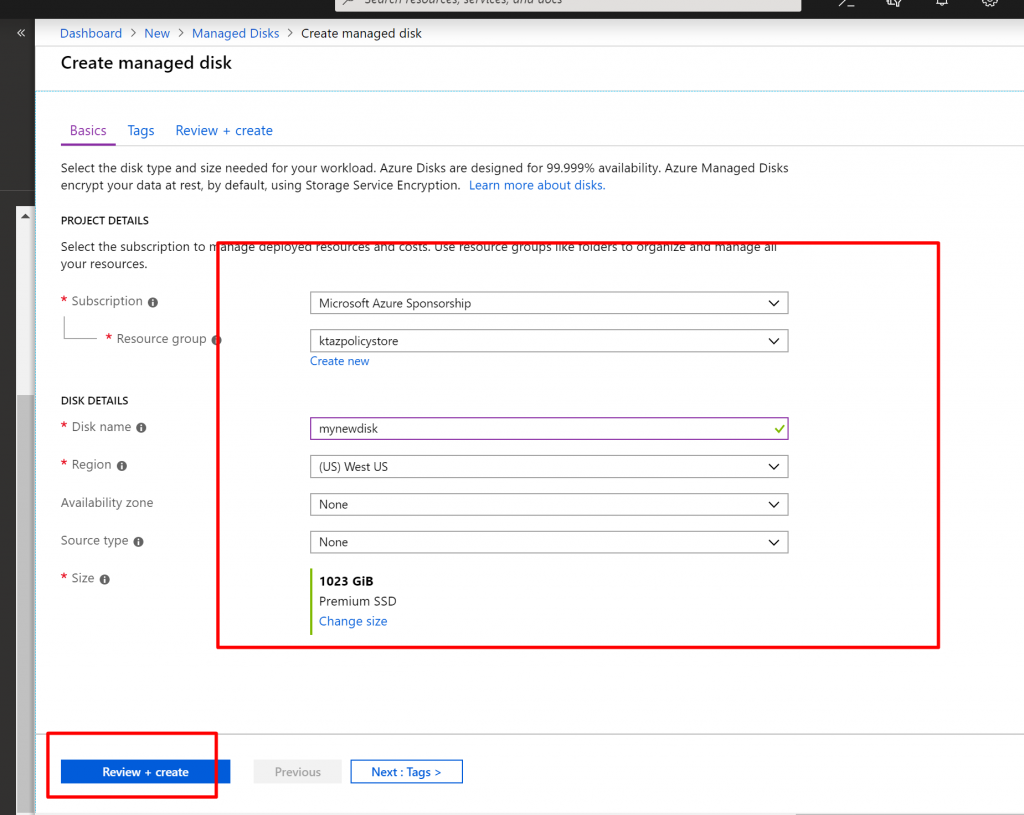
- Now let us test our polices. We have allowed disks in the subscription. So let us create a disk.
- We provide some random values and click on Review + Create.
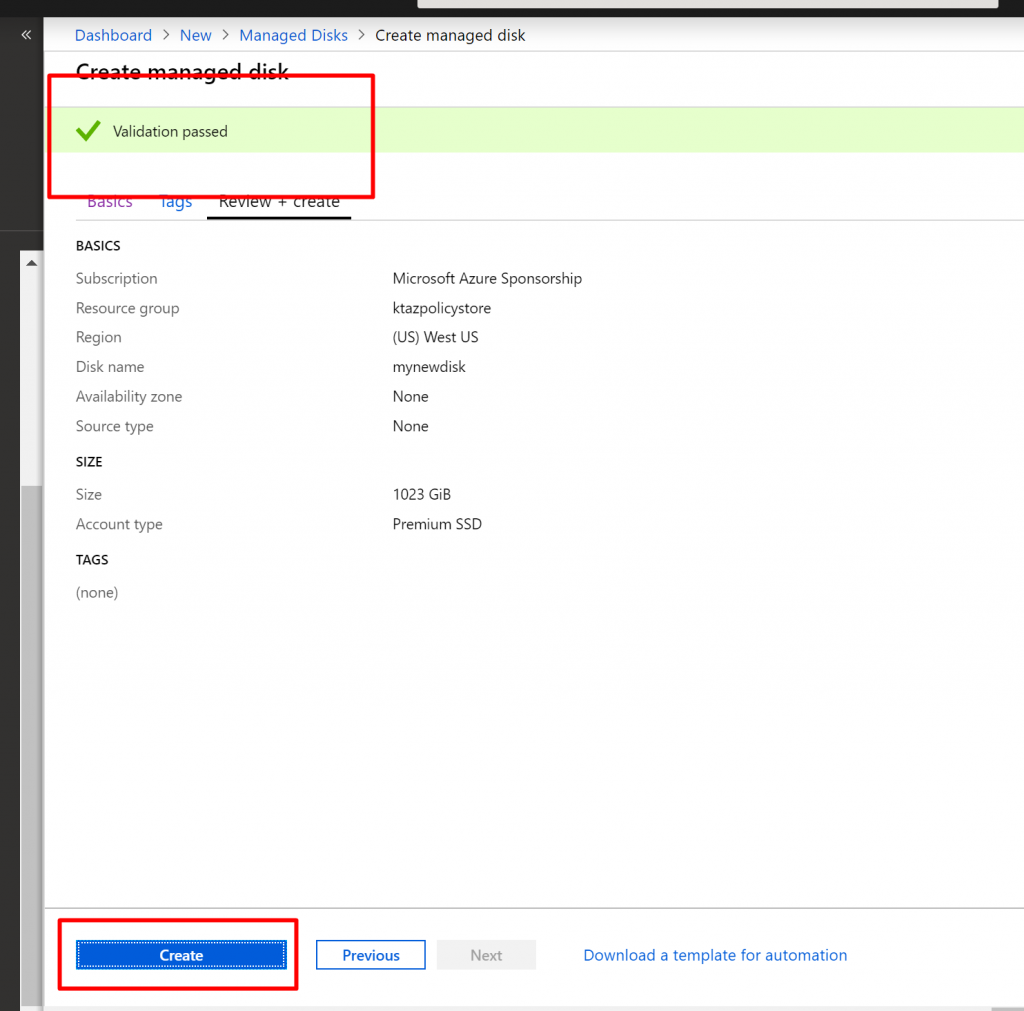
- You can see it has passed the validation and click on Create.
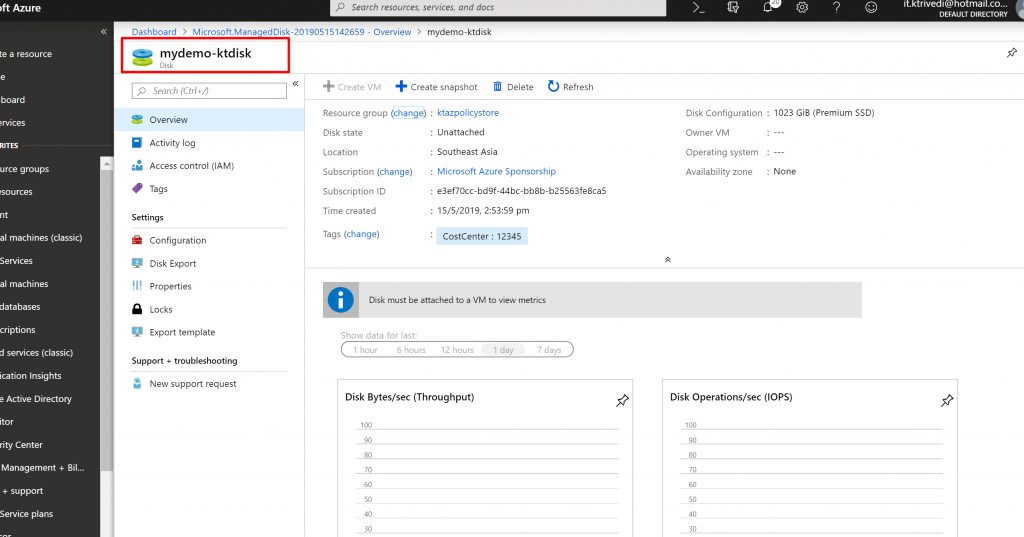
- Once the resource is created, if you go to the resource and click on Tags, you can see the Policy is applied and default Tag named CostCenter with the value 12345 is applied to the resource.

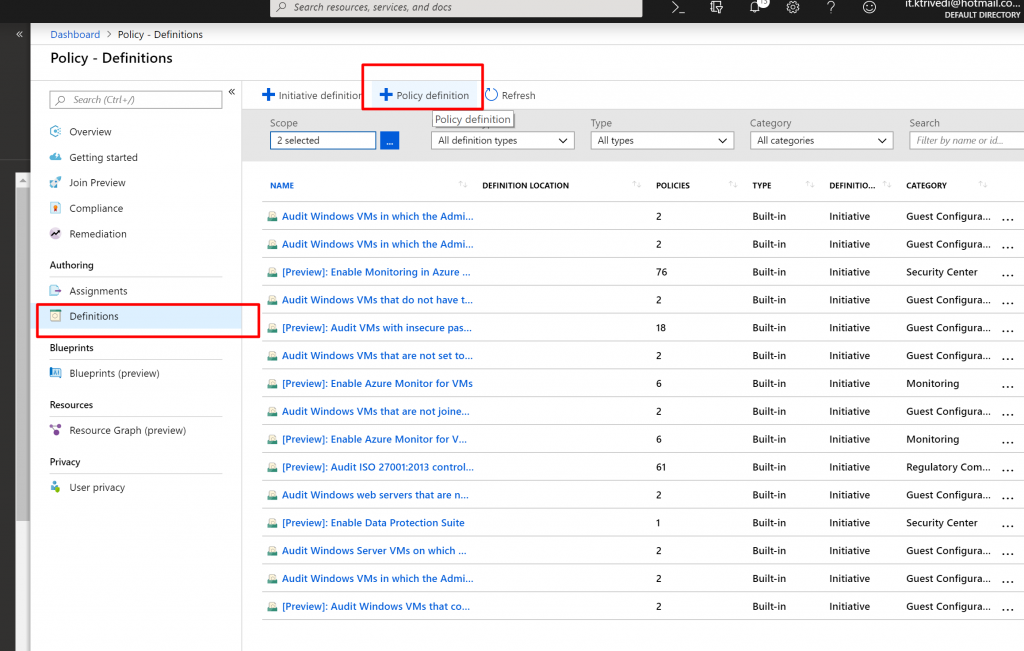
- Now, to create a custom Policy Definition, click on Definitions in the Authoring Section and click on Policy Definition.
- Now, here first we select the location where our policy would be applied. We are going to select our subscription name.

- Now, we provide name and, we can organize policy definitions into categories. We can use existing categories, or we can create the new one. Here I create the new custom category one.
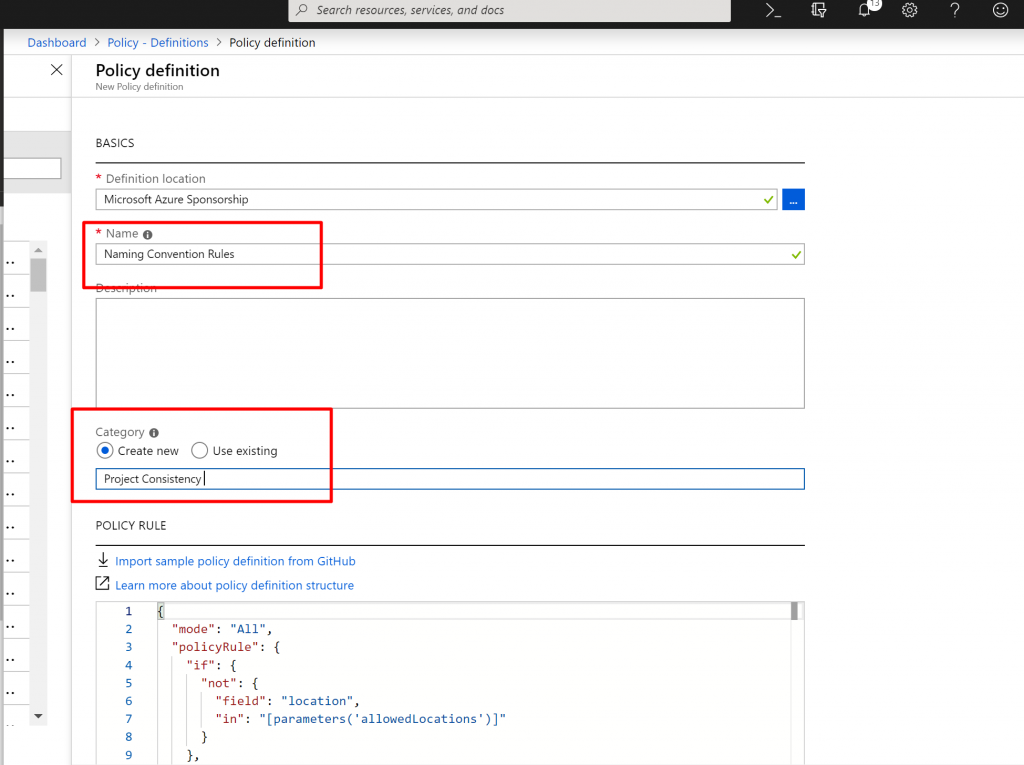
- Now, remove the existing Policy Definition – JSON structure and add the new one as shown below.
- The new Policy Definition will just check the resource type name and add suffix there.

- And Finally Click on Save.
- We could assign Policy Definition directly to our subscription specifying the resource type and suffix to use.
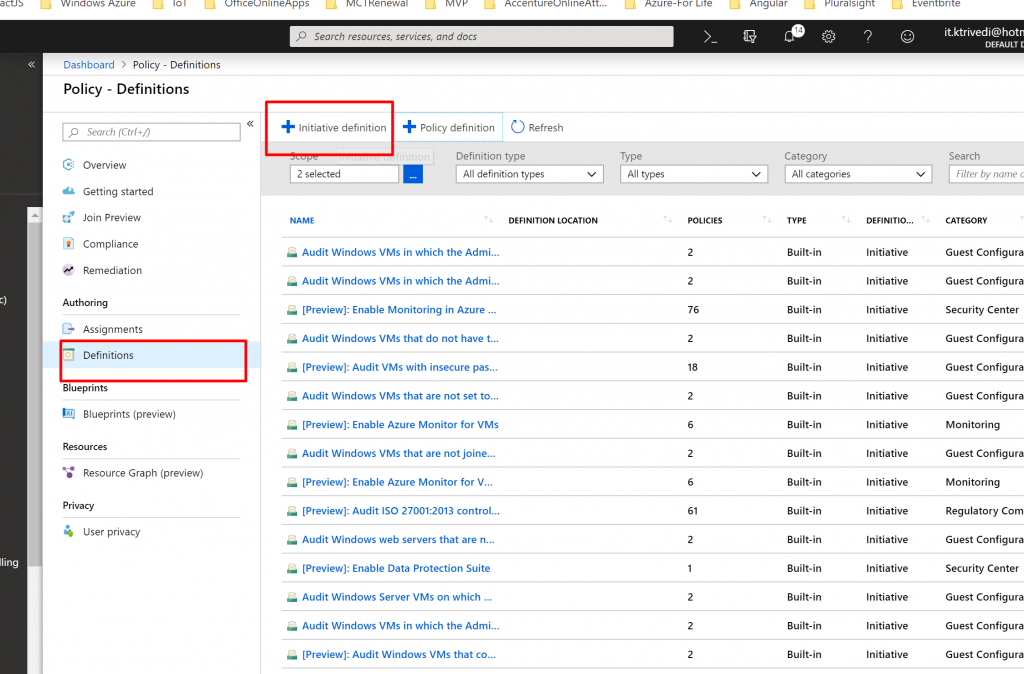
- But you may want to use Policy definition for multiple resource type. That’s why Initiative Definition is used for. Initiative Definition is used to group multiple Policy Definition together.
- So, click on Initiative Definition.
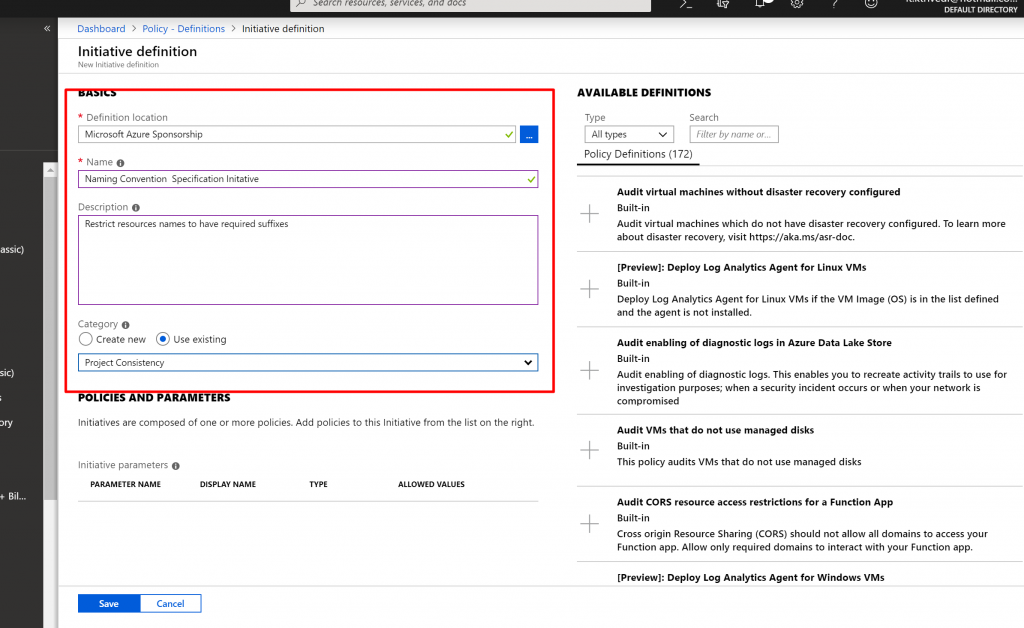
- Select your subscription in the location.
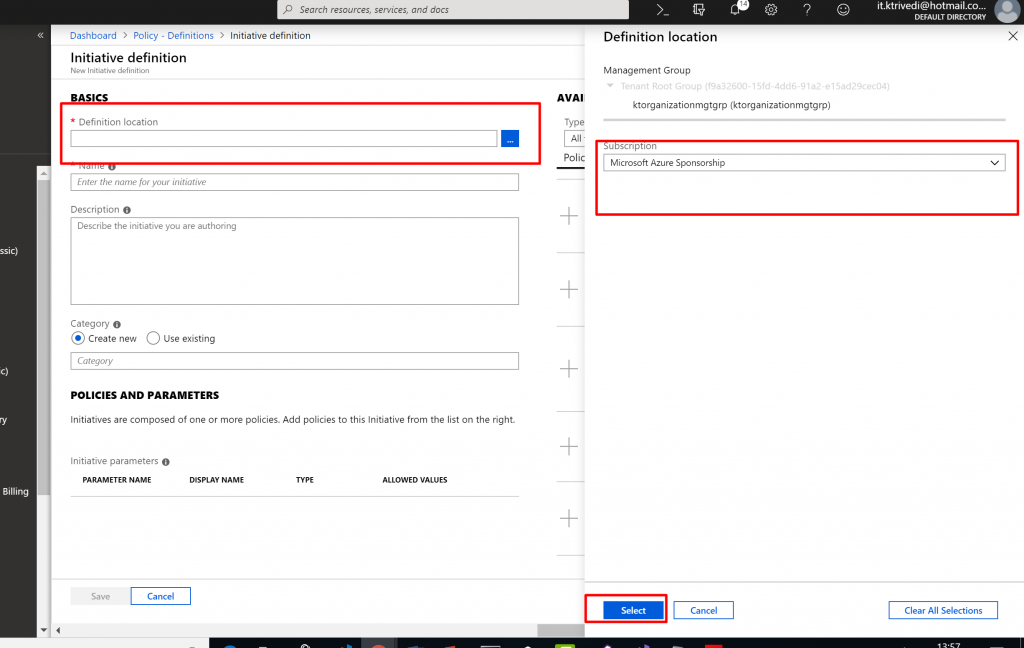
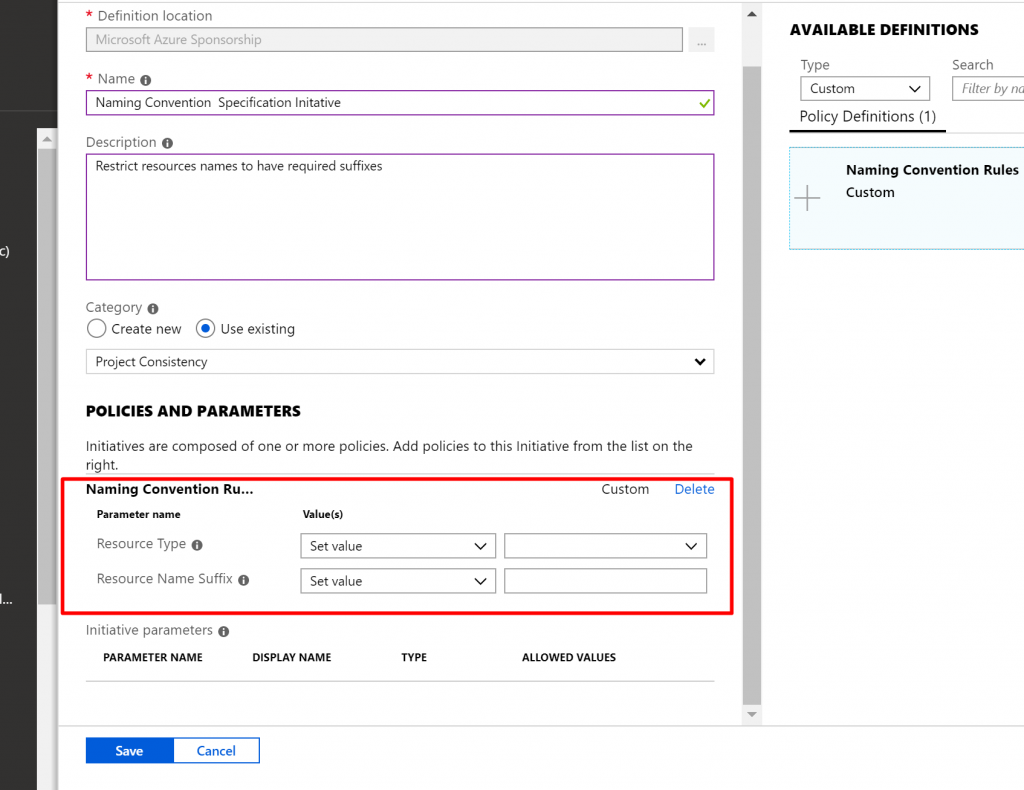
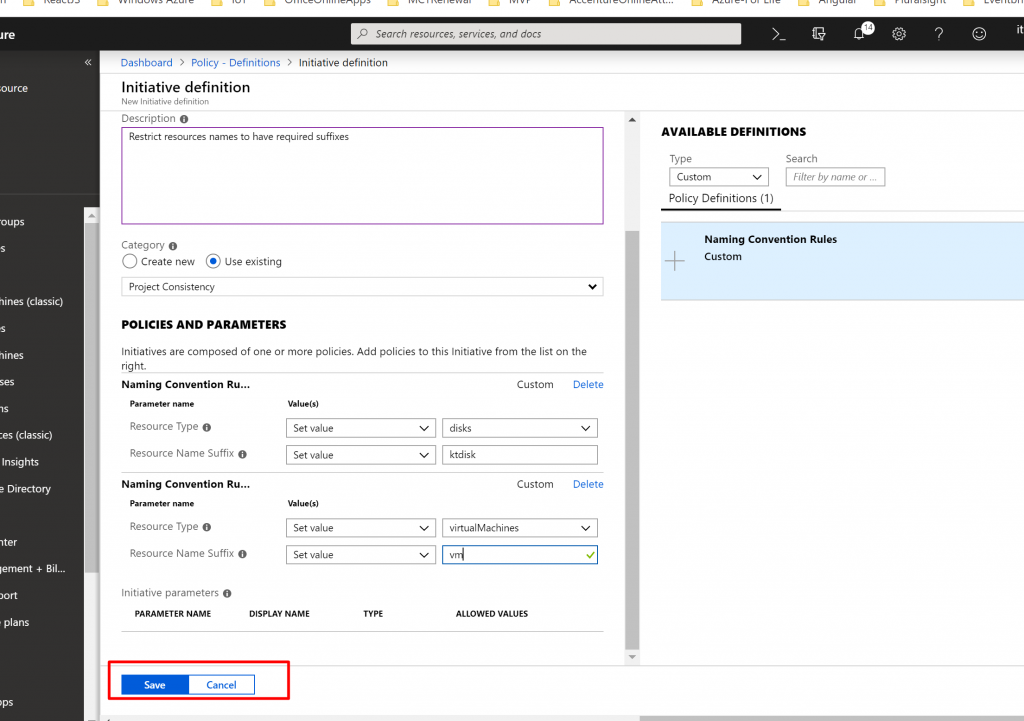
- Provide Name, Description and Select Existing Category.
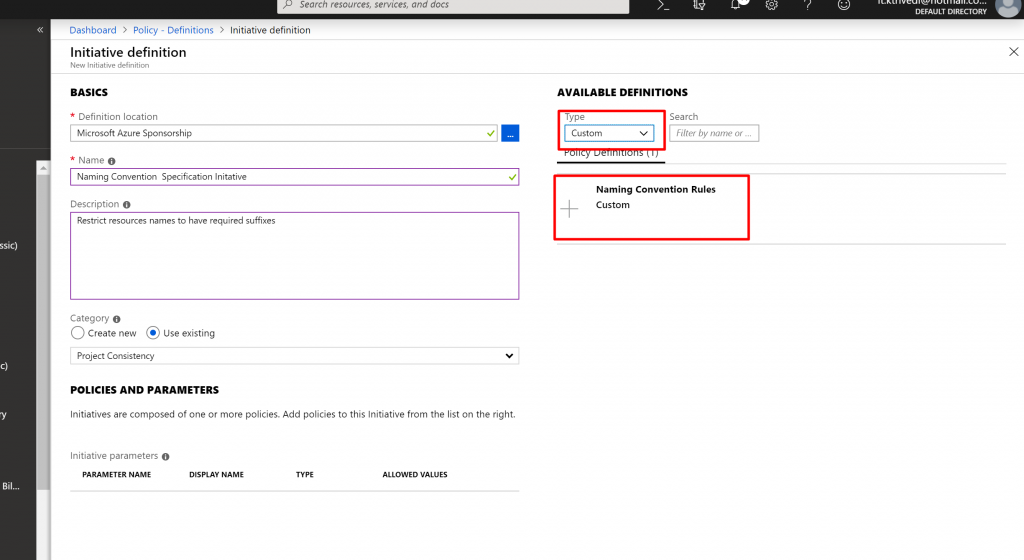
- Now from the right we have to select Policy Definitions we want to be a part of this Initiative Definition.
- In the Type dropdownlist we select Custom and select Naming Convention Policy Definition we just created.
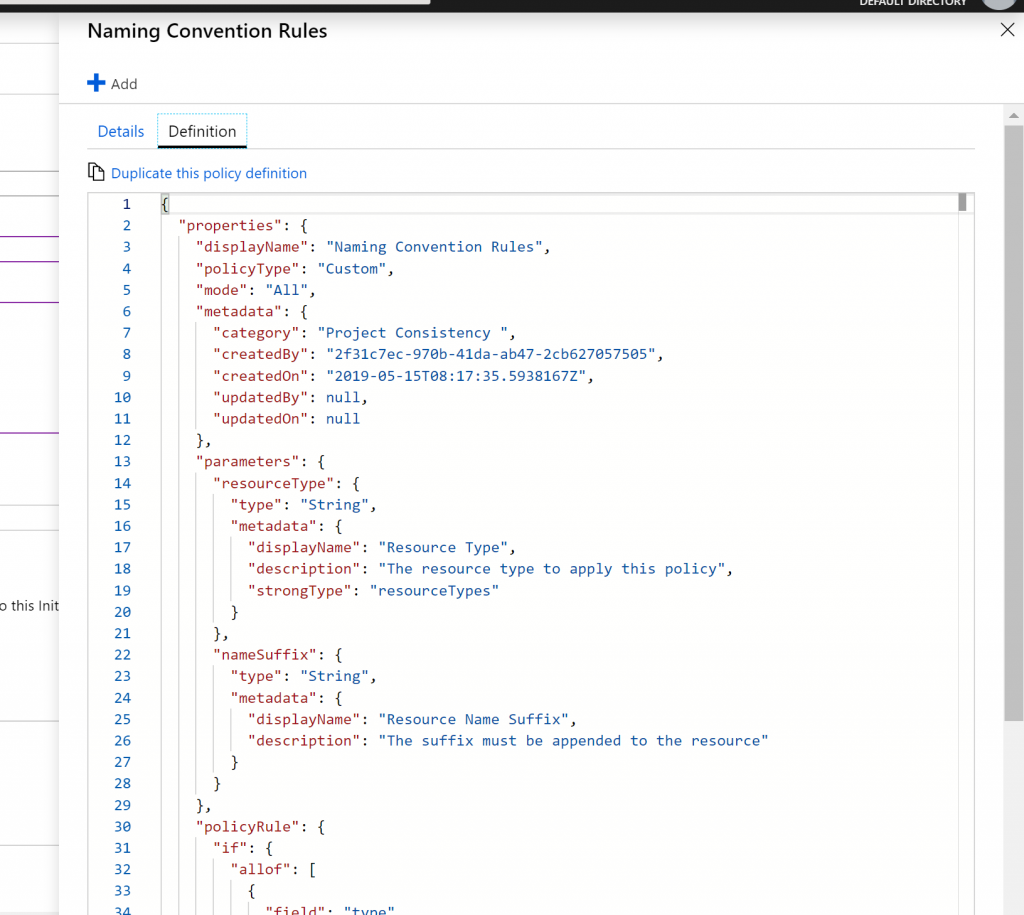
- Also once Naming Convention Rules is selected we can see the details of the Policy Definition along with the raw JSON.
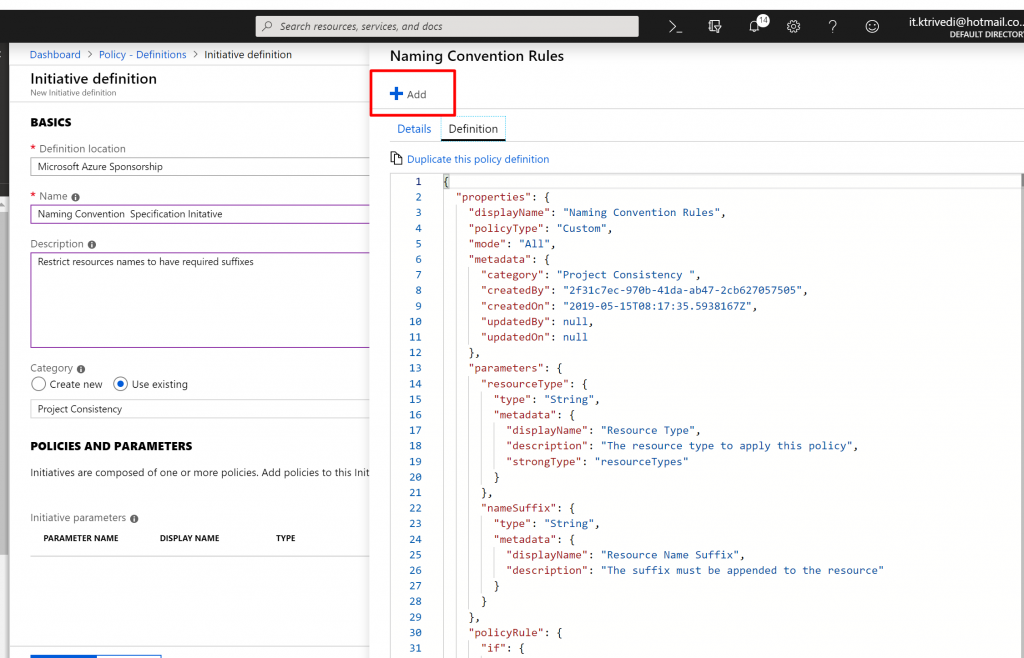
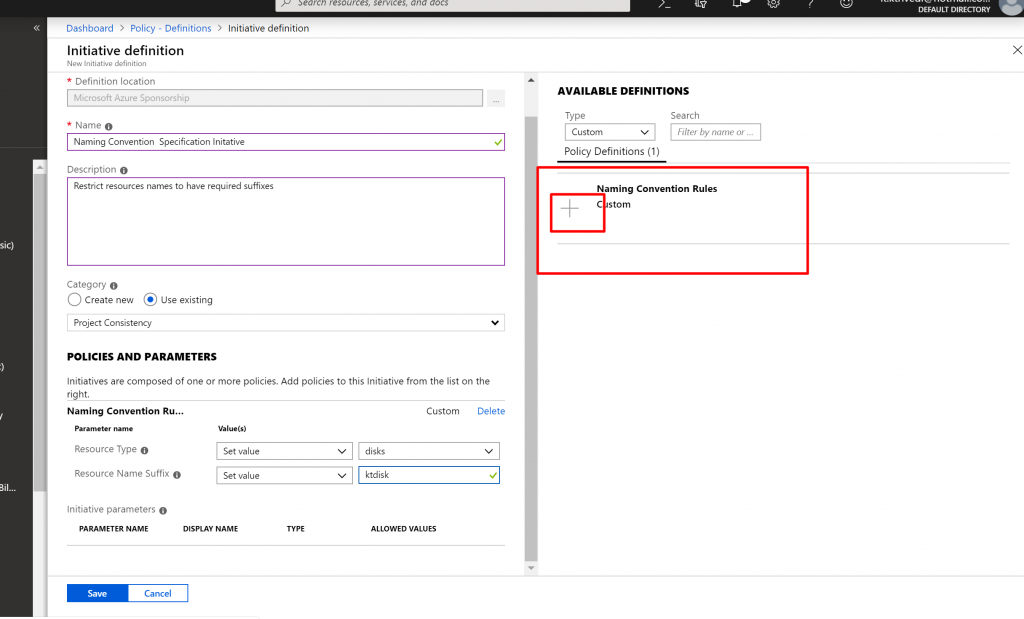
- Click on Add, to add the Policy Definition to the Initiative Definition.
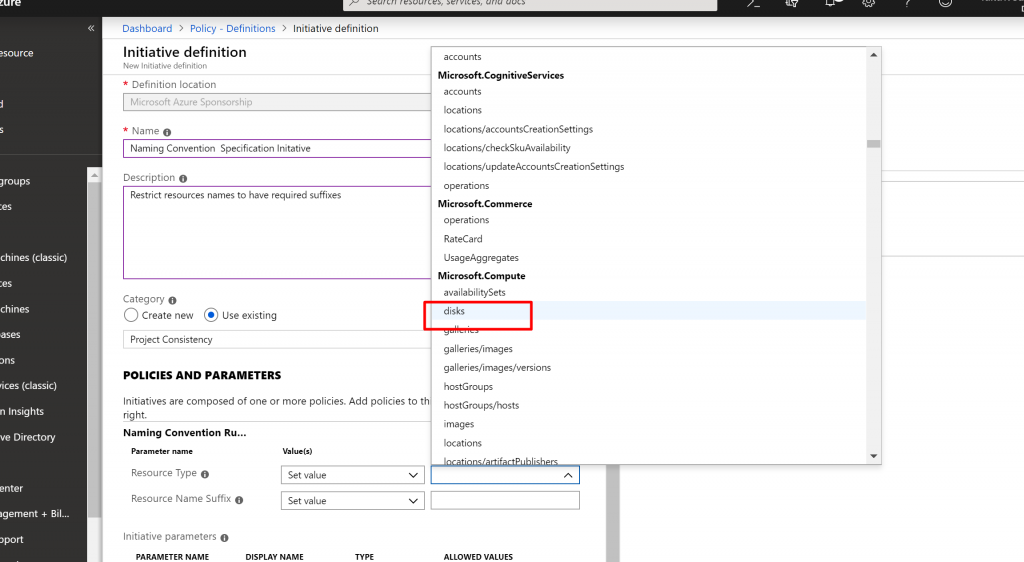
- Now, here we have to specify Resource Type and Resource Name Suffix.
- In the Resource Type we select disks and in the Resource Name suffix we add ktdisk.
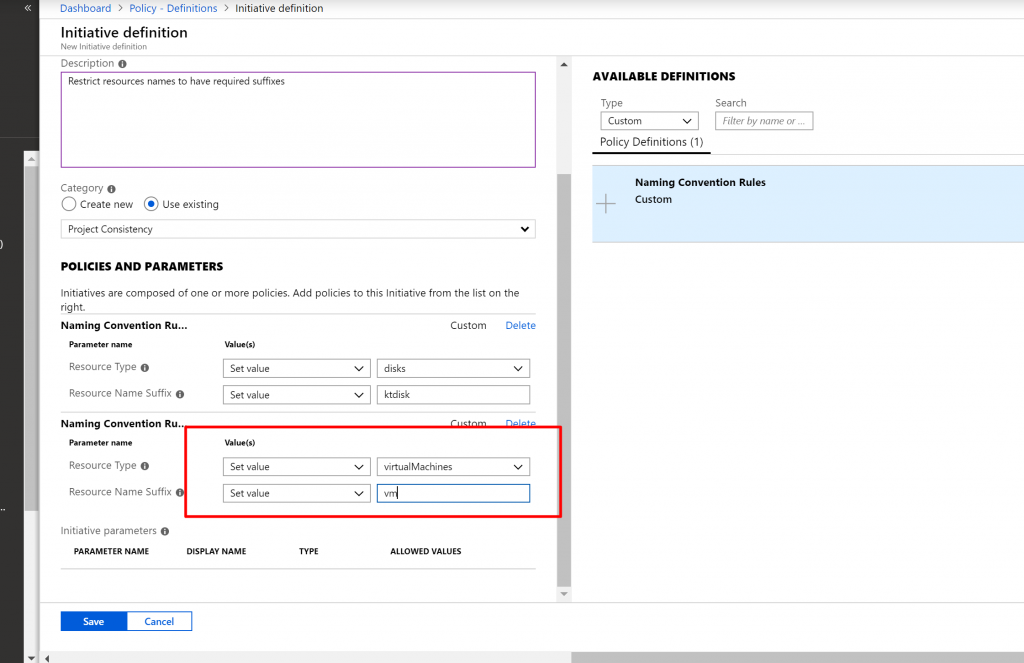
- Now, that was one Policy definition, We can add another.
- This time again we select the same, Naming Convention Rule policy definition and set virtual machines as resource type and vm as suffix.
- Now, click on Save for Initiative Definition.
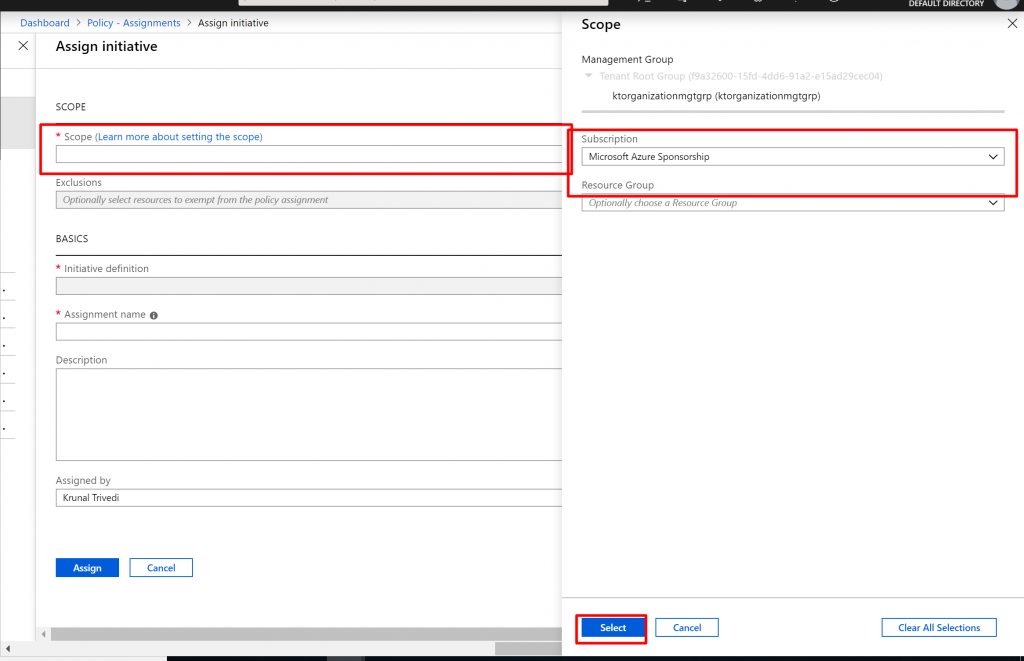
- Once it is saved successfully, we need to assign it. So click on Assignment and select Assign Initiative.

- Again, in the Scope box select the Subscription.
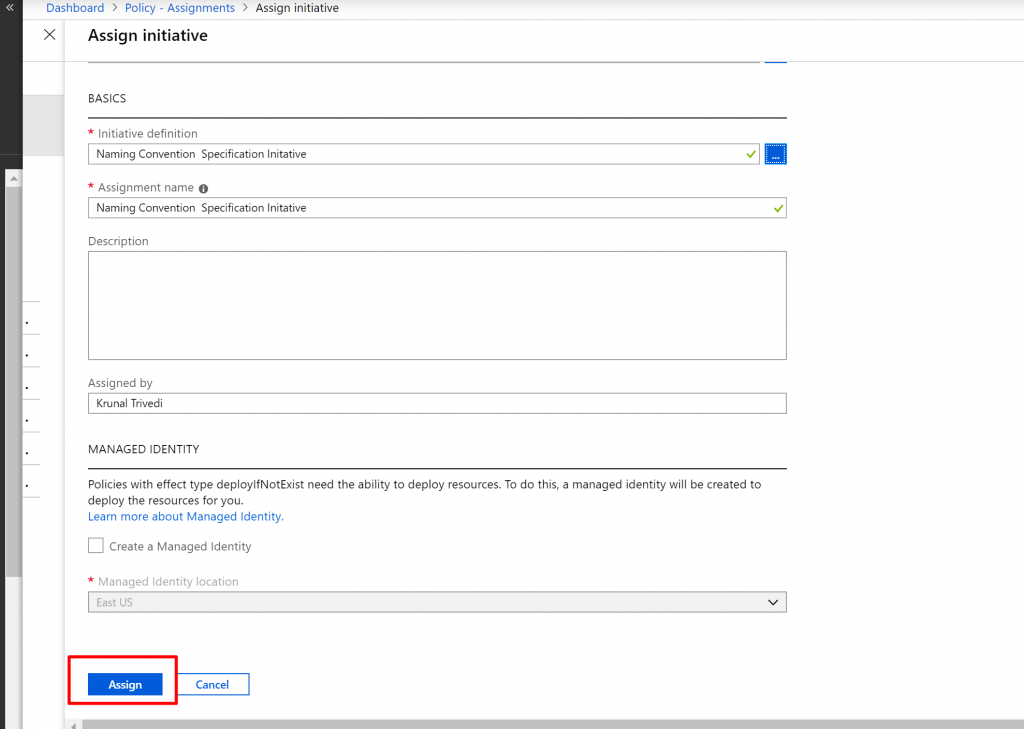
- For the Initiative Definition, click on the dots and select Custom from the Dropdown list. We get our custom Initiative definition here. Select it.
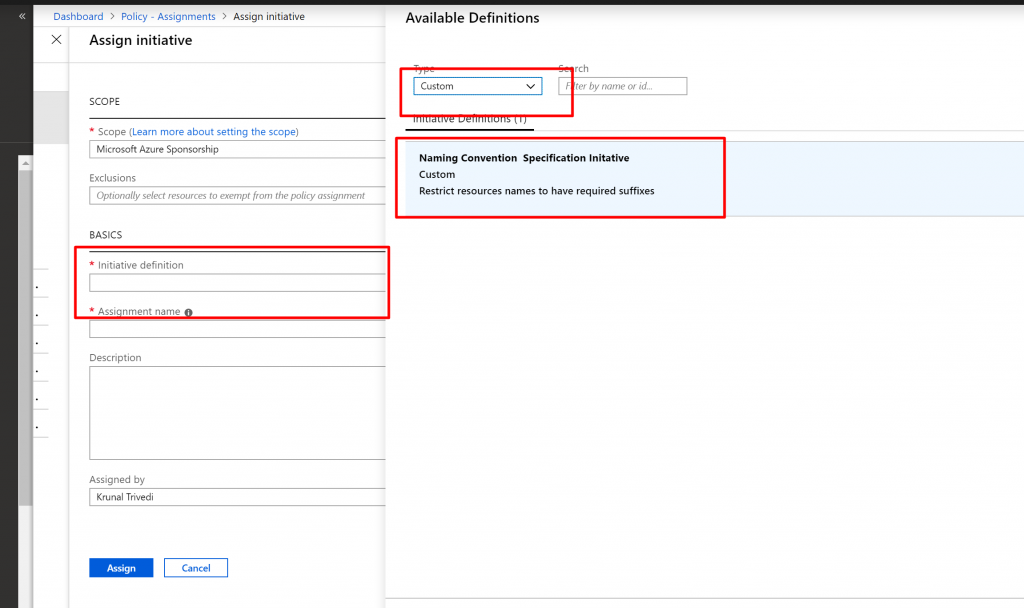
- And then click on Assign there.
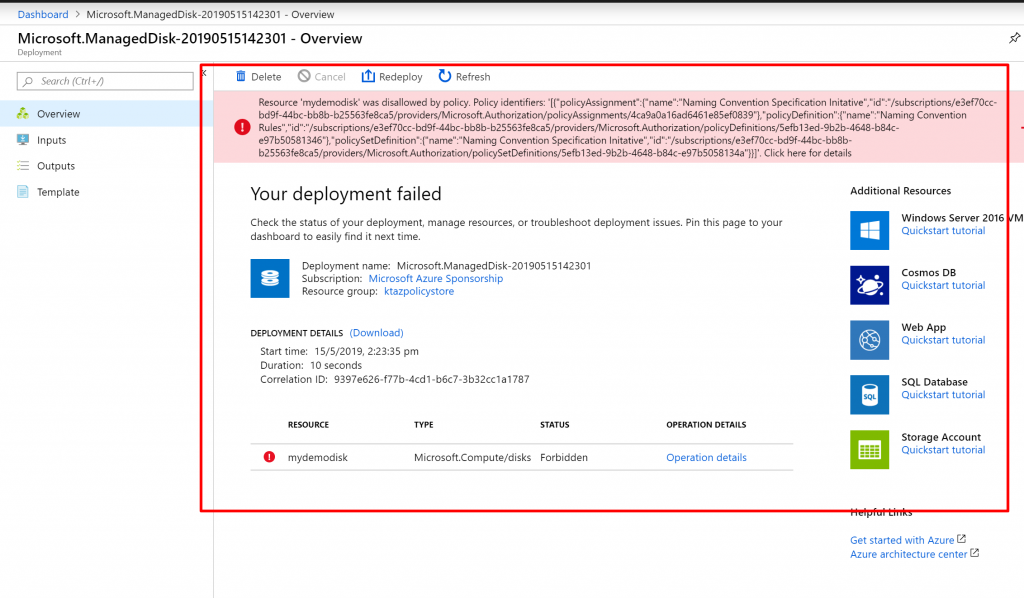
- Lets check it out. Let us try to create a disk. I give some random name here.
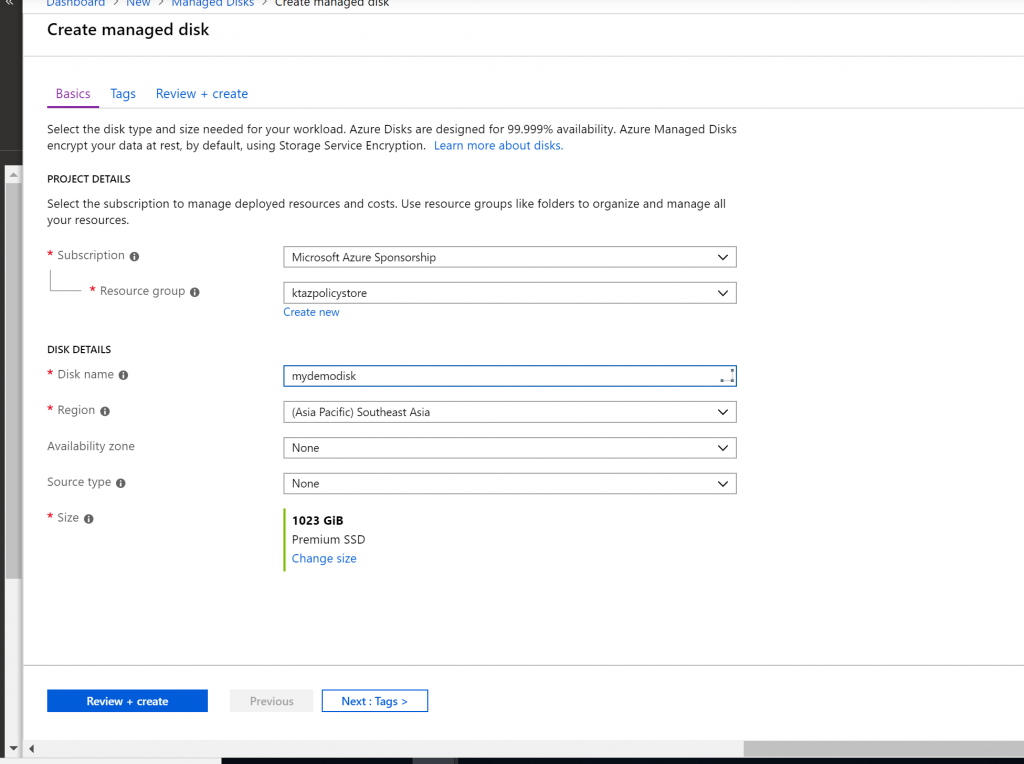
- And click on Create. You can see the Policy is violated.
- Now let us try the same thing with the suffix – and ktdisk value here.
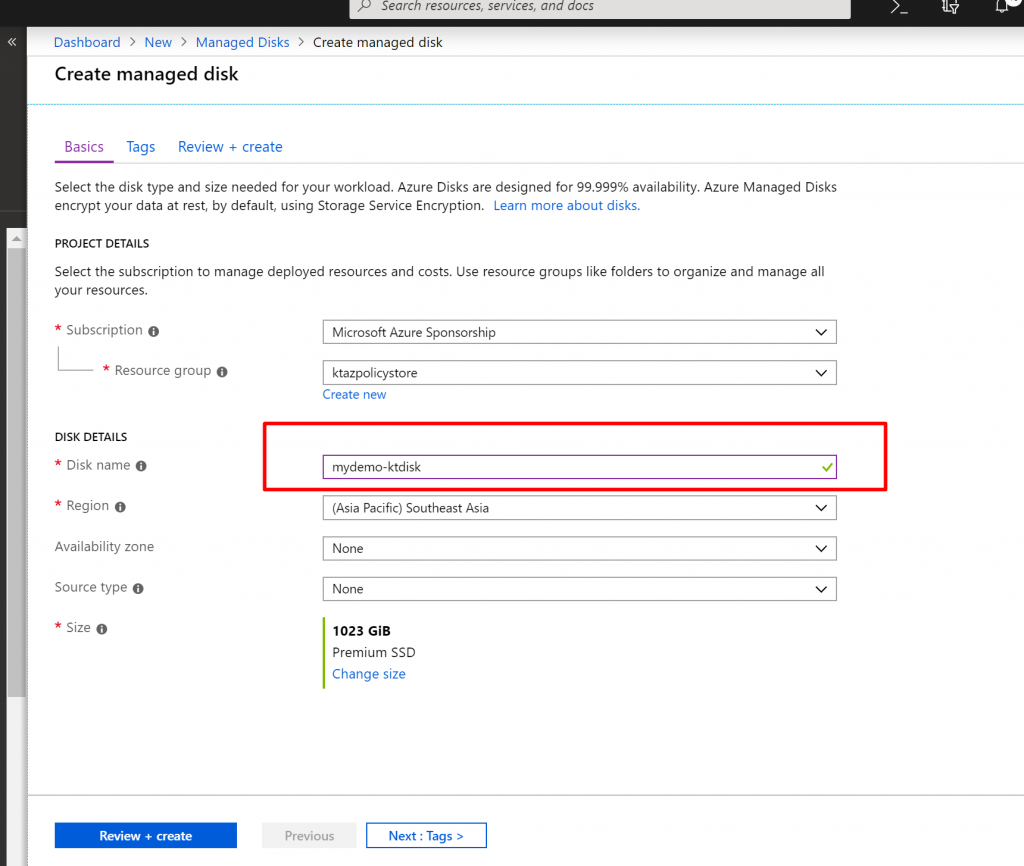
- You can see this time the resource is deployed successfully.