WHAT ARE AZURE FEATURE FLAGS AND HOW YOU CAN USE THEM TO TOGGLE FEATURES OF YOUR ANGULAR APPLICATIONS – PART 2

This post is in continuation to Adding Azure Flags to your Angular Projects: Step by step demo – Part 1. You can read the part 1 by clicking this link.
In the part 1, we created the feature flags using the Azure Portal and create the skeleton of the Angular application in Visual Studio. In this part, we are going to connect to the feature flag through our Angular application and see how easy it is to enable the feature flag.
The Angular front end lies in the ClientApp folder.

- Now, we are going to connect to the App Configuration from Angular.
- We can do that from the server side too i.e. ASP.NET Core side, but connecting via this is easier and better. Hence, we will choose this way.
Run the application.

This would be the output. As you can see, there is a function called counter.
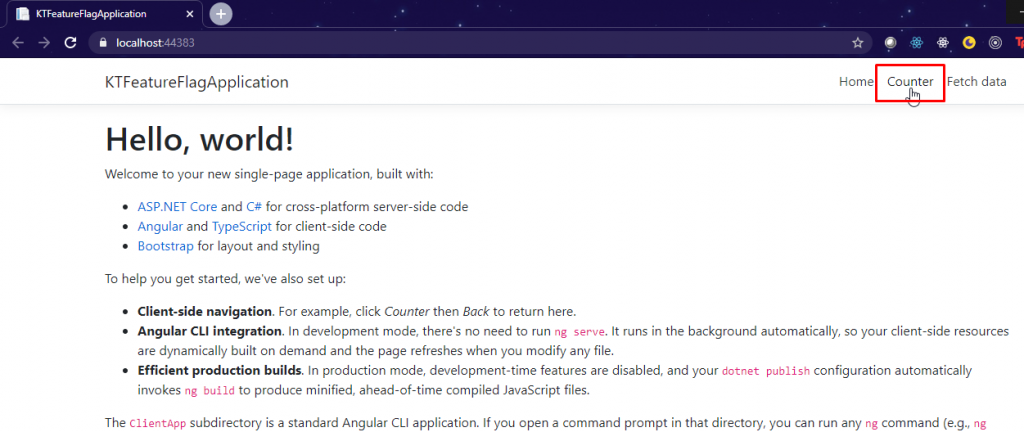
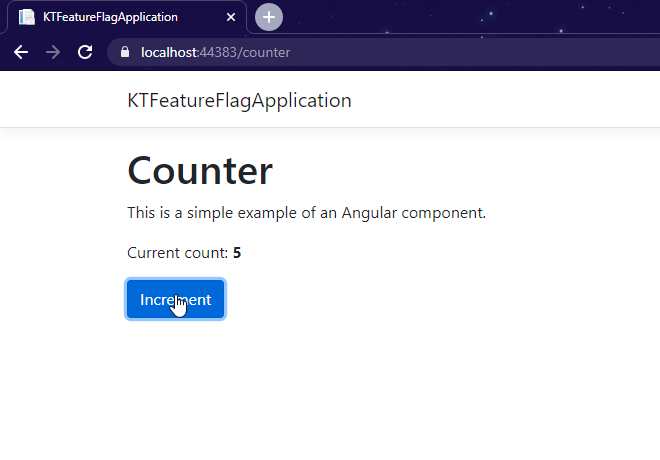
It is nothing but an incremental counter. Using the feature flag functionality, we are going to show/hide this counter feature from our app.
Now first of all, we need to add these two packages in the our package.json. The job of these packages is to enable us to connect to the app configuration.

Now since we have added the two packages to the package.json file, we need to run npm install in the terminal.

Now, open nav-menu.component.ts. This is the class for the navigation menu Here we are going to add a piece of code.
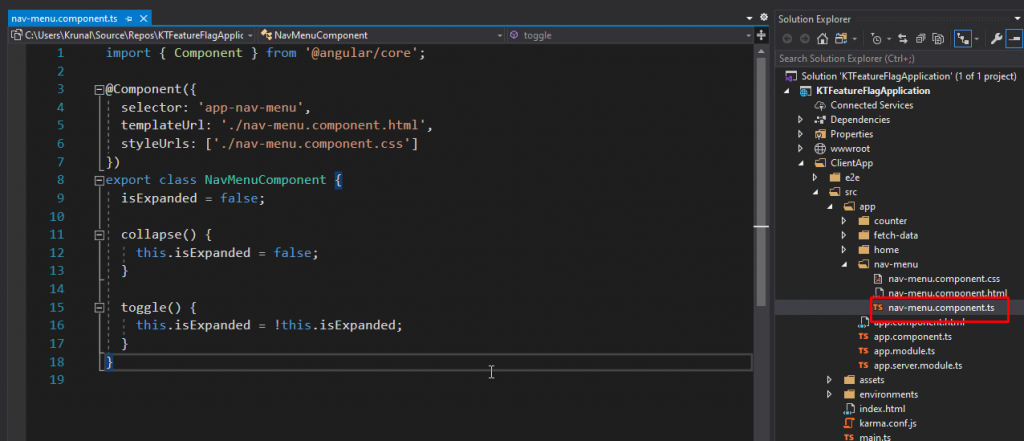
In the file, we need to first add this import.

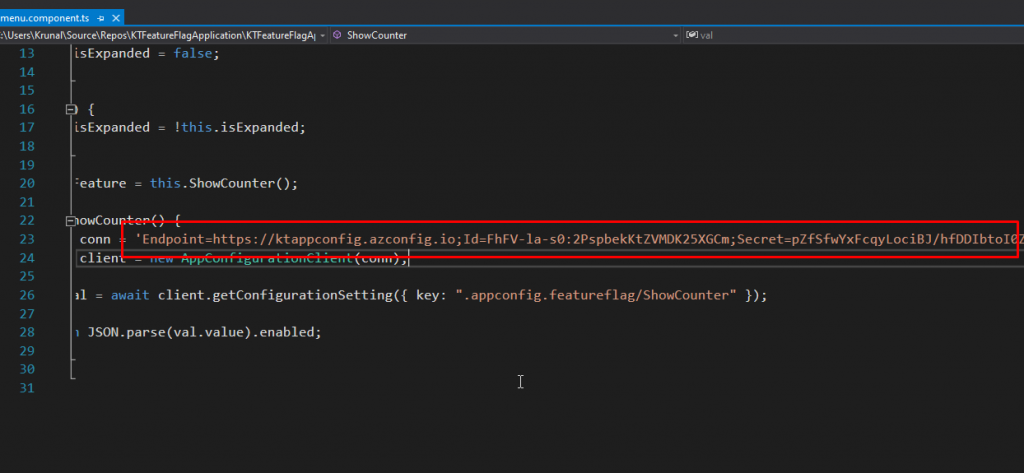
Next up in the same file, add this block of code.

Here we are using the read-only access key that we had copied earlier. We are using that provides read-only access because this key will be published to the client and so, anybody can access it.
Then go to the html file of the navigation component and add this line of code. This will toggle the visibility of the menu item based on the counter feature parameter. We are using the async keyword because this parameter is initialized asynchronously.
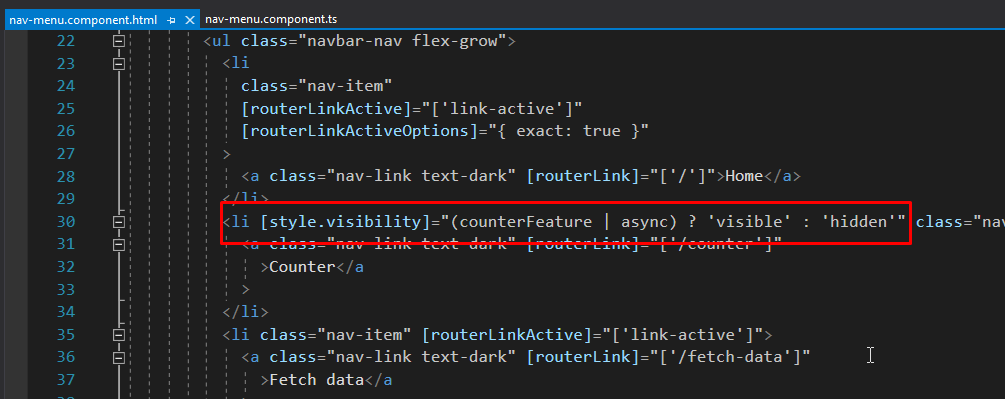
Now when you run the application, you will see that the counter feature is not visible. That is because the feature flag is disabled by default.

So, all you have to do is go to the feature configuration and enable the feature flag. That is it.

And then, the counter feature will be available.
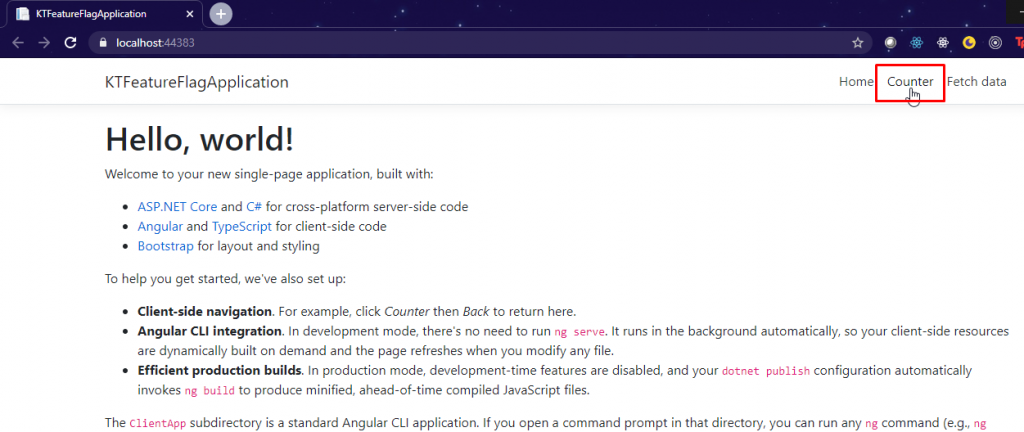
- This is how you can dynamically show or hide features from in your application.
- And you don’t have to change code or redeploy your application.