WHAT ARE AZURE FEATURE FLAGS AND HOW YOU CAN USE THEM TO TOGGLE FEATURES OF YOUR ANGULAR APPLICATIONS – PART 1

- Feature flags are a way to show and hide your application features dynamically without making any changes to the code.
- We are going to create a feature flag in Azure app configuration and then we are going to use that in an Angular app.
- We will start by creating an Azure app configuration inside Azure portal.
- Azure App Configuration allows developers to store, retrieve and manage access to application settings all in one place. It is easy to set up and simple to use from any application. It gives developers the ability to modify an application’s behavior on demand without having to redeploy the application.
Go to Azure portal and search for App configuration. Click create.

Create a new resource group for it. Give your app configuration a globally unique name. Choose a location. Keep everything else as default and create.

- You can use the App configuration service to store your application configuration, connection strings, and feature flags.
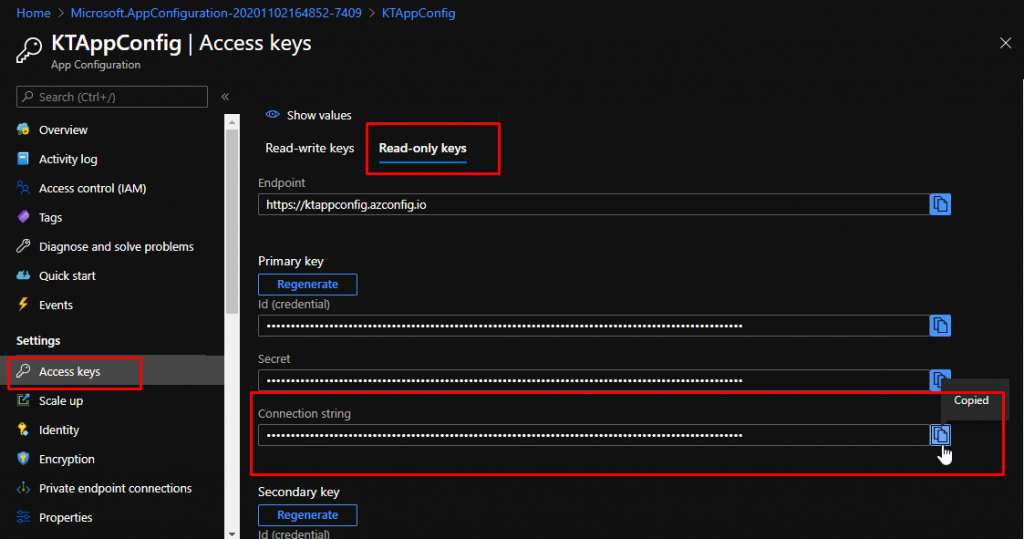
- To connect to the app configuration from an app of ours, we will need an access key.
Once the app configuration gets created, go to it and go to access keys. Then, switch to read-only keys and copy the connection string. Paste it somewhere and keep it aside as we will need it later on.
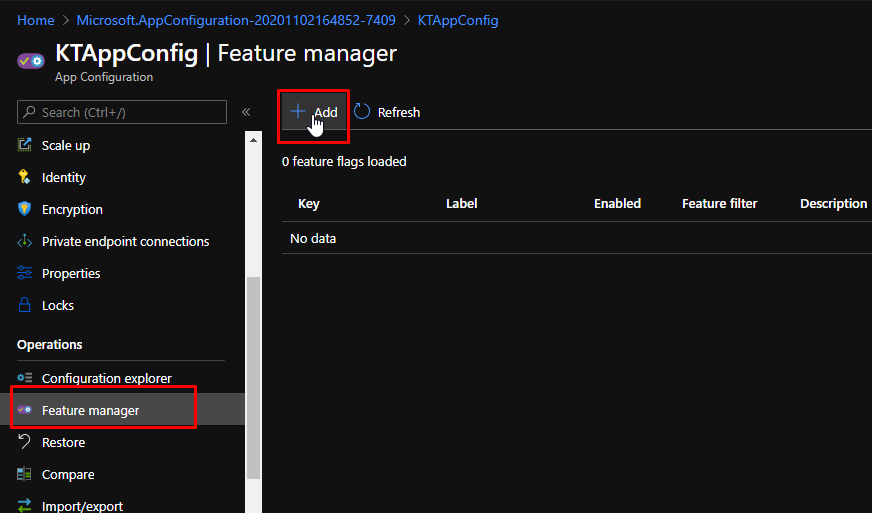
To add the feature flag, go to Feature Manager and click Add.
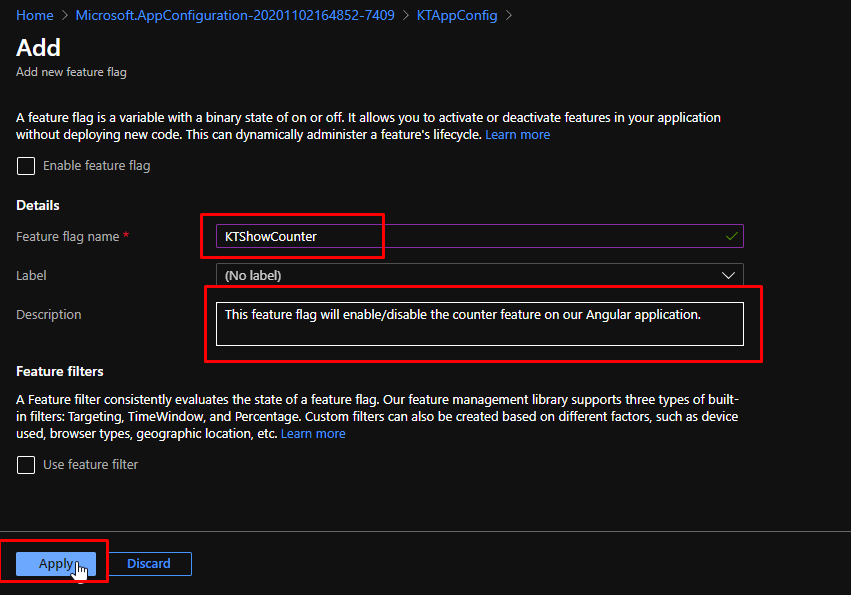
Give the feature flag a name. Give a description if you want to and that is all it needs. Click Apply.
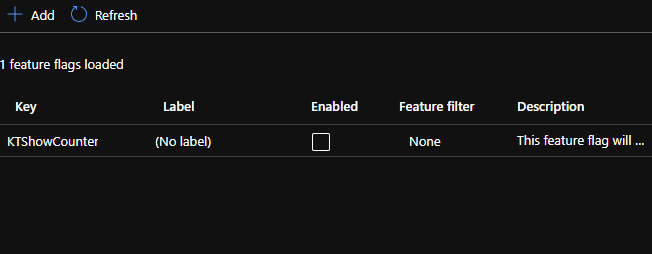
You will see that it gets created and it will show up in the list of feature flags.
- Next, we are going to use this feature flag in our Angular application.
- The application will be made on .NET Core framework with Angular as its frontend.
- Then, we will configure the settings of feature flag by writing some code in the front end and see the feature flag in action.
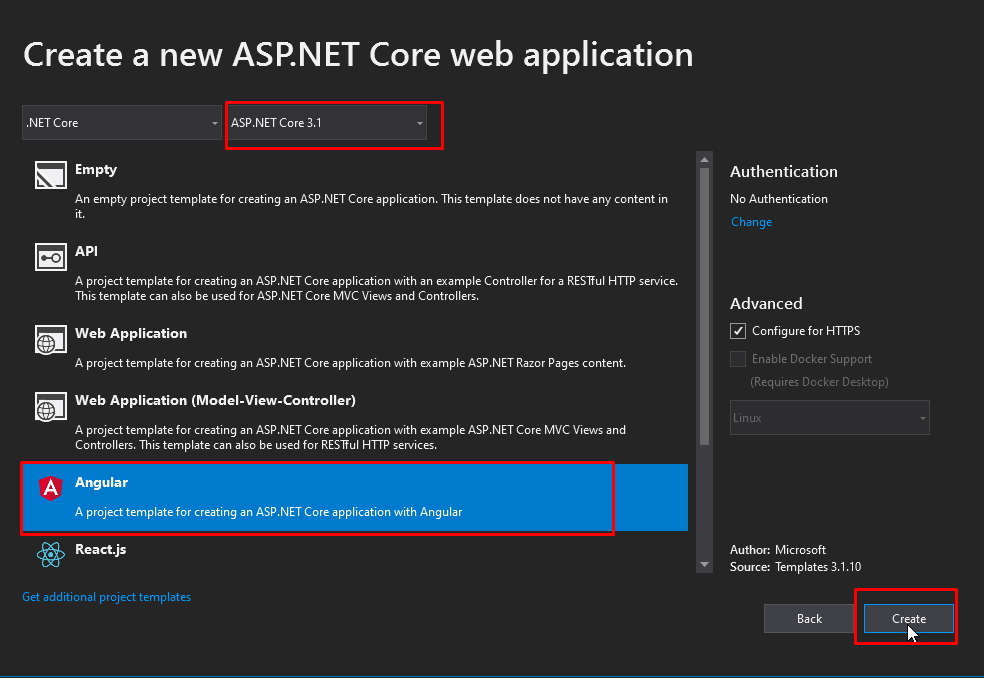
Go to Visual Studio 2019 and create a new project.

Choose ASP.NET Core as the template.

Give your project and solution a name.

And finally, choose Angular as the front end. Also, make sure that the version of ASP.NET Core is 3 or above that. Click create.
- Next steps of the demo, we will see in Part 2. In that part, we will see how we can connect to the feature flag through our Angular application and see how easy it is to enable the feature flag.
- You can go to the part 2 by clicking this link.