CONFIGURING AN AZURE COSMOS DB ACCOUNT ALONG WITH THE DATABASE USING AZURE POWERSHELL

- You can use PowerShell to do pretty much everything in Azure.
- Similarly, you can use PowerShell to create, update, delete and work with Azure Cosmos DB.
- We are going to create a new Cosmos DB account and then create a database in it.
I am going to use Cloud Shell in Azure Portal. You can either use this or you can also use PowerShell on your machine.
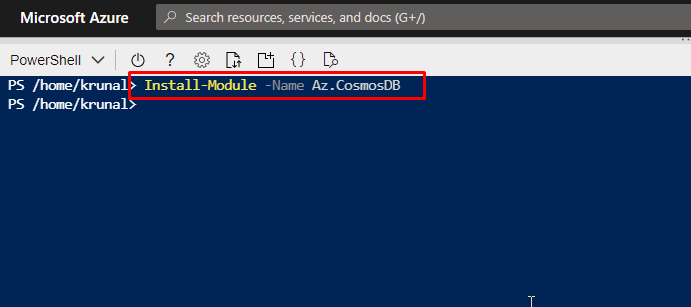
Before we start, we first need to install the CosmosDB module. You can do that by running the command Install-Module -Name Az.CosmosDB
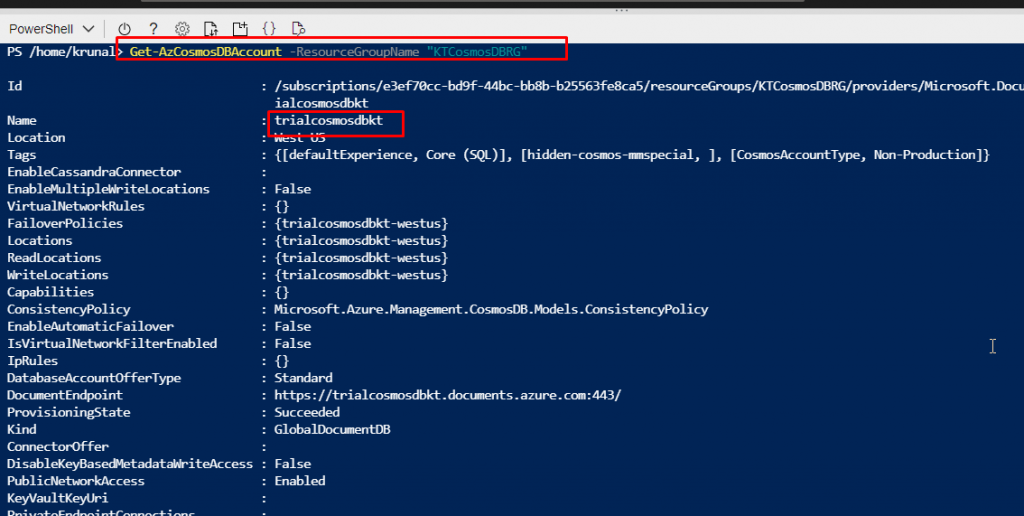
To check if the module is installed properly, let us run this command that lists the CosmosDB accounts in a resource group.
Get-AzCosmosDBAccount –ResouceGroupName “YourResourceGroupName”
I already have a CosmosDB account so I wil get this as the output.
If yours is a new resource group that doesn’t have any CosmosDB account, you will get the result like this.

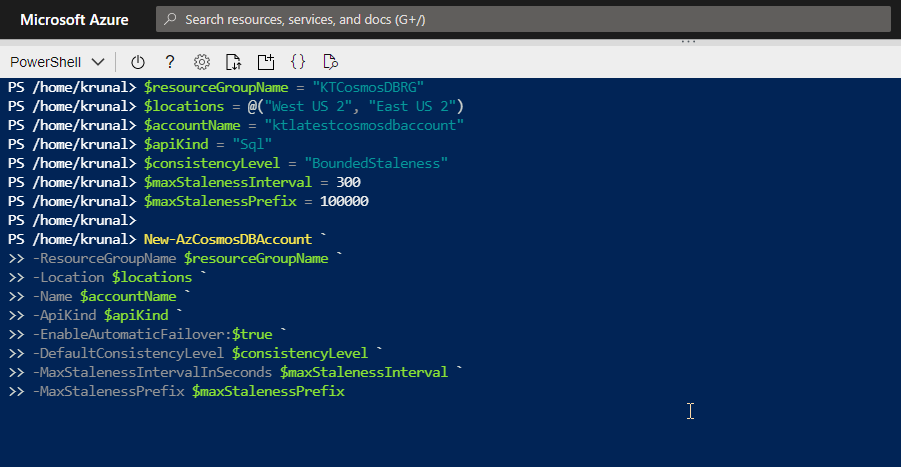
Run this command to create a new CosmosDB account. This will contain a database which will contain containers with some documents in it. This account will use SQL API to work with data. This command will take a while to finish.
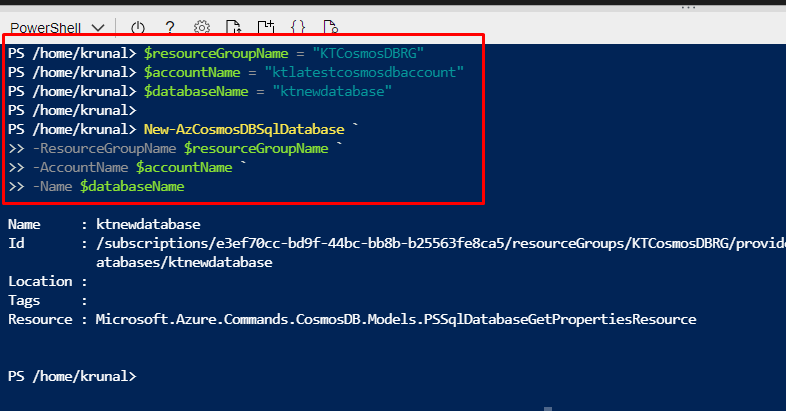
Once the account has been created, we will need a database for the account. Run this command. This will create a database called ktnewdatabase.
Next up, we can add a container to the database. We are going to do it by running the following command. There can be multiple containers created in a database. Ours is going to use the auto scale feature.

Go to the Portal and inside your CosmosDB account. Open Data Explorer.

You will find your database there and inside that will be your container. Go to scale & settings.

There you will see that it has autoscale enabled. This means that it has worked.

- We used CloudShell to list CosmosDB accounts.
- Then we created a new account with a database and an autoscale container.
- You can try this demo out for yourself.