SCALING, UPDATING AND UPGRADING AN AKS CLUSTER

This is the final part of the demo series for Azure Kubernetes Service.
You can find part three by clicking this link.
In this part of the demo, we will do the following:
- We will scale the number of pods in our Replica Set imperatively
- We will implement autoscaling of our CPU resources
- We will set minimum and maximum node count
- We will update our application and see how the deployment of our Kubernetes cluster works
- We will upgrade the version of Kubernetes running in our AKS cluster.
To see the number and state of pods in your cluster, use the kubectl get pods command as follows:
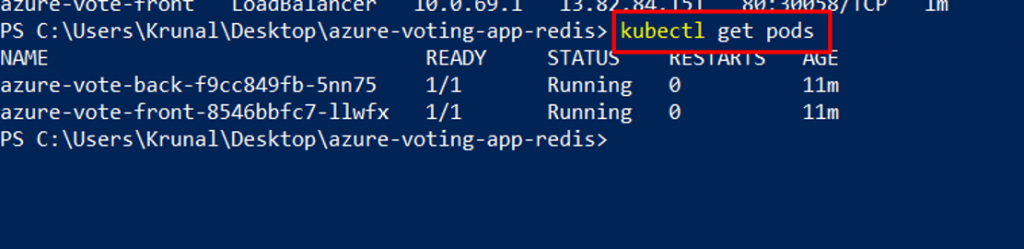
To manually change the number of pods in the azure-vote-front deployment, use the kubectl scale command. The following example increases the number of front-end pods to 5:
kubectl scale –replicas=5 deployment/azure-vote-front

Run kubectl get pods again to verify that AKS creates the additional pods. After a minute or so, the additional pods are available in your cluster:

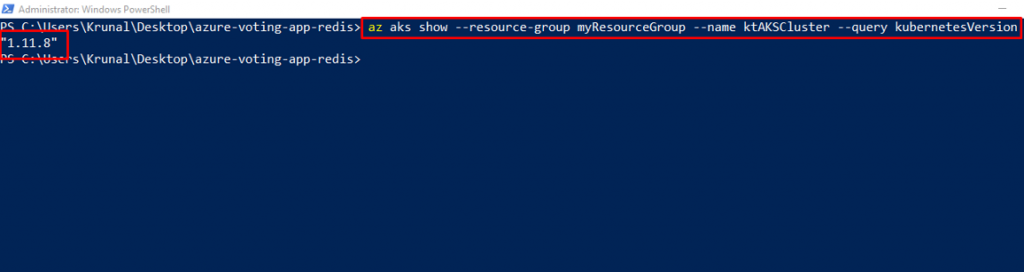
Kubernetes supports horizontal pod autoscaling to adjust the number of pods in a deployment depending on CPU utilization or other select metrics. The Metrics Server is used to provide resource utilization to Kubernetes, and is automatically deployed in AKS clusters versions 1.10 and higher. To see the version of your AKS cluster, use the az aks show command, as shown in the following example:
az aks show –resource-group myResourceGroup –name myAKSCluster –query kubernetesVersion
To use the autoscaler, your pods must have CPU requests and limits defined. In the azure-vote-front deployment, the front-end container already requests 0.25 CPU, with a limit of 0.5 CPU. These resource requests and limits are defined as shown in the following example snippet:

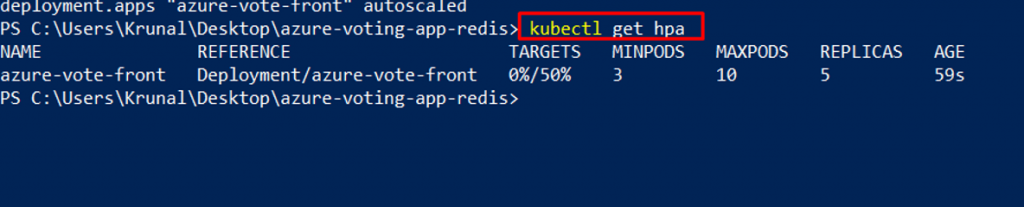
The following example uses the kubectl autoscale command to autoscale the number of pods in the azure-vote-front deployment. If CPU utilization exceeds 50%, the autoscaler increases the pods up to a maximum of 10 instances. A minimum of 3 instances is then defined for the deployment:
kubectl autoscale deployment azure-vote-front –cpu-percent=50 –min=3 –max=10

To see the status of the autoscaler, use the kubectl get hpa command as follows:
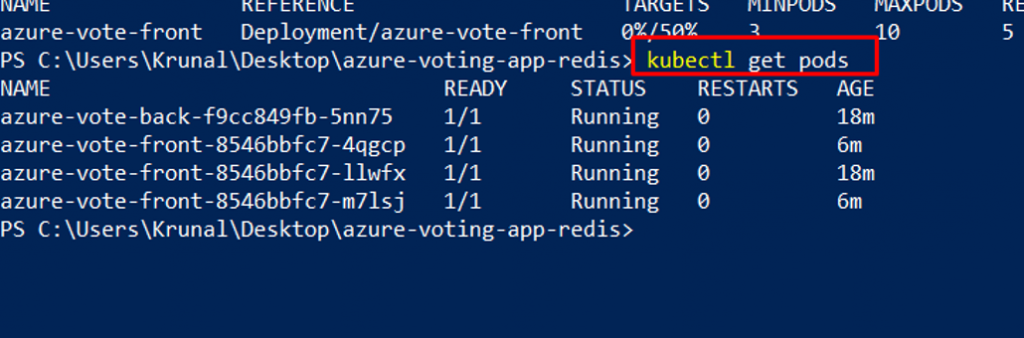
After a few minutes, with minimal load on the Azure Vote app, the number of pod replicas decreases automatically to three. You can use kubectl get pods again to see the unneeded pods being removed.
- If you created your Kubernetes cluster using the commands in the previous part of the demo, it has one node.
- You can adjust the number of nodes manually if you plan more or fewer container workloads on your cluster.
The following example increases the number of nodes to three in the Kubernetes cluster named myAKSCluster. The command takes a couple of minutes to complete.
az aks scale –resource-group myResourceGroup –name myAKSCluster –node-count 3

- After an application has been deployed in Kubernetes, it can be updated by specifying a new container image or image version.
- An update is staged so that only a portion of the deployment is updated at the same time.
- This staged update enables the application to keep running during the update.
- It also provides a rollback mechanism if a deployment failure occurs.
- Let’s make a change to the sample application, then update the version already deployed to your AKS cluster.
- Make sure that you’re in the cloned azure-voting-app-redis directory.
- The sample application source code can then be found inside the azure-vote directory.
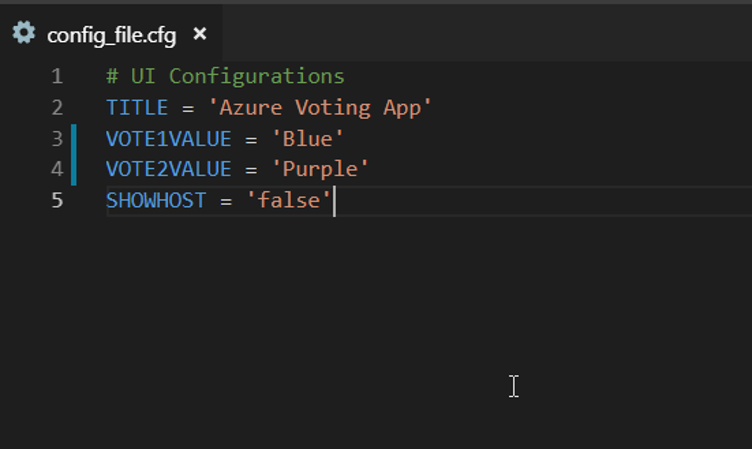
Open the config_file.cfg file with Visual Studio Code.

Change the values for VOTE1VALUE and VOTE2VALUE to different values, such as colors. The following example shows the updated values. Then save the file and go back to PowerShell.
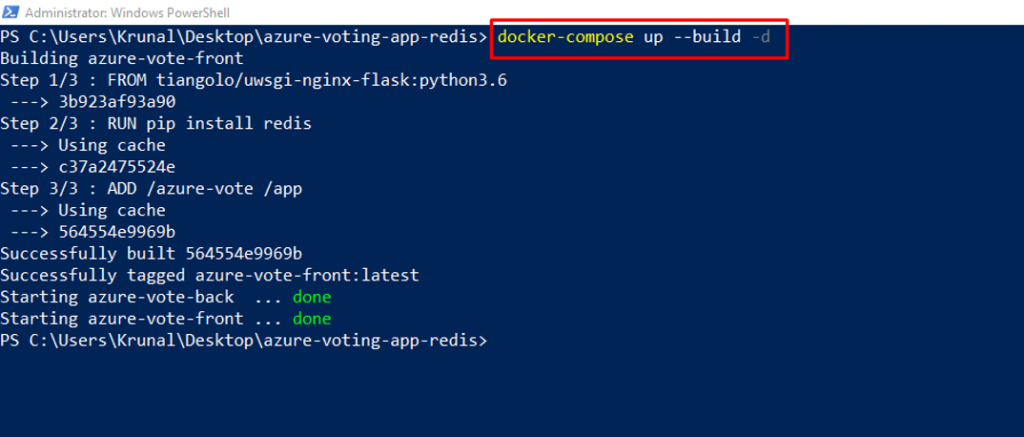
To re-create the front-end image and test the updated application, use docker-compose. The –build argument is used to instruct Docker Compose to re-create the application image. If there is an error at this step, try restarting Docker on the local machine.
To verify that the updated container image shows your changes, open a local web browser to http://localhost:8080. The updated values provided in the config_file.cfg file are displayed in your running application.

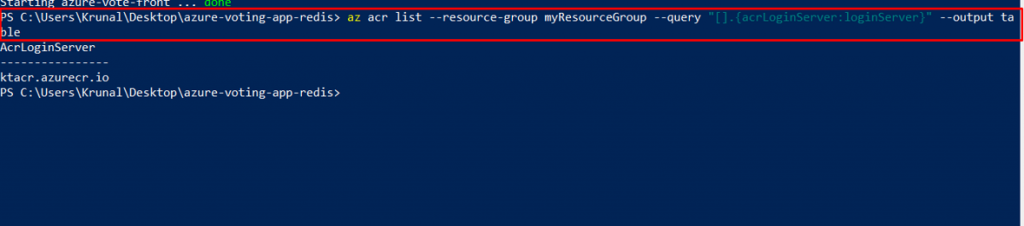
To correctly use the updated image, tag the azure-vote-front image with the login server name of your ACR registry. Get the login server name with the az acr list command:
az acr list –resource-group myResourceGroup –query “[].{acrLoginServer:loginServer}” –output table
Use docker tag to tag the image. Replace ktacr.azurecr.io with your ACR login server name or public registry hostname, and update the image version to :v2 as follows:
docker tag azure-vote-front ktacr1.azurecr.io/azure-vote-front:v2

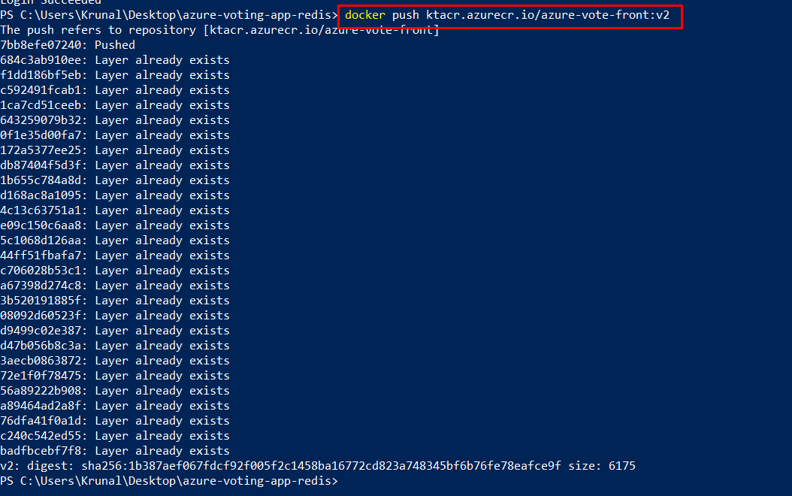
Now use docker push to upload the image to your registry. Replace ktacr.azurecr.io with your ACR login server name. If you experience issues pushing to your ACR registry, make sure that you have run the az acr login command.
docker push ktacr1.azurecr.io/azure-vote-front:v2
To provide maximum uptime, multiple instances of the application pod must be running. Verify the number of running front-end instances with the kubectl get pods command:
kubectl get pods

To update the application, use the kubectl set command. Update ktacr.azurecr.io with the login server or host name of your container registry, and specify the v2 application version:
kubectl set image deployment azure-vote-front azure-vote-front=ktacr1.azurecr.io/azure-vote-front:v2

To monitor the deployment, use the kubectl get pod command. As the updated application is deployed, your pods are terminated and re-created with the new container image.

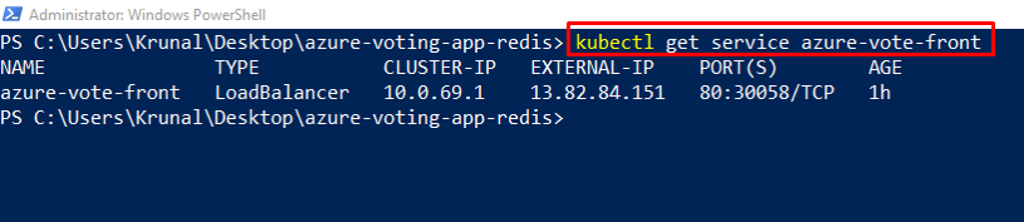
To view the update application, first get the external IP address of the azure-vote-front service.
kubectl get service azure-vote-front
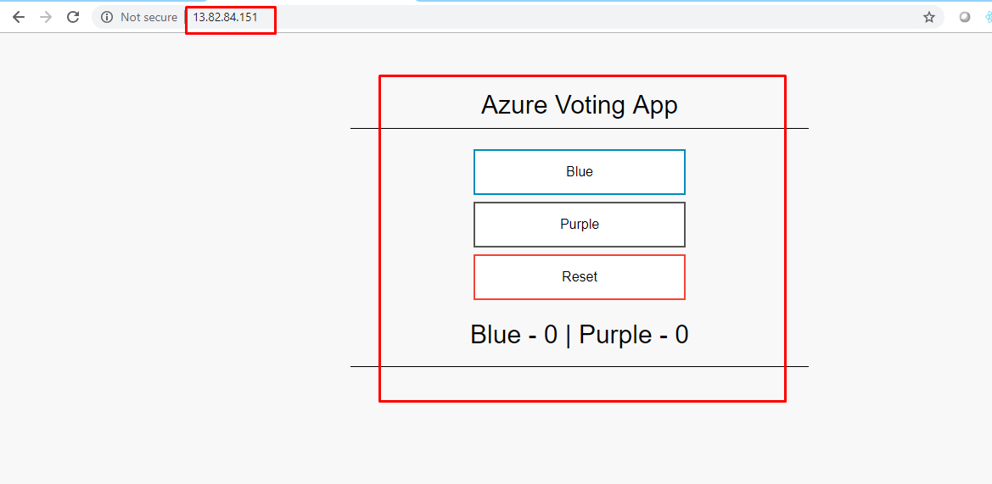
Now open a local web browser to the IP address of your service.
- As part of the application and cluster lifecycle, you may wish to upgrade to the latest available version of Kubernetes and use new features.
- An Azure Kubernetes Service (AKS) cluster can be upgraded using the Azure CLI.
Before you upgrade a cluster, use the az aks get-upgrades command to check which Kubernetes releases are available for upgrade.
az aks get-upgrades –resource-group myResourceGroup –name myAKSCluster

To minimize disruption to running applications, AKS nodes are carefully cordoned and drained. In this process, the following steps are performed:
- The Kubernetes scheduler prevents additional pods being scheduled on a node that is to be upgraded.
- Running pods on the node are scheduled on other nodes in the cluster.
- A node is created that runs the latest Kubernetes components.
- When the new node is ready and joined to the cluster, the Kubernetes scheduler begins to run pods on it.
- The old node is deleted, and the next node in the cluster begins the cordon and drain process.
- You can only upgrade one minor version at a time. For example, you can upgrade from 1.9.11 to 1.10.9, but cannot upgrade from 1.9.6to 1.11.x directly.
- To upgrade from 1.9.11 to 1.11.x, first upgrade from 1.9.11 to 1.10.x, then perform another upgrade from 1.10.x to 1.11.x.
Use the az aks upgrade command to upgrade the AKS cluster. The following example upgrades the cluster to Kubernetes version 1.12.5.
az aks upgrade –resource-group myResourceGroup –name myAKSCluster –kubernetes-version 1.12.5

Confirm that the upgrade was successful using the az aks show command as follows.
az aks show –resource-group myResourceGroup –name myAKSCluster –output table

Now, you may want to delete the AKS cluster. As the Kubernetes nodes run on Azure virtual machines (VMs), they continue to incur charges even if you don’t use the cluster. Use the az group delete command to remove the resource group, container service, and all related resources.
