REVIEWING ARM TEMPLATE IN AZURE PORTAL

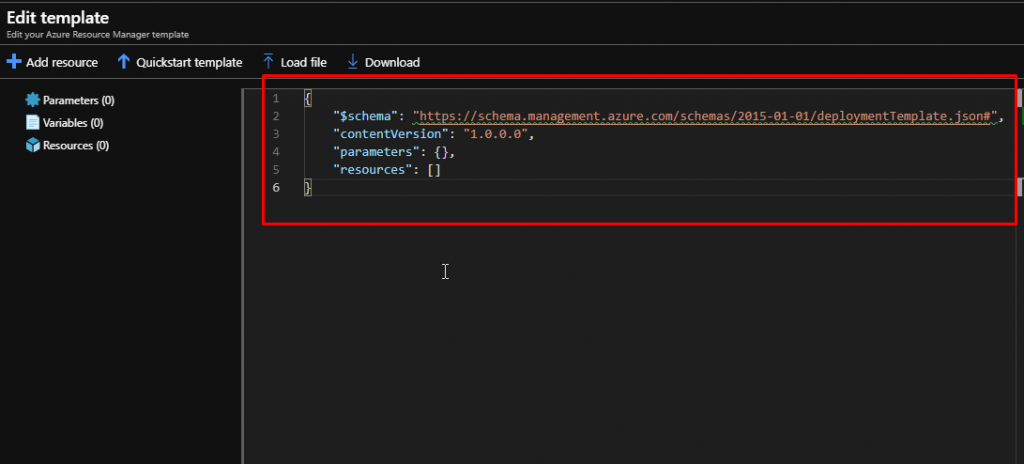
To start with this article, let us take a look at an empty resource template.

It looks like this.
At the top, there is schema file. The schema file consists the schema where the actual definition of how a template is going to be is defined. The contentVersion is used in the deliverable to control the code delivery and to maintain its version. Parameters and variables are values that can change depending on the template and requirements. Parameters contain values that you can take from the user whereas variables are values that can be generated within an Azure ARM template. Resources are used to define all the resources that you want to deploy in Azure. Output is what is given after the template is executed.
Now we will take a closer look at how ARM templates look in Azure. As with most other services, there are multiple ways to create an Azure ARM template and one of the quickest methods is using the portal itself. However, before we create a new template, let us first take a look at an existing template.

Right now, I am in the Azure portal and I have already created a virtual machine. Inside that VM’s Automation Script tab, you can see the template. This template is very specific to this virtual machine and has values that have been defined specifically for this VM. Most resources in Azure have the automation script that allows you to see the whole environment that you have created. You can understand from this how deeply embedded Azure ARM templates are in the Azure system.

Every setting that you see here, all the tabs and features can be defined by an Azure ARM template. Now let us take a closer look at the schema of an ARM template.
With new Azure features being released regularly, you need to understand how the schema stays updated with new properties and resources in conjunction with the ARM template.

Click Create a resource and search for templates. Select Template deployment from the results and click on create.
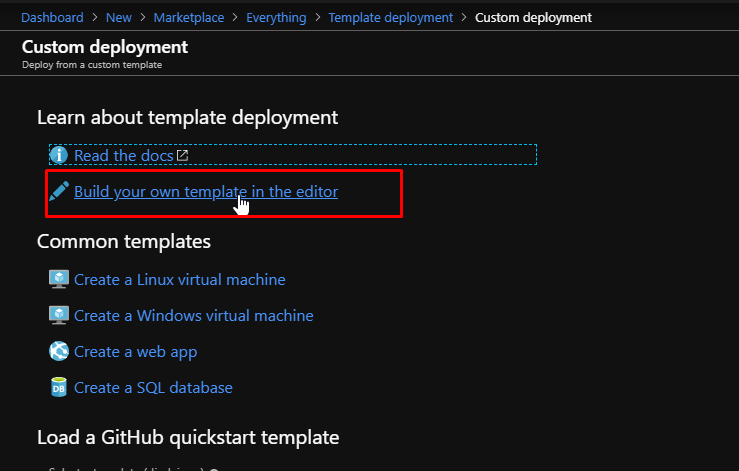
Select Build you own template in the editor to write the template code by yourself. You can use the common predefined templates from the list if that fits your requirements.
You will see that there will be some basic default information about the template. This is mandatory information that is needed irrespective of what type of template you are creating. Now we will take a closer look at the schema of this template.

Open the schema URL in the web browser.

This is what you will find in the browser. There is no way one can make sense of this text. These are multiple JSON files that are part of this schema. In order to visualize this better, copy this whole text and open it in the editor of your choice. I am going to use Visual Studio code for it.

Initially when you paste the file in VS Code, it will be pasted in a single line. You will have to save the file in order to make it look like a JSON file. So, save the file as JSON type.

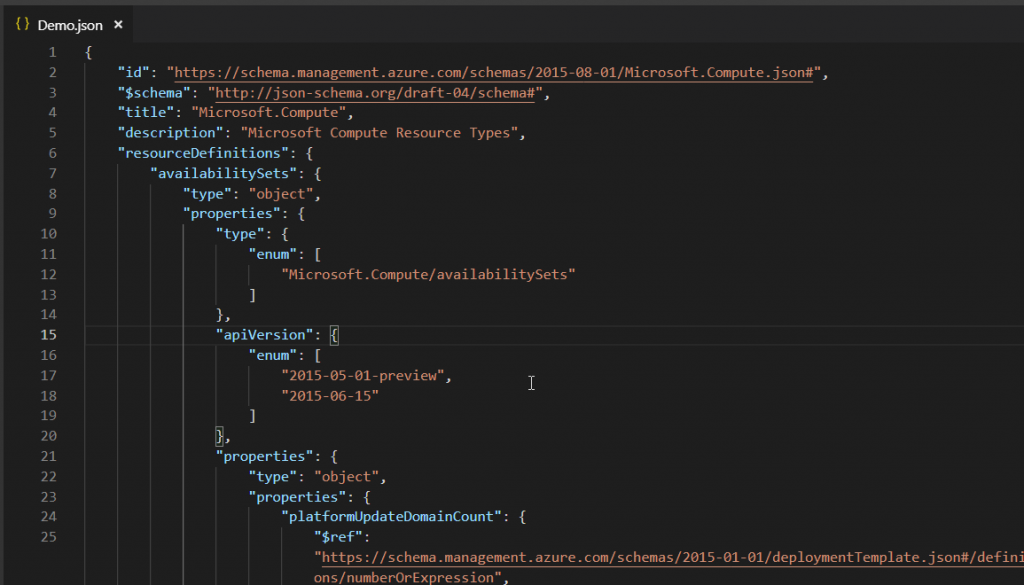
Then it would look something like this. However, this is still not as good as we want it to be. Right click and select Format Document.

Now this is how we want it to look.
If you scroll down and view the file, you will see that there are a number of templates here that are mapped to different services on Azure. There are templates for Virtual Machines, Virtual Machine Scale Sets, Virtual Networks and so on. So what we can conclude from this is that this main schema refers to other service specific schemas.
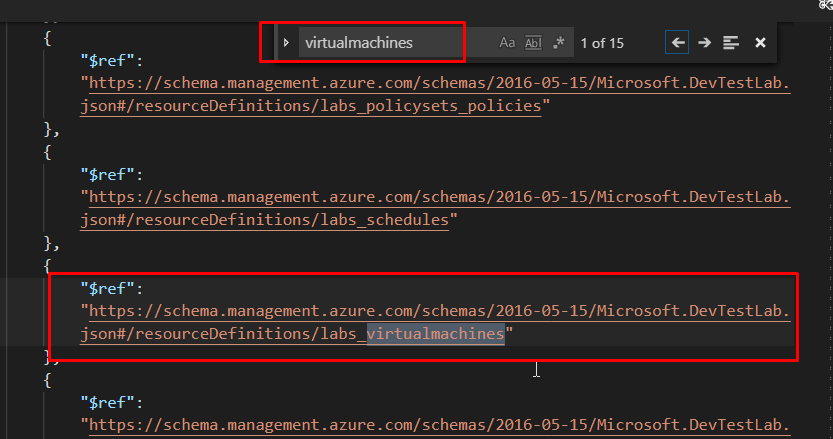
Search for the keyword virtualmachines and you will find schemas related to Virtual Machines. This is the JSON template that was included in your ARM template that contains this URL with this schema that links to all the schemas of all the resources on Azure.
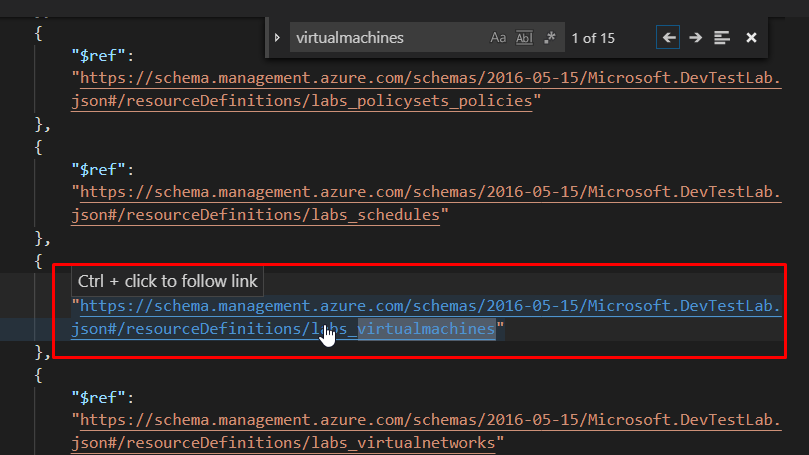
To review the schema specific to Virtual Machines, follow the link and open it in the browser.

Copy everything from the browser.

Paste it in the same JSON document and format the document.
And it will look like this.
So that was it for this article where I showed you an overview of an Azure Resource Manager template.