PROVISIONING AN AZURE CONTAINER REGISTRY

- Azure Container Registry allows you to store images for all types of container deployments including DC/OS, Docker Swarm, Kubernetes and Azure services such as App Service, Batch, Service Fabric and others.
- Your DevOps team can manage the configuration of apps isolated from the configuration of the hosting environment.
For this demo, I have a resource group called LatestDemoRG and inside it I have a Virtual Machine configured.
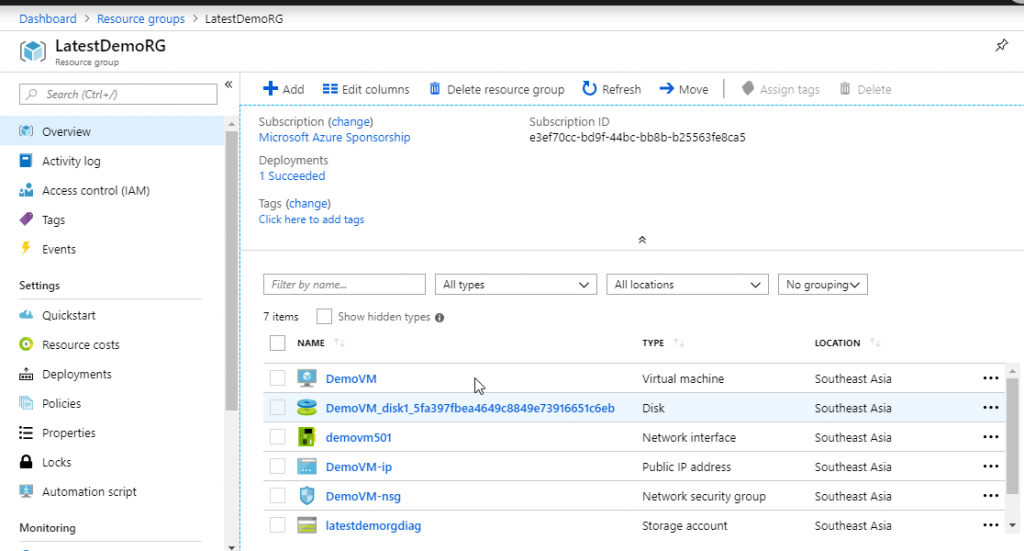
- I have kept the name of the VM as DemoVM and the image that I have used is Ubuntu LTS 18.04 and hence the operating system is Linux.

- If you are following along, create a new resource group and inside that resource create a new virtual machine using the Ubuntu LTS 18.04 image.
- For setting the login credentials, use SSH.
- We are going to provision an Azure Container Registry.
- Then we will migrate an image from Docker Hub to the registry.
- Finally, we will verify that the image is in the registry.
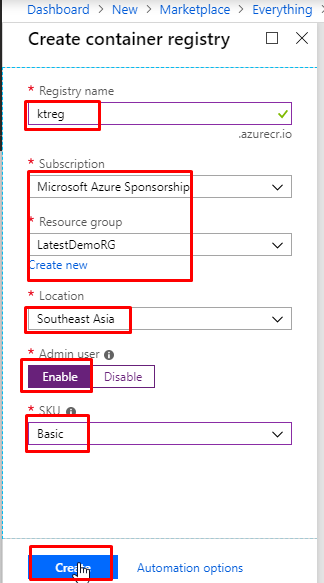
- Once you create the resource group and the VM with Linux OS, click on Create new resource and search for Container Registry. Select Container Registry from the Compute Category. Then click on Create.

- Give a unique name to your registry, select an appropriate subscription and select the resource group that you just created. Select the location. Enable admin user. If enabled, you can use the registry name as username and admin user access key as password to docker login to your container registry. Keep the SKU as Basic. Click on create.
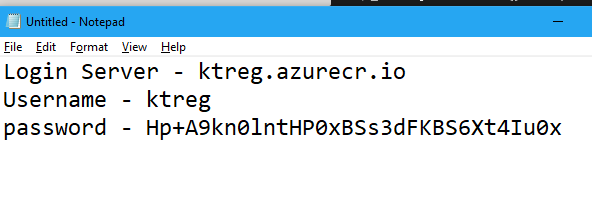
- After the registry gets created, go to it and go to the Access keys tab. From there, note down the Login server, Username and password.
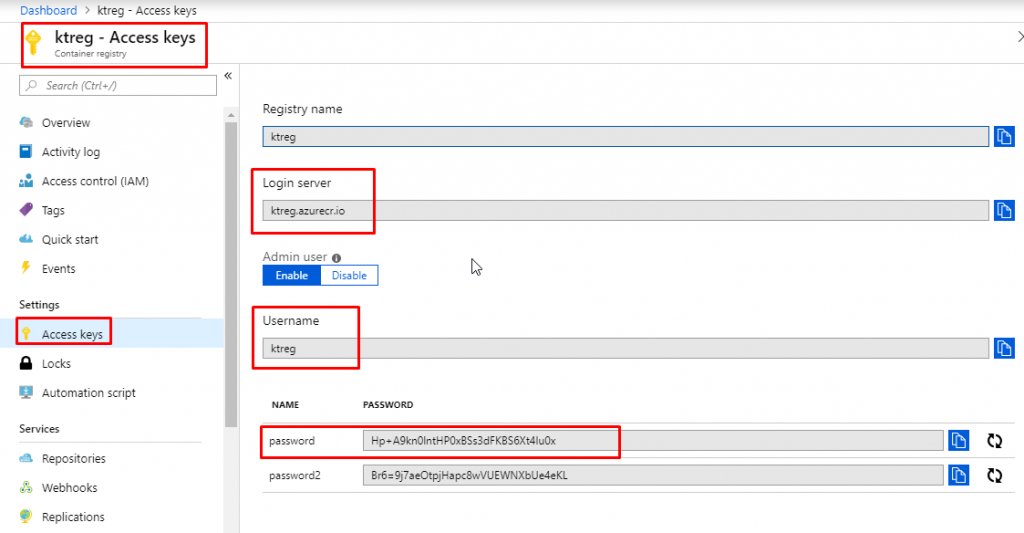
- Keep them aside in a text file for some time. We are going to need these later on.
- Then go to the VM that you have created and copy its public IP address.

- Keep that one aside as well.

- Open Cloud Shell and connect to you VM using the ssh command. Here my username is sachin. You will have to type in your username that you gave while creating the VM. So, your command would ssh YourUsername@YourIPAddress

- Then to install docker, run the command sudo snap install docker

- Then run the command docker pull nginx to pull the image of nginx server from Docker Hub.

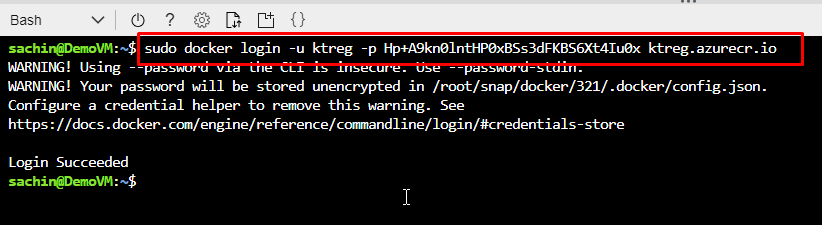
- Then we need to login to the container registry. Run the command sudo docker login -u YourContainerRegUsername -p YourContainerRegPassword YourLoginServer
You can fetch those from the notepad file that you have kept aside.
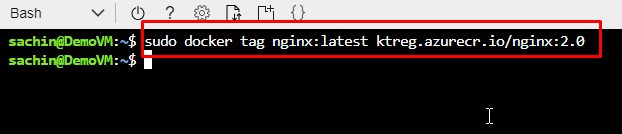
- Then we need to tag the image. Run the command sudo docker tag nginx:latest YourLoginServer/nginx:2.0
This will tag the nginx image with the tag 2.0
- When you run the sudo docker images, you will find two images listed there.

- Now to push the image to your registry, run the command
sudo docker push YourLoginServerName/nginx:2.0

- Now we need to remove the existing images.
- Run these two commands to delete the images.

- Now if you run sudo docker images you will find the list empty.

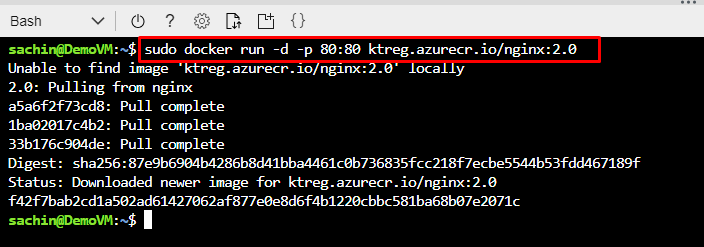
- Run this command to run the application.
sudo docker run -d -p 80:80 YourLoginServerName/nginx:2.0
Here -d means that it will run in Daemon mode and we are mapping port 80 of the host to port 80 of the container.
- Now if you run the command sudo docker ps, you will see that there will be one running container in which the nginx image would be running.

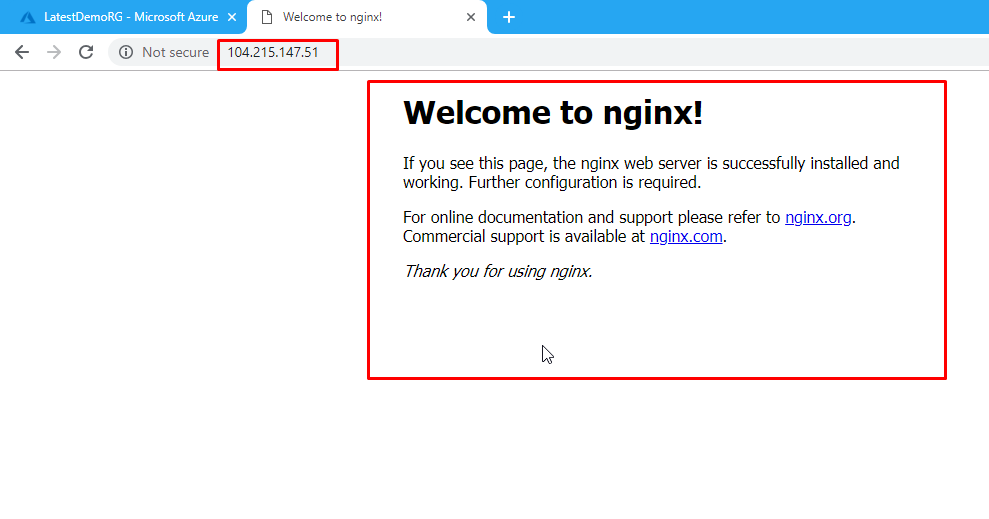
- Copy the public IP address of your VM.
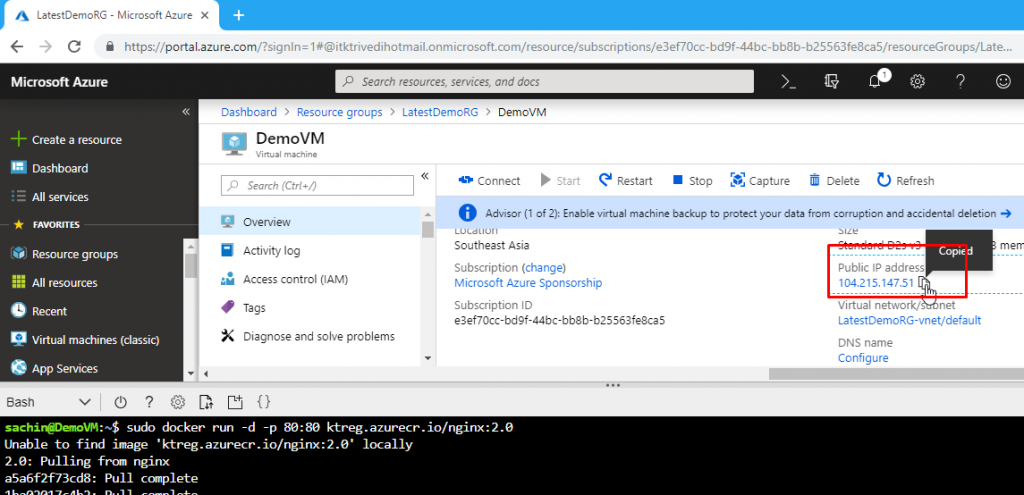
- And open it in another browser tab. You will see the application is running.
- If you go to the container registry’s repositories tab, you will see the nginx repository there.
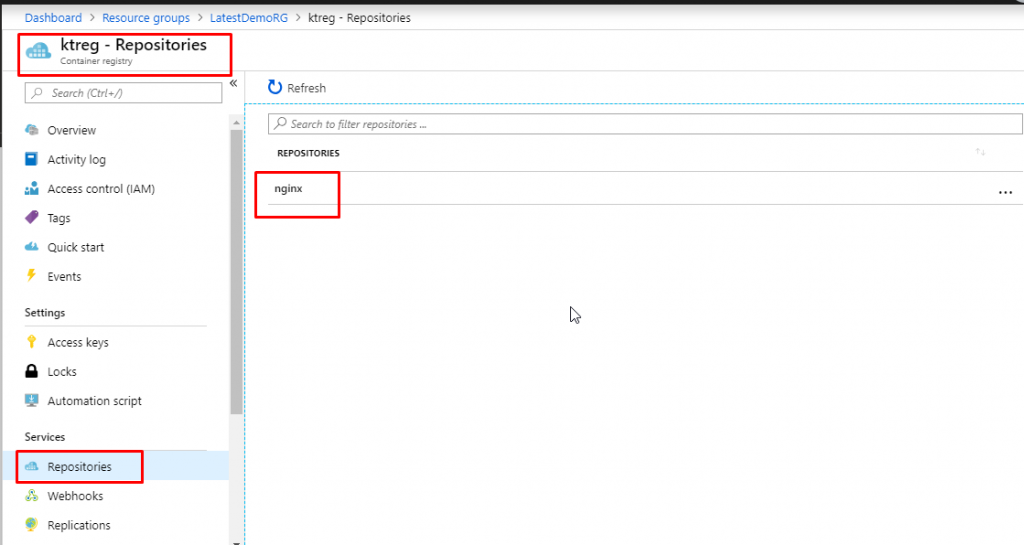
- If you click on it, you will see that it is tagged 2.0

- In this demo, we provisioned an Azure Container Registry.
- Then we migrated a Docker image to the registry.
- And then we verified that the Docker image is in the registry.