MOUNTING AZURE FILE SHARE AS VOLUMES IN AZURE CONTAINERS: STEP BY STEP DEMO

When storing your application data, it is recommended that you should not directly store it in your Docker container. Doing that would mean that the lifetime of your data and the lifetime of your container are bound together, which in turn prevents you from updating to a new version of the container without losing your data. You would obviously want to persist your data and to do that, you would have to store it in an attached volume. Currently the best suitable option for doing that with Azure Container Instances is to attach an Azure file share.
In the near future, Azure Container Instances will probably support mounting Azure disks or even blob storage containers. All you need is a file share and as you know, file shares can be created inside an Azure storage account. Then if we want to mount that file share to our container when we create it with Azure CLI, we would need a set of four arguments that would allow us to configure. We will see the arguments further during the demo part.
However, there are some limitations to this as well:
- You can only mount the whole share and not the sub folders within it
- Share cannot be mounted as read-only
- You can mount multiple volumes but not with Azure CLI and would have to use ARM templates instead
- They are not supported on Windows containers as of yet and that limits the usefulness of Windows containers at the moment
In the demo:
- We will create an Azure Container Instance and mount an Azure File Share as a volume which we will use to extract a thumbnail from a video using the open source FFMPEG tool.
- The container image we will use is simply an image from Docker Hub containing the FFMPEG binaries. We will then upload a video into our file share to use as the input file.
- We will create a new container group with an Azure file share mounted as a volume and then we’ll write the output image file to our file share.
- We will also use the command line argument to override the startup command for the container which will specify the FFMPEG arguments for thumbnail extraction operation as well as the location of the input and output files.
- Last but not the least, we will specify the retry policy as not to restart.
First of all, we will start by creating a new resource group.
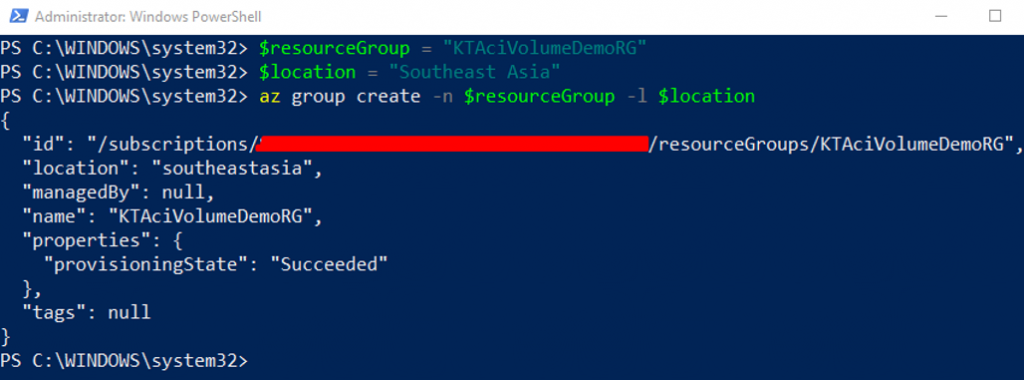
Then we will create a new storage account, specifying the resource group, a unique storage account name and the Standard LRS pricing tier.

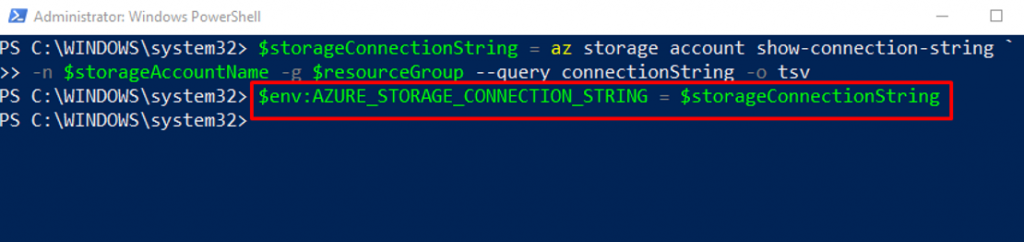
To upload files into our file share with Azure CLI, we will need to set up an environment variable that contains the storage account connection string and we can get hold of the connection string using the following command.
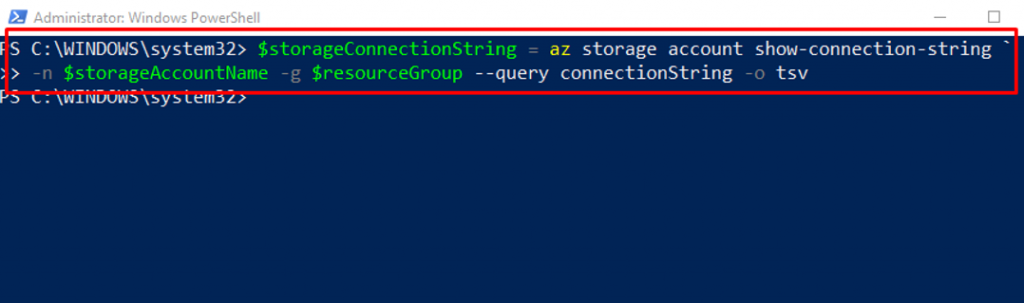
The environment variable needs to be called AZURE_STORAGE_CONNECTION_STRING and with that environment variable in place, we can now create our file share.
Next we will call it with a name and then use az storage share create to create it specifying the name of the share.

Now we have a storage account with a file share in it, so let us upload our test file input to that share. My file here is demo.mp4 and it is stored on my local disk and I can use the following command to upload it into my share.

We have all the setup that we needed. We have an Azure File Share that contains a single video file. Now we are going to create an ACI container group which will mount this Azure file share as a volume.
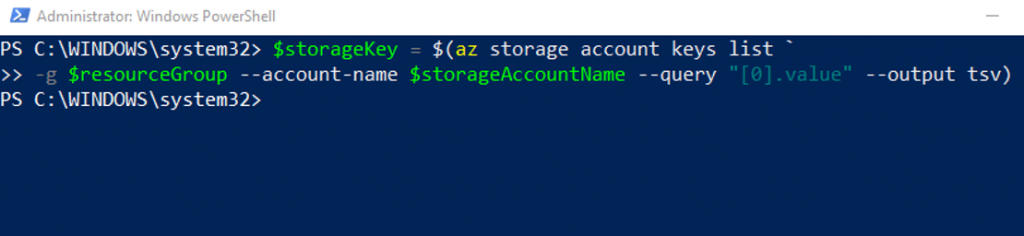
We need the storage key for the storage account so we’ll access that using the az storage account keys list command and we will use a query parameter that allows us to pick out just the key we want.
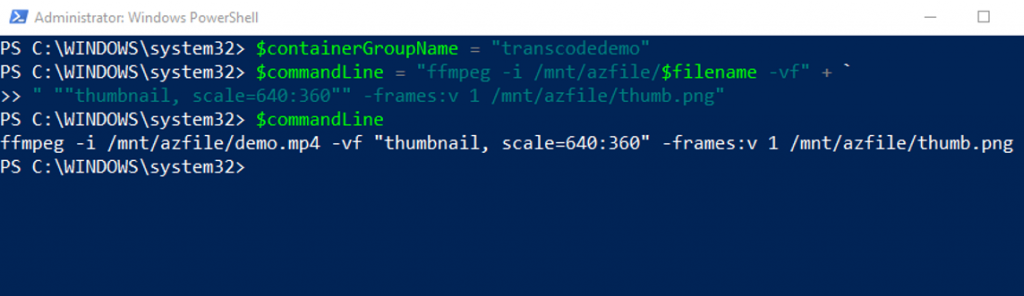
We will give name to our container group as transcodedemo and we will store the command line in a variable which we will be needing next.
- Next, we will use the az container create command specifying the resource group name and the container group name. Then the container image that we’re using which is Linux container that has got FFMPEG build installed.
- The restart policy would be set to never because if the thumbnail extraction fails, we wouldn’t want it to loop around forever and keep on trying to do the same thing.
- The next four arguments specify the details of our mounted volume. The storage account name, the storage account key, the name of the Azure file share and the path within the container that we are mounting it to.
- Lastly, our container won’t know what we want it to do when it starts up. So we have provided a command line for it to execute. Here we are running FFMPEG with an input argument pointing to the file within our mounted Azure file share. And then there are some other FFMPEG specific arguments.
- In our case, we are asking it to extract a thumbnail image from the video and the final FFMPEG argument specifies the output file and we are telling it to write the thumbnail png file back into our mounted Azure file share.

- Your container group would have been created so far but it would take a bit longer to finish starting up the container and perform the thumbnail extraction. Next, we will do that.
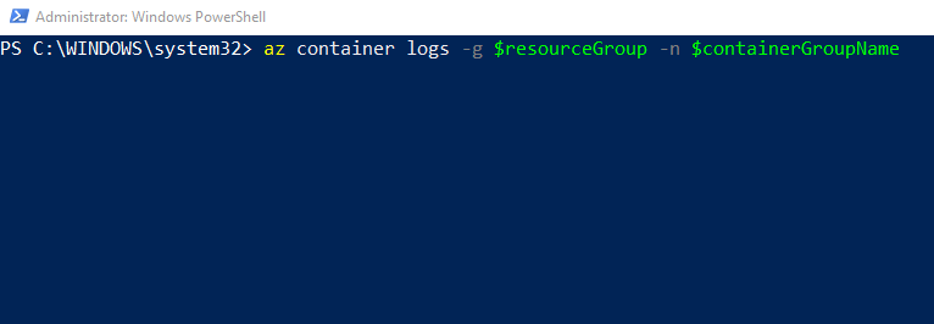
If everything is working fine then the container should be transcoding our input file from the Azure file share with FFMPEG and should write the output thumbnail back to that same file share. We can check that using az container logs command which will show us the output of the FFMPEG command and give us an idea if there was any problem.
Run this command to generate the logs of the container.
Here you will be able to see that FFMPEG has finished running and it has picked out a frame, in my case frame number 89 to use as the thumbnail.

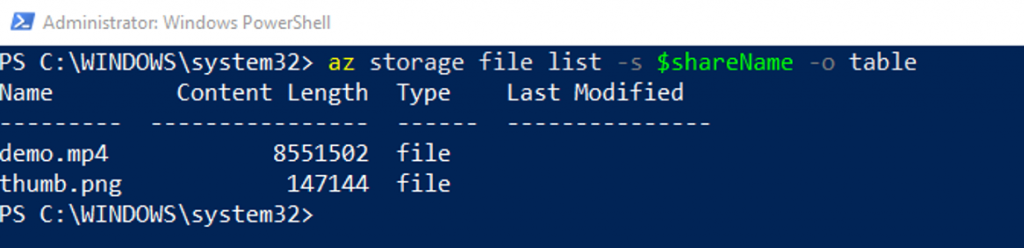
To check the contents of our file share and see whether the thumbnail image is there or not, we will use the az storage file list command. And you would be able to see that the thumb.png file would be there alongside the input file.
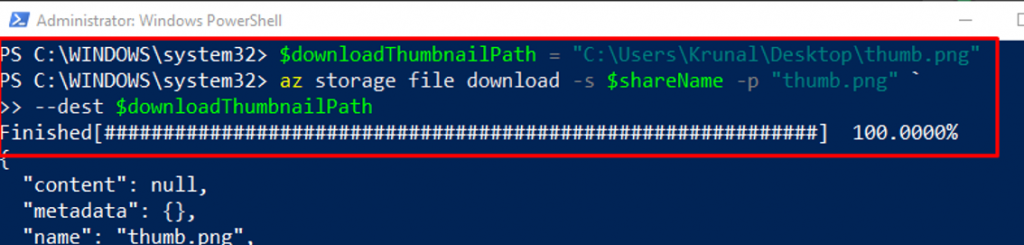
Next we will download the image with the az storage file download command and take a look at it.
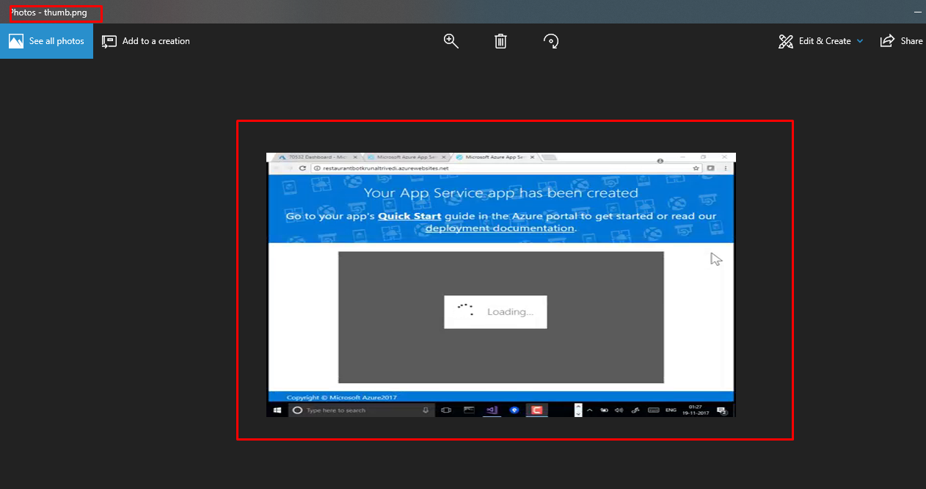
This is what it has captured from the video that I had uploaded.
You can delete the resource group once you have finished this demo by running the following command.

So, here you saw how you can use Azure file shares as volume which is very useful for you when you need to store data that needs to live independently of your container. And you also saw how a command line argument can be used to control the startup command of our container.