DEPLOYING AZURE ARM TEMPLATE

So far (in the previous article), we have examined the quickstart template in detail. Now, we will go ahead and deploy it.

Back in the Azure portal, go to the templates section and click on Add to add a new template.

Give name VM-Windows-Vanilla and give some logical description. Click OK.
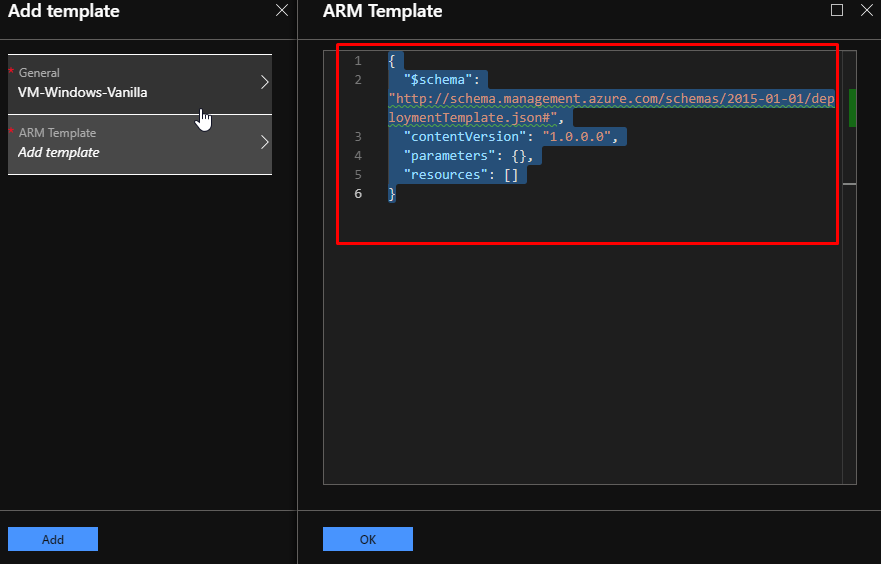
Remove the existing template code.
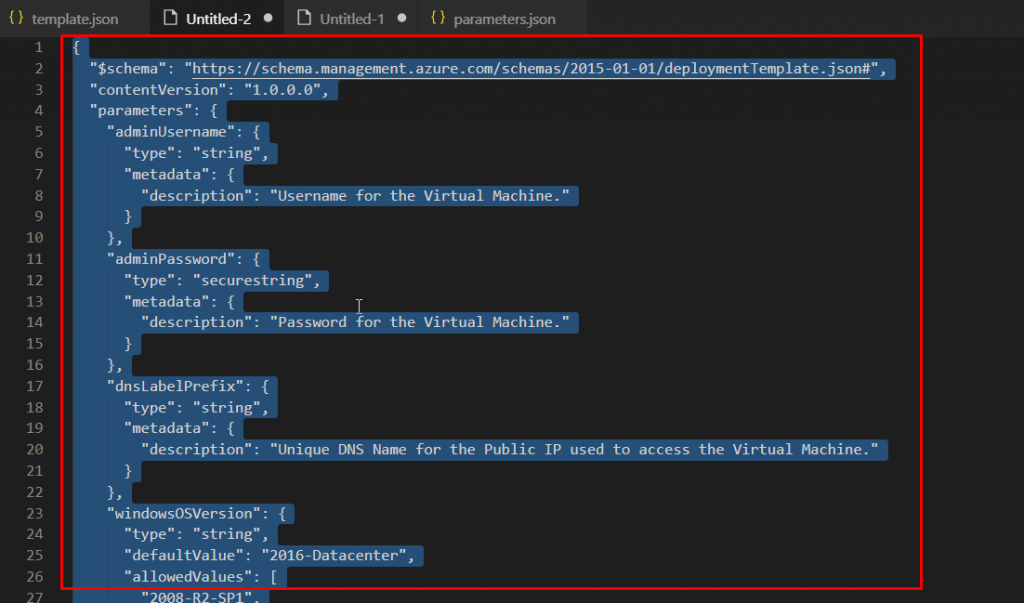
Copy the simple windows VM template code from VS Code.

Paste it in the template area and click OK.

Then click Add. The template will get validated and be visible in repository.
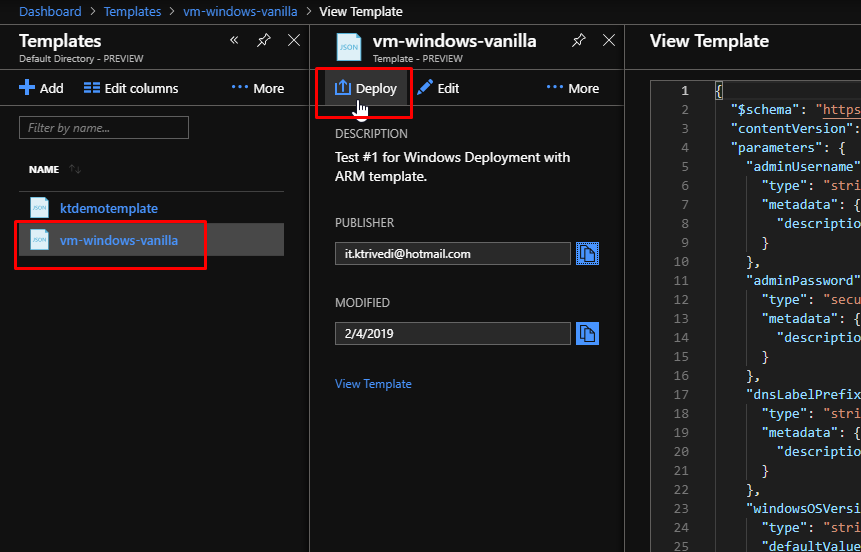
Select the recently created template and click Deploy.
Here also you can quickly view and edit the template and check if there is anything missing.

You will get a tree-view structure on the left-hand side which shows us visually what is included in the template. This view is updated in real time as we modify the template. So, as you add new resources to the template, you will see them being listed here on the left side.

We have already talked about parameters, variables and resources. Now let us talk about outputs. The output is used to retrieve any specific data that might be generated during template creation. Here you can see that the output value references the public IP address and the fully qualified domain name (fqdn) value. This is telling the template to reference this specific IP address name, get the DNS setting and then get the fqdn property. So basically, this returns the fqdn of this virtual machine.

The reference function is also very important as it is used to give out values of the Azure resources. You can see here that is used to get the resourceId and from that the user can get the primary endpoint for the blob. This function finds the resource ID of the specific storage account with this specific name. It then uses that as a reference ID to find the exact specific storage account. That storage account will contain a property called primary endpoints which will have a property for blob.
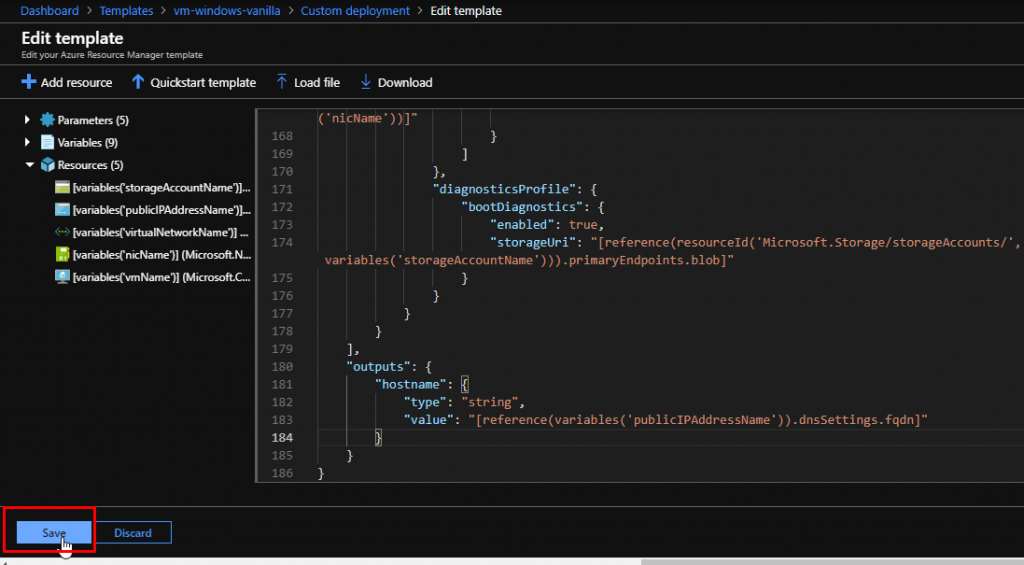
Click Save.
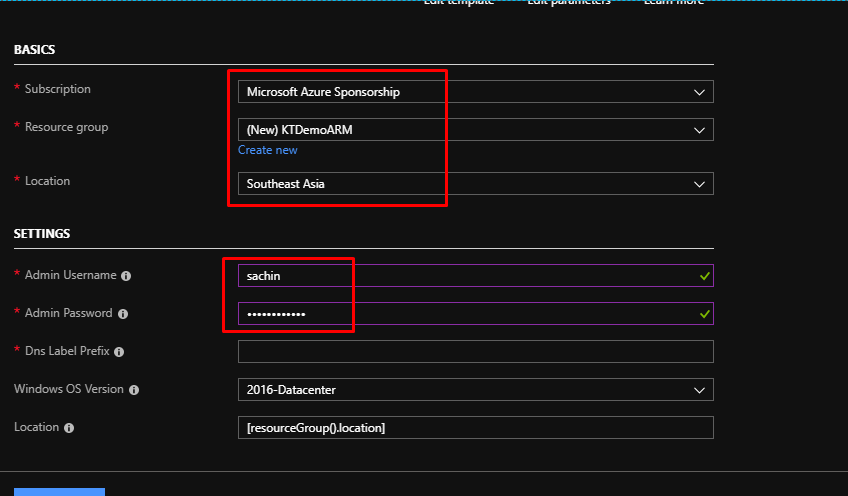
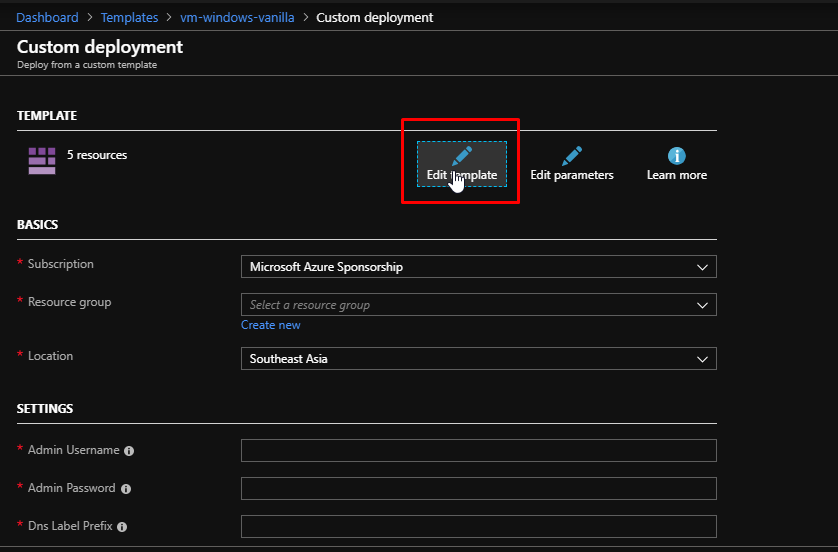
Select the appropriate subscription and create a new resource group. Choose a location. Below are the fields that we need to input for the VM. Add an Admin username and password. You can see that the password is not visible because the type was securestring. Let us see what happens if change the type from securestring to string.
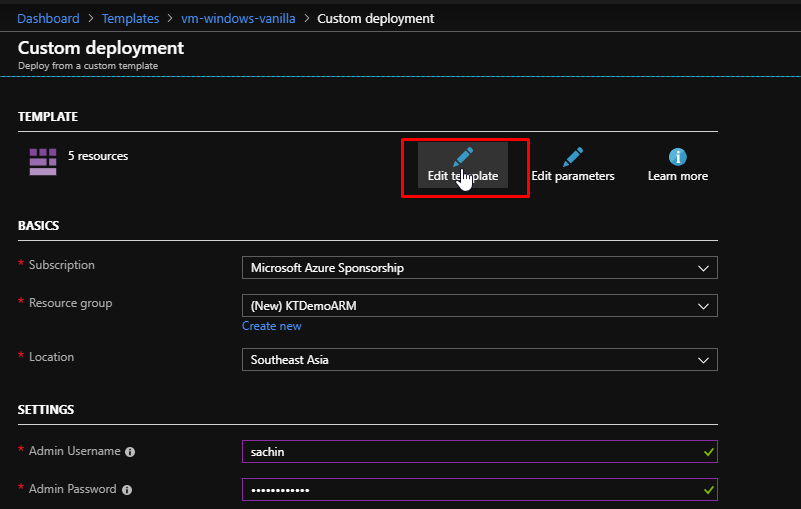
Click Edit template.
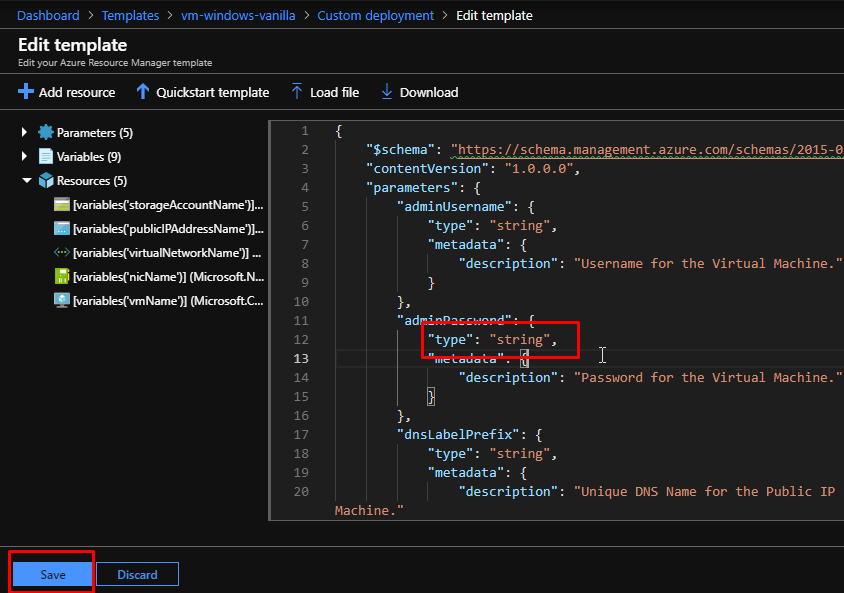
Find adminPassword and change its type from securestring to string. Click Save.

You will see that the password would now be visible. Give the Dns Label Prefix. In my case, it is testdemokt. Then, you can select the Window OS Version from the dropdown. The default would be 2016 Datacenter since that was what was defined as a defautlValue in the template.
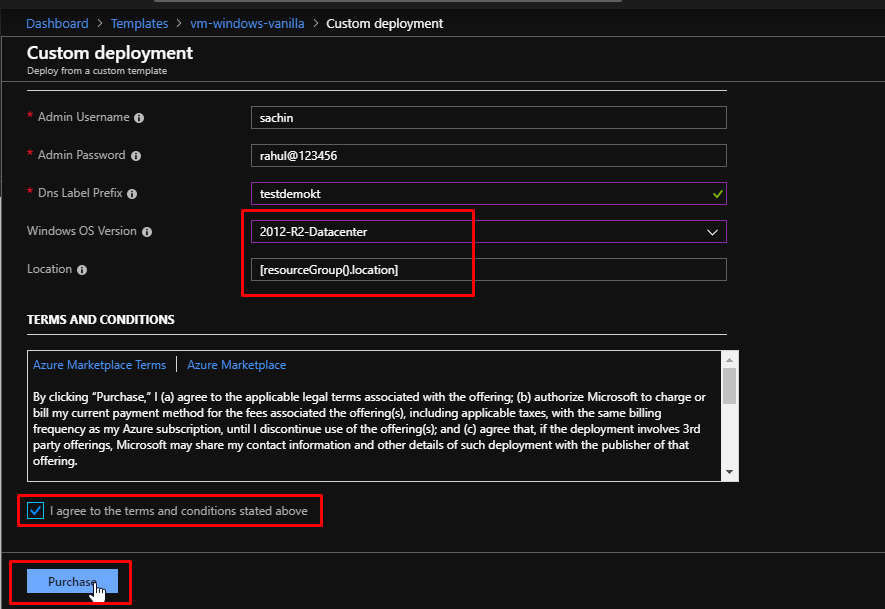
From the dropdown, select 2012-R2-Datacenter. The location field specifies the location for all the resources which in our case is the same as the resource group. Tick the checkbox and click on Purchase to deploy. Deploying this button will launch VM in the Azure Cloud which will incur some charges and hence this button is called purchase.

You can also see that status while the resources are being deployed.

It gives you a view of actually what all components have been deployed and also the ones that are under deployment.

After a few minutes, the deployment would get completed.

In the outputs section, you can see the hostname. This tells us that the Azure VM is created and the output is also provided to you in case you need it.

Here again you can view the template that you have deployed just in case you need to have a look at it.