AZURE TRAFFIC MANAGER – STEP BY STEP DEMO (PRIORITY METHOD)

- In this demo, we are going to create two different Web Apps using Azure App Service and both the Web Apps will be in different regions.
- Then we will use the Azure Traffic Manager to divert traffic using the Priority method.
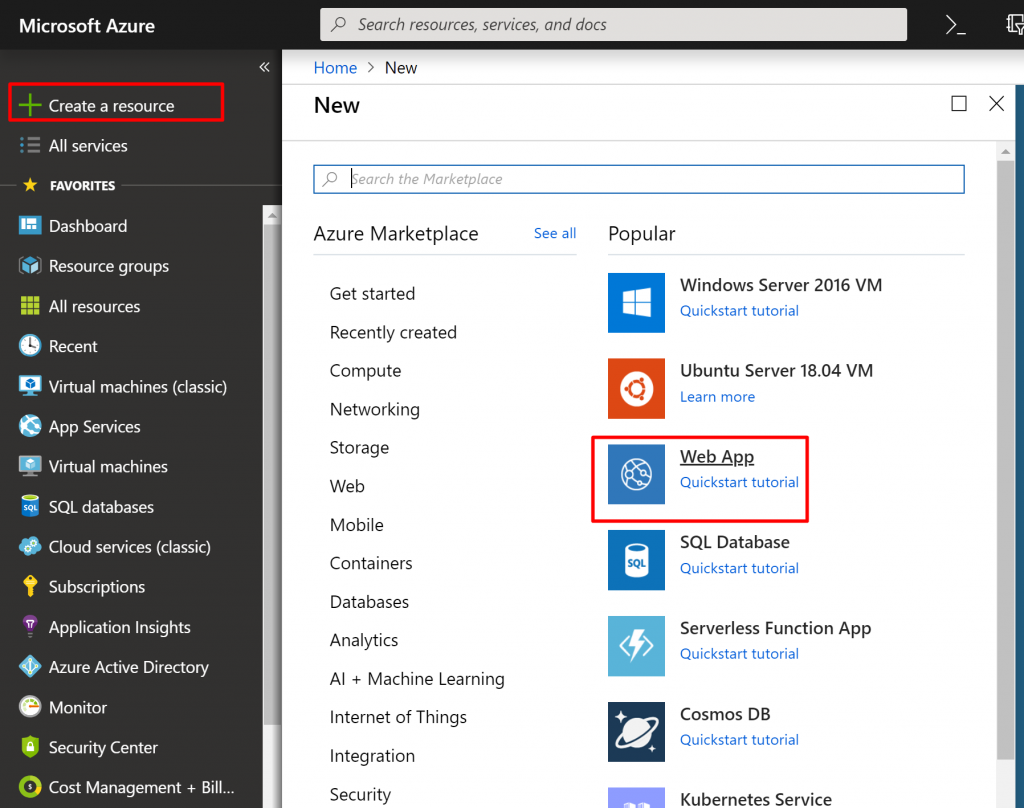
1) Login to your Azure portal and click on create a resource. Find Web App and select it.
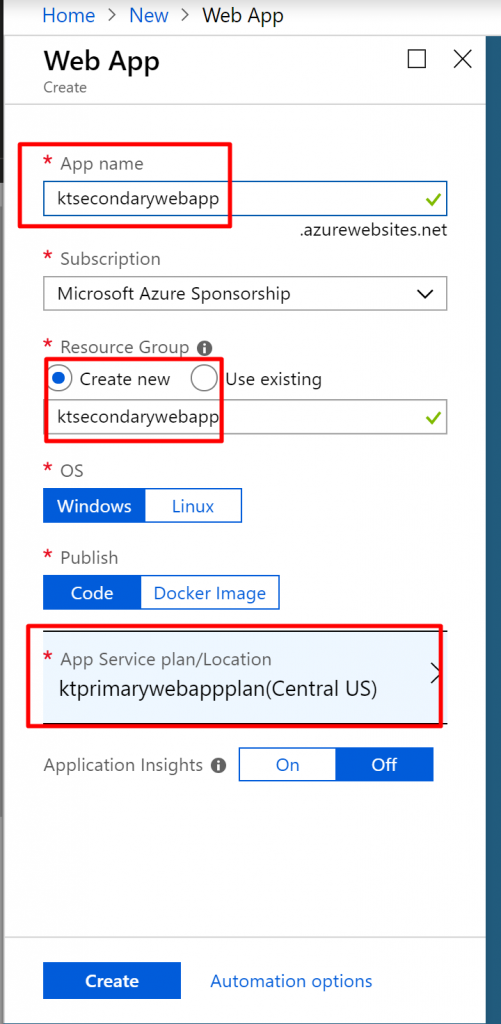
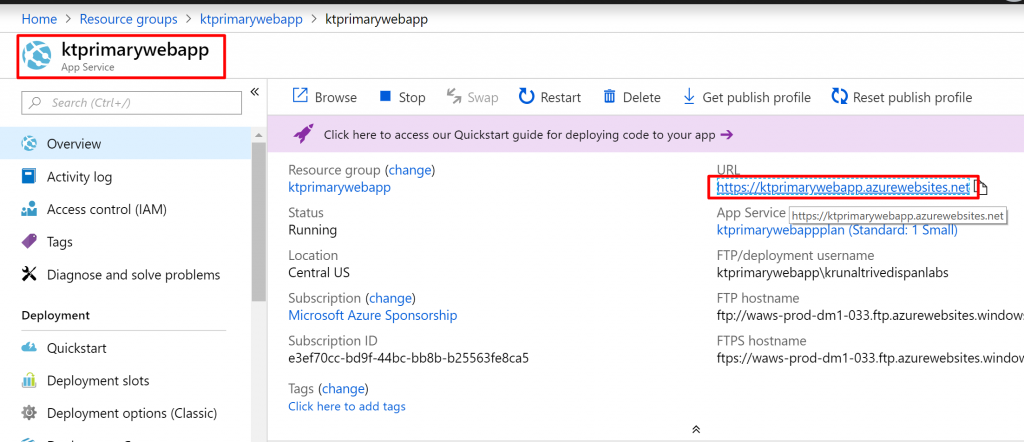
2) Here I have given name ‘ktprimarywebapp’ since this is going to be my primary web app. I have created a new resource group with the same name. Then I will have to create a new service plan.

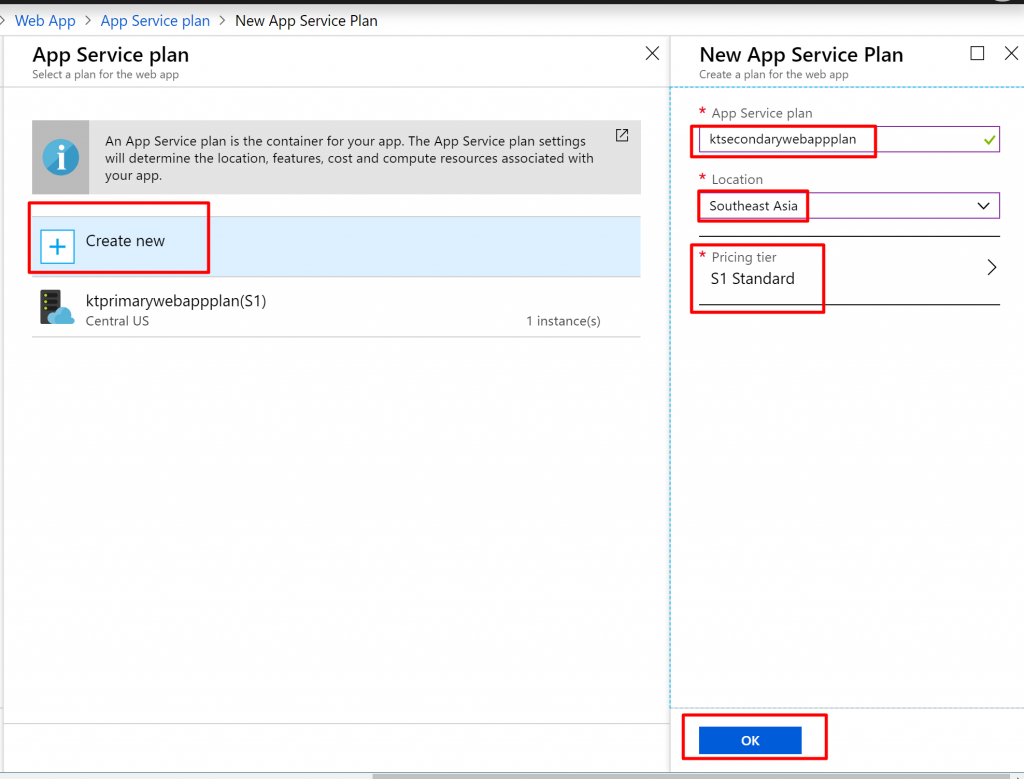
3) Click on create new and a new blade will open. Give a unique name to your service plan. In my case, it is ‘ktprimarywebappplan’ and select a location. I have selected Central US. Keep S1 as the pricing tier and click on OK.
 4) Then click on Create

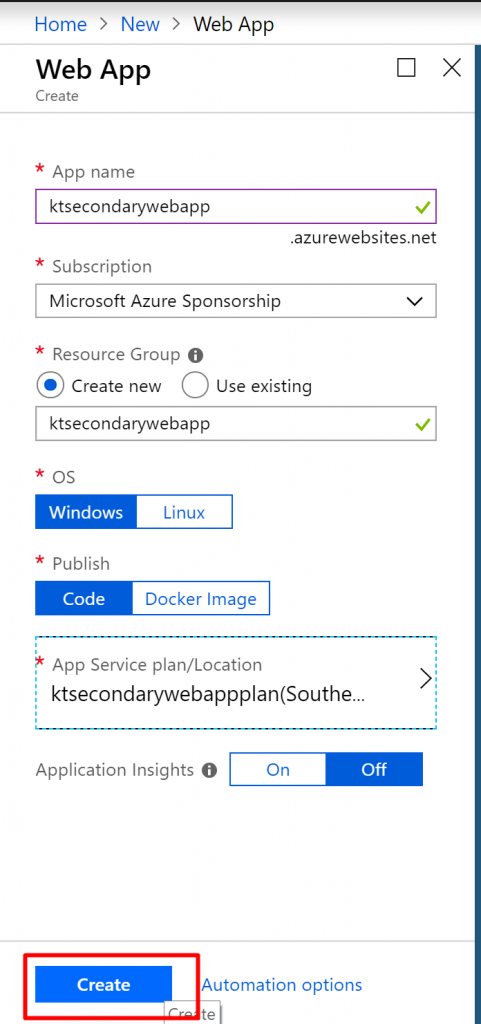
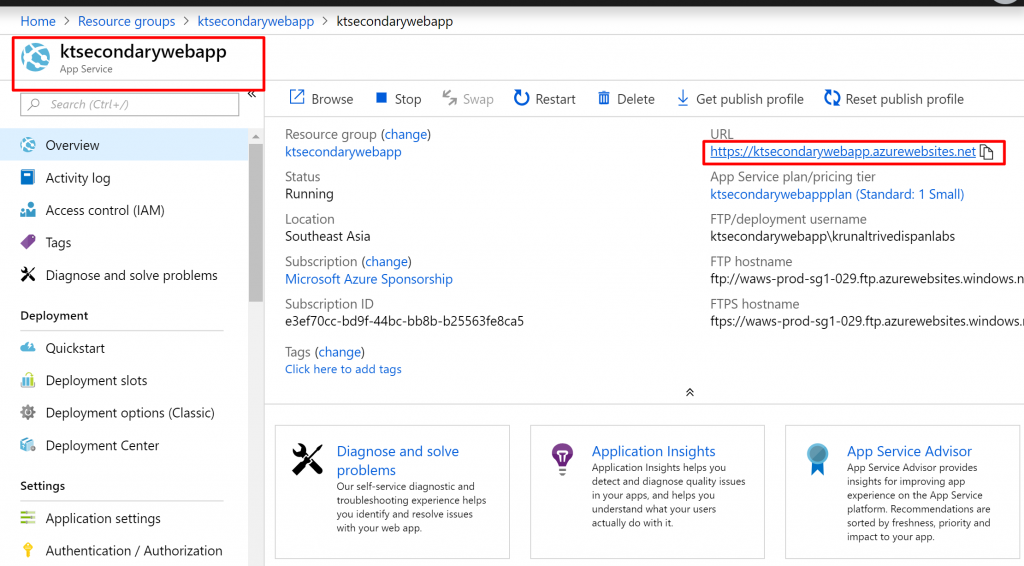
5) Similarly, create one more web app. I have kept the name as ‘ktsecondarywebapp’ and a new resource group with the same name. For this also, create a new app service plan.
6) Give a unique name to the app service plan. In my case it is ‘ktsecondarywebappplan’ and I have kept the location as Southeast Asia. Important: Both the web apps are in different locations for the traffic manager demo to work.
7) Click on create.
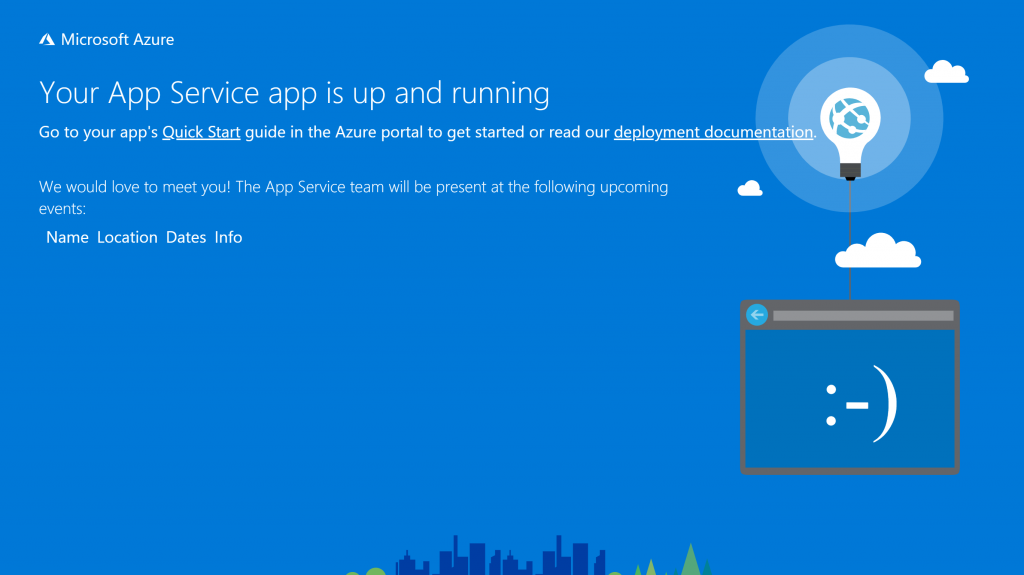
8) Go to the primary web app and click on the URL. It will open up a new browser tab with the output of the primary web app.
9) This is what it would look like.

10) Back in the portal inside the primary web app, go to App Service Editor and click on Go. It will open an online editor to make changes to your web app.

11) There would be just one file ‘hostingstart.html’. Inside that there is text ‘Your App service is up and running’. Change the text to ‘This is the primary web app’. Auto save feature is on so you don’t have to worry about saving the changes.
 12) This is what the browser output would look like now

13) Go to secondary web app and go to its URL

 14) Right now it would look something like this
 15) Make similar change to the hostingstart.html file and change the text to ‘This is the secondary web app’
 16) Now the secondary web app’s browser output would look something like this. We performed these changes in order to verify that we are diverting to separate web apps
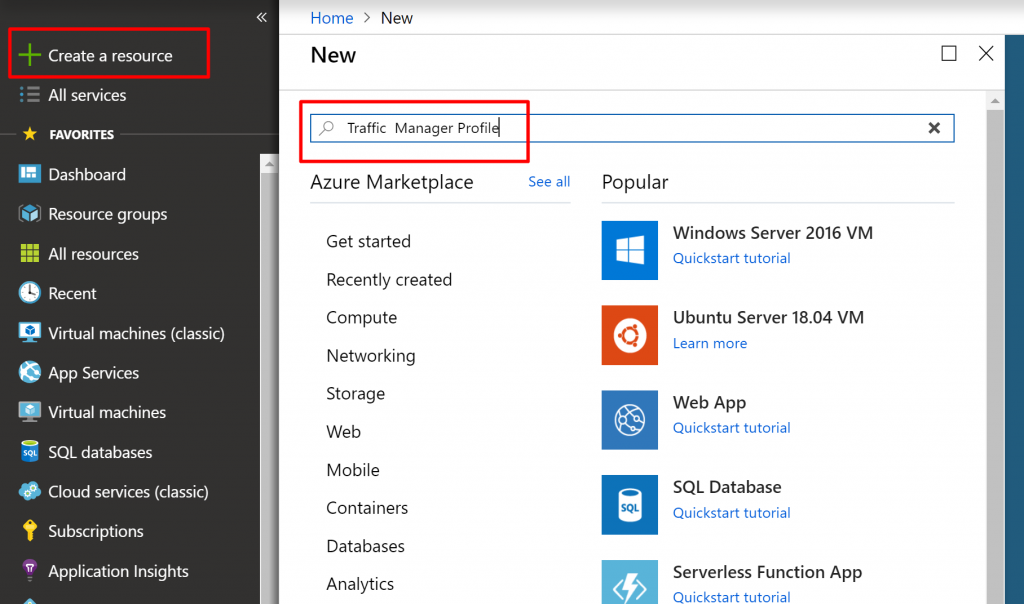
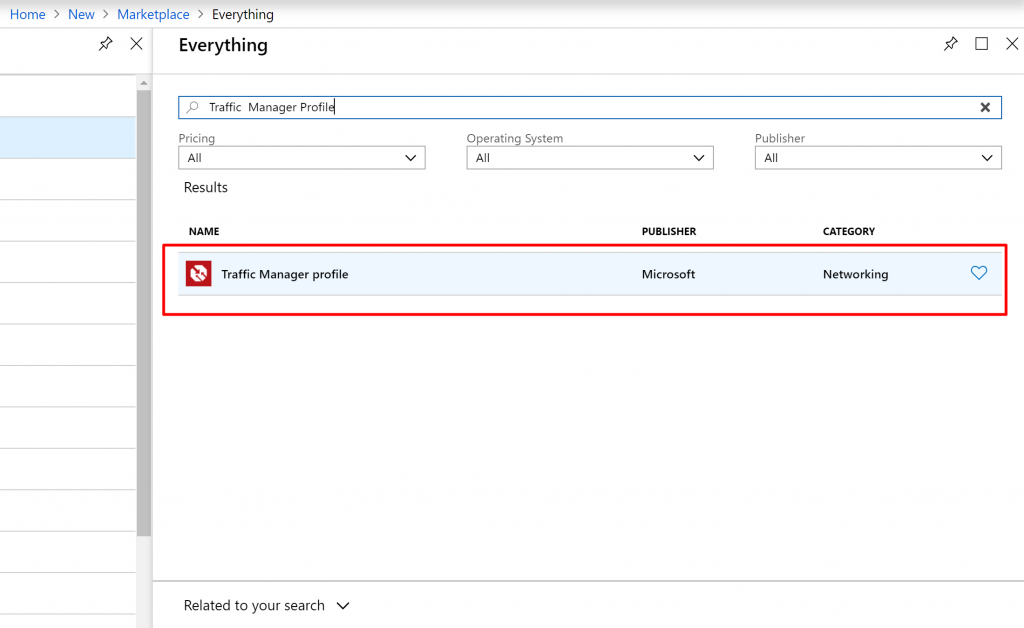
 17) Back in the portal, search for Traffic Manager Profile.
 18) Select the Traffic Manager Profile from the results and it will open up an overview blade. Click on Create
19) Give a unique name to the traffic manager profile. Select the routing method as priority and create a new resource group. For the location, I have kept Southeast Asia.

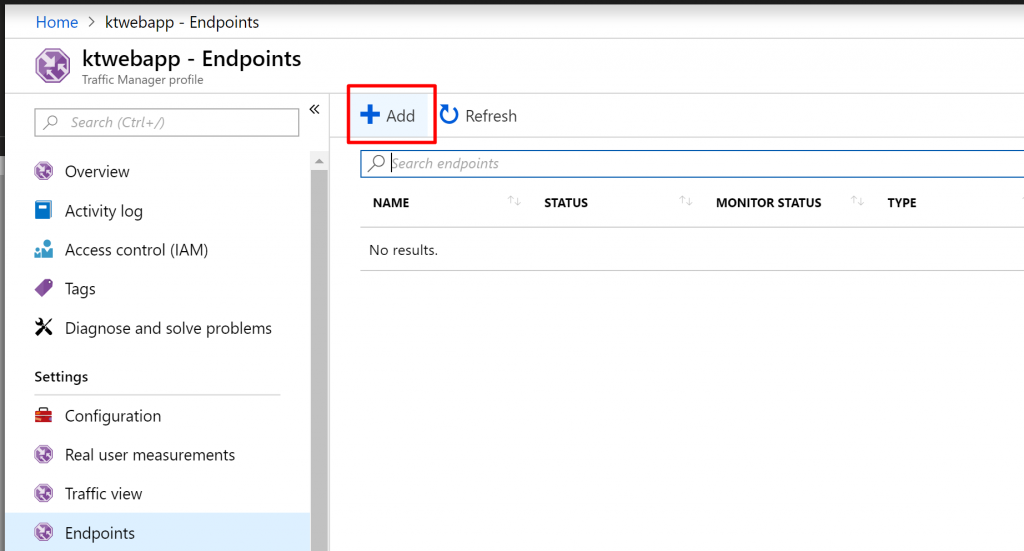
20) Once the profile gets created, we need to add endpoints. So, go to the traffic manager profile resource and click on Endpoints.
 21) Click on Add.
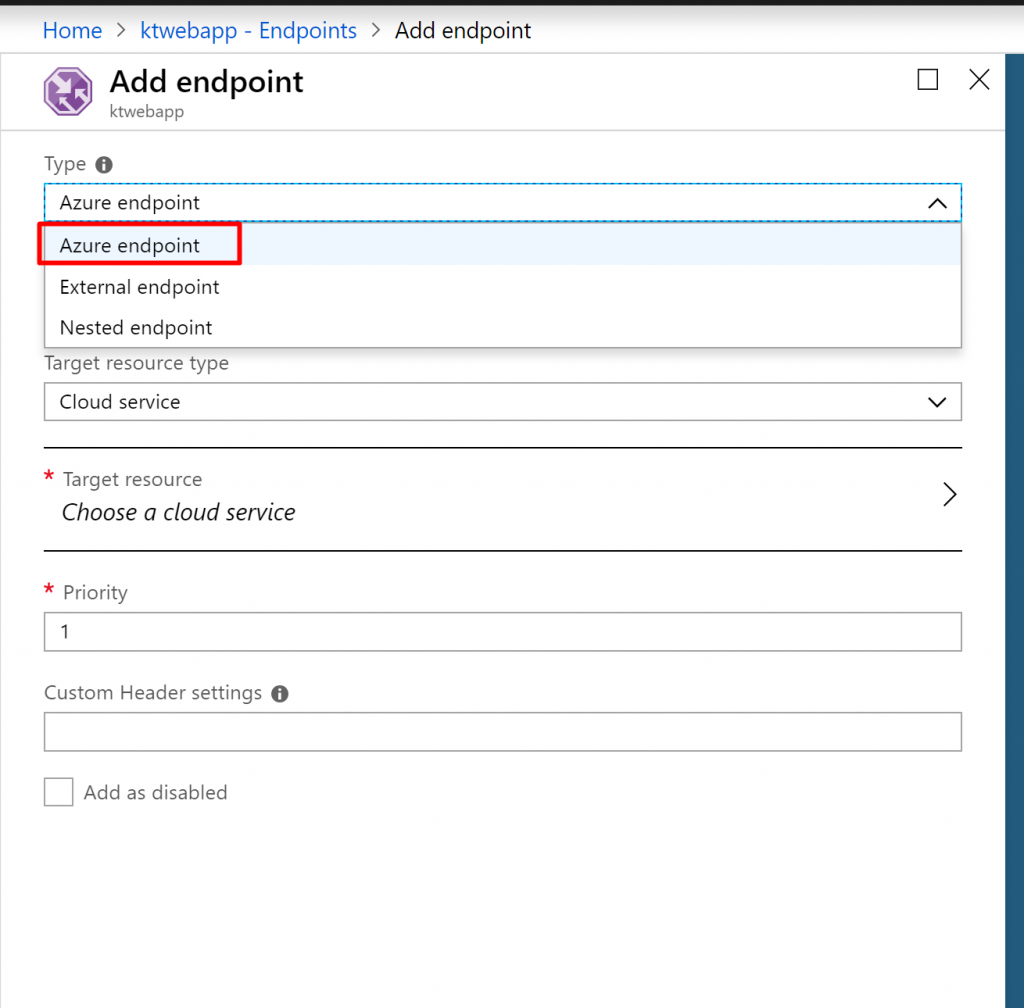
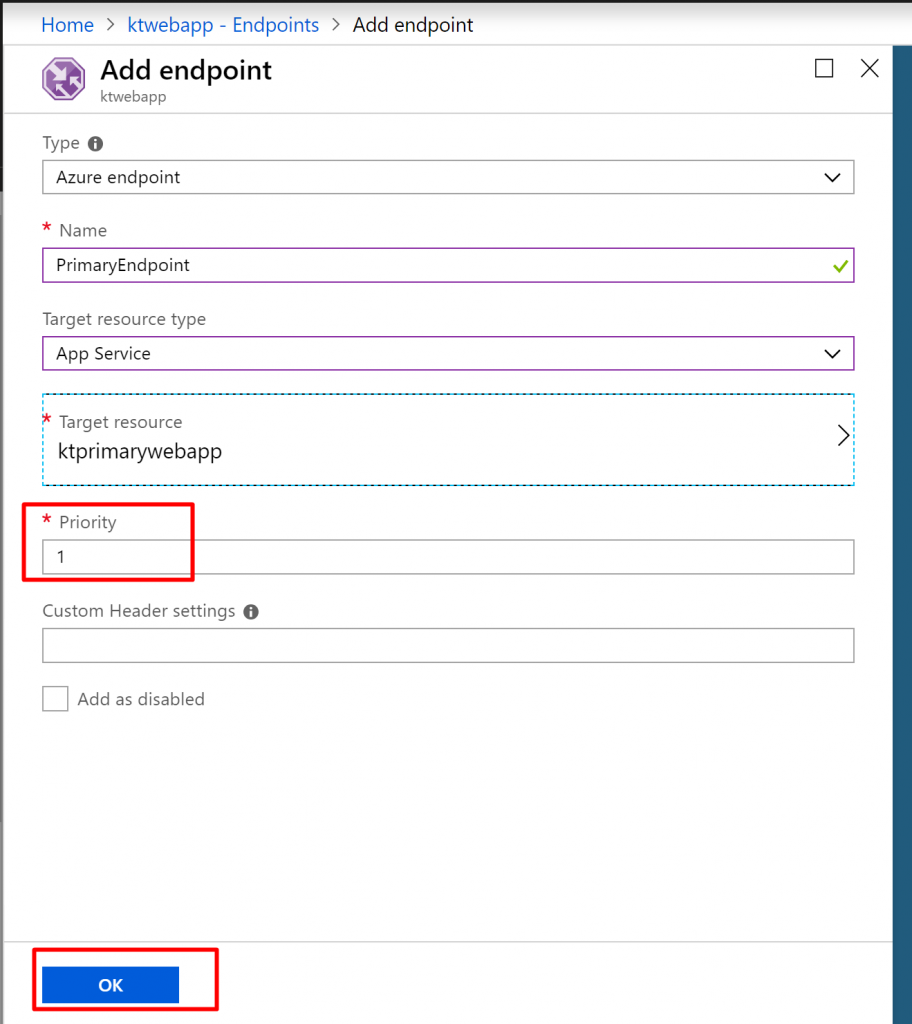
22) For the endpoint type, you can either choose Azure endpoint (used when the app is hosted in Azure), external endpoint (when the app is hosted outside Azure) or a nested endpoint. We are going to choose Azure endpoint.
23) Give name PrimaryEndpoint and select target resource type as App Service. If our Web App was hosted in an Azure VM, we would have chosen Public IP address as the target resource type.
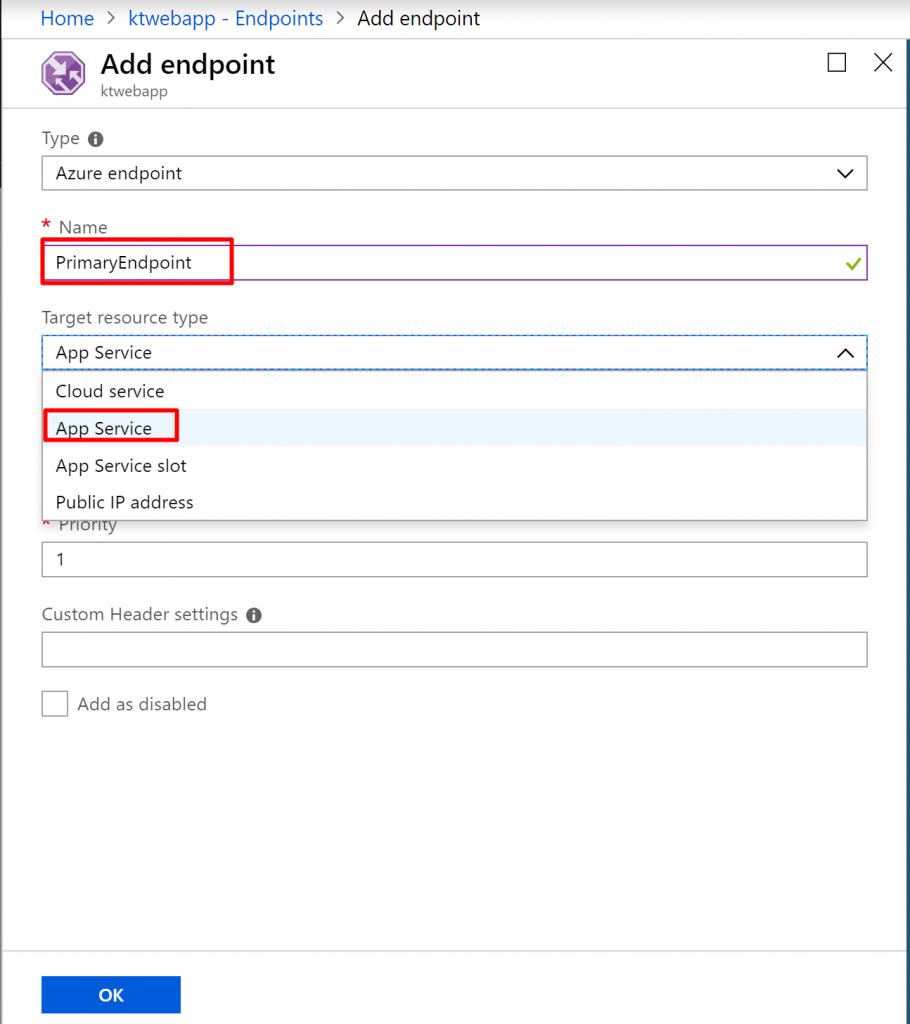
24) Click on Target resource and select the ktprimarywebapp. You can select whatever your primary web app is

25) Keep priority as 1. So, the traffic would be first diverted to the PrimaryEndpoint and if this is not available then it will be diverted to the endpoint which has priority lesser than this one.
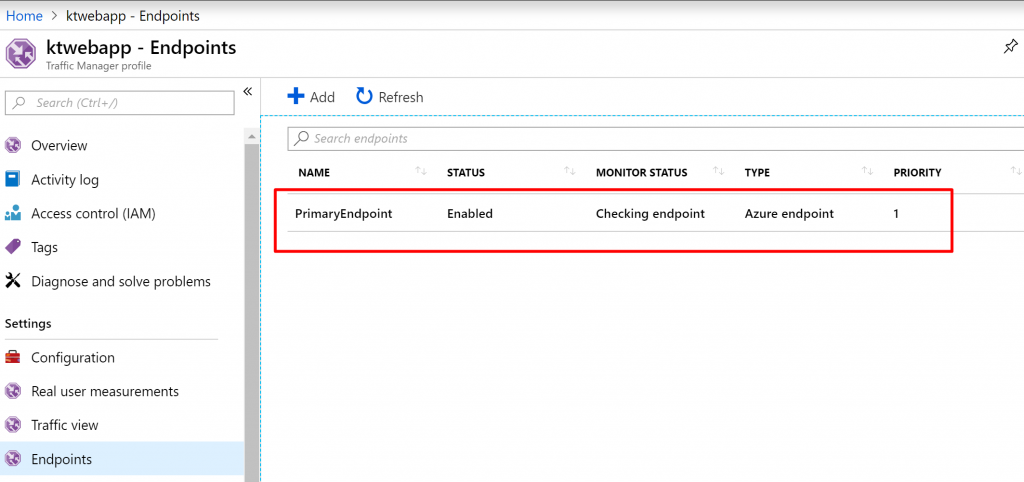
26) So the PrimaryEndpoint would be created and the Monitor Status at first would be Checking endpoint. It could take a few minutes to change the status.
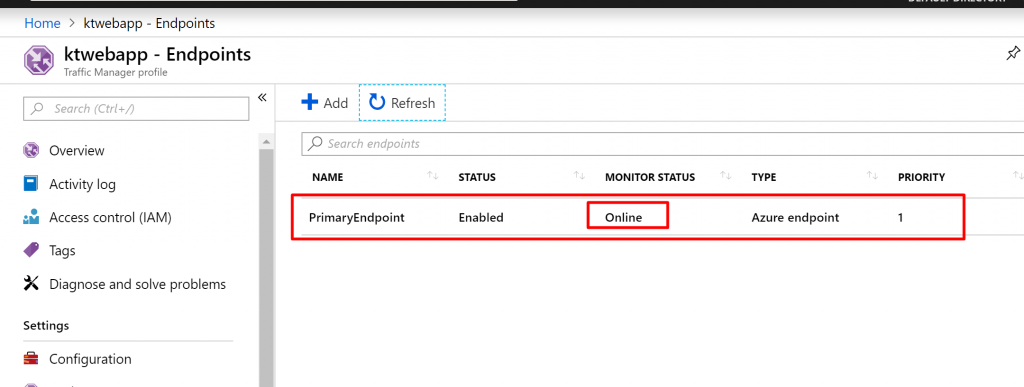
 27) After sometime, the monitor status would be changed to Online.
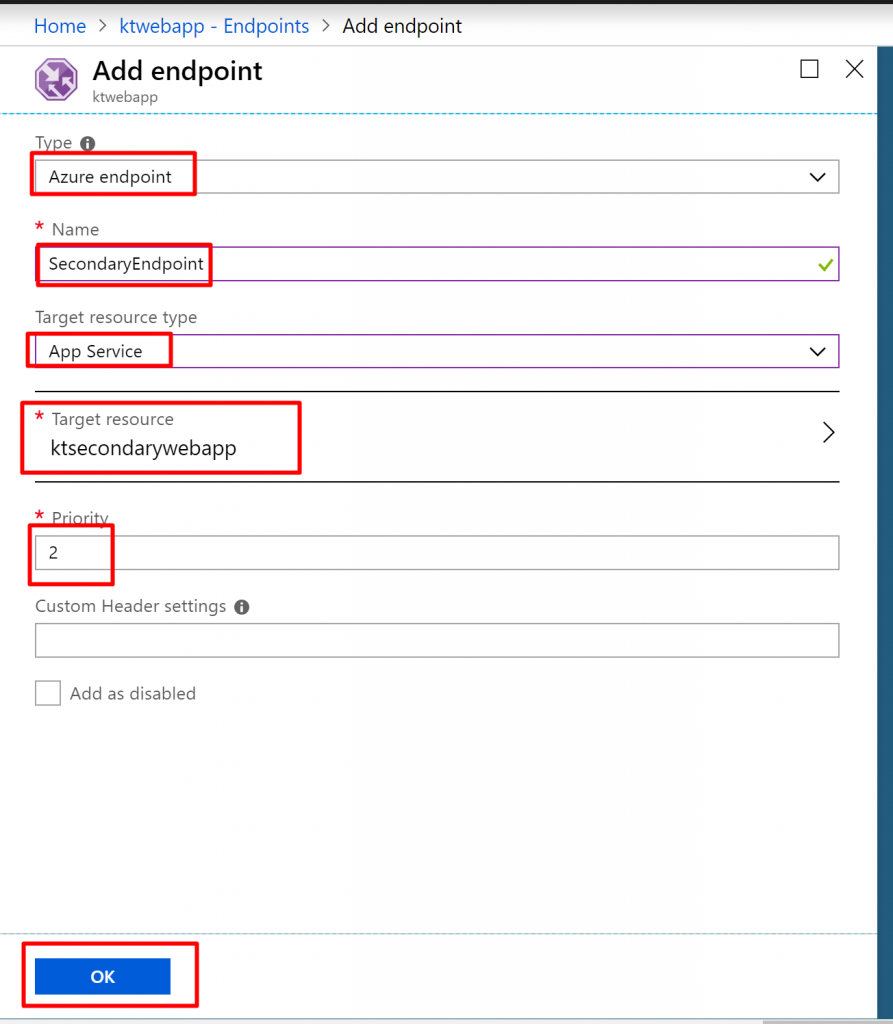
 28) Create a new endpoint. Select Azure endpoint as the type and give name SecondaryEndpoint. Select the target resource type as App service and select the target resource as ktsecondarywebapp or whatever that you have kept as your secondary web app. Click on OK.
29) You will see two endpoints and both would be online.
 30) Go to the traffic manager profile’s overview and copy the DNS name.
 31) Paste it in another tab/window and this is what you would see. It will direct you to the primary web app
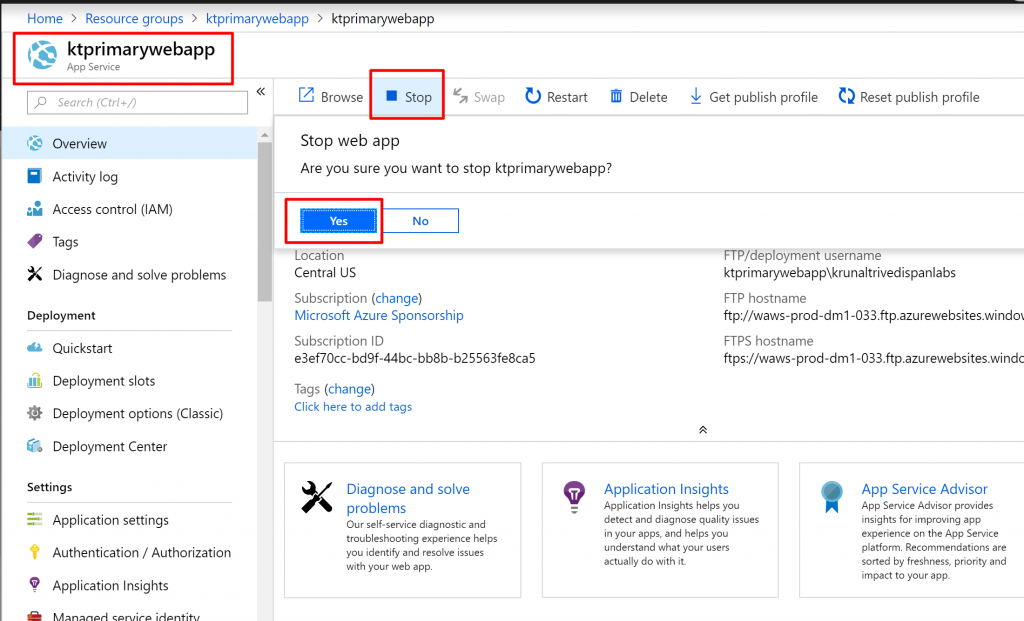
 32) Go back to your primary web app and stop the service. Now we have created a scenario where our primary web app is not working and it is unavailable.
33) Back in the traffic manager profile, you would now see that the PrimaryEndpoint has been stopped.
 34) And if you go to the browser and refresh the URL, you will find that it now routes the request to the secondary web app.

- So you can see how we can use one of the routing methods to create an active-passive site.
- In case one of the sites go down, you can use traffic manager to route requests to a secondary site.
- This is how the traffic manager works.