AZURE EVENT GRID – DEMO

In the previous article, I gave an overview of what Azure Event Grid is. You can read the article by clicking here. In this article, I am going to show you a basic demo of how to work with Azure Event Grid.
Currently I have a resource group called EventGridDemo and inside that resource group, I have a logic app and an Event Grid Topic. If you want to follow along with this demo, you can create these two resources first.

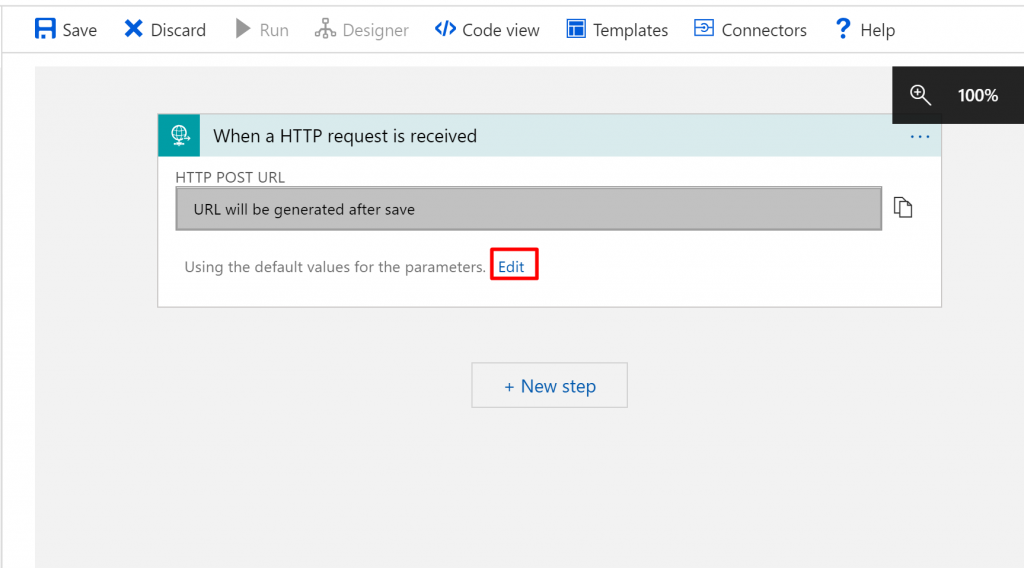
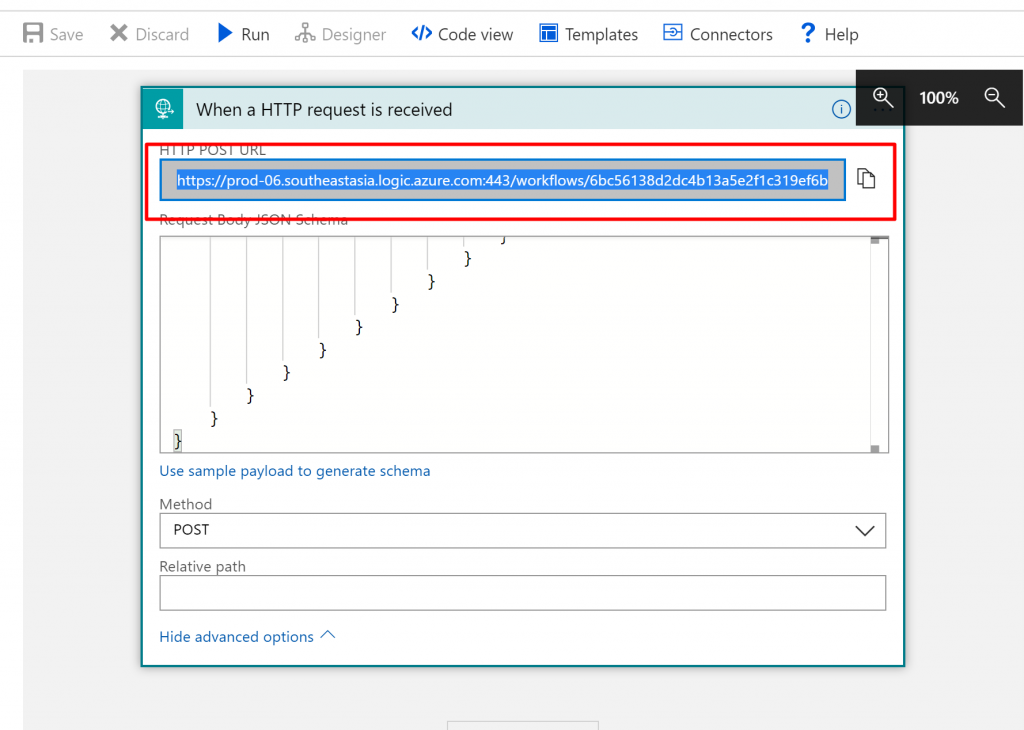
In the Logic Apps Designer, we will start with a common trigger that is ‘When a HTTP request is received’.

When the designer is opened, click on Edit.
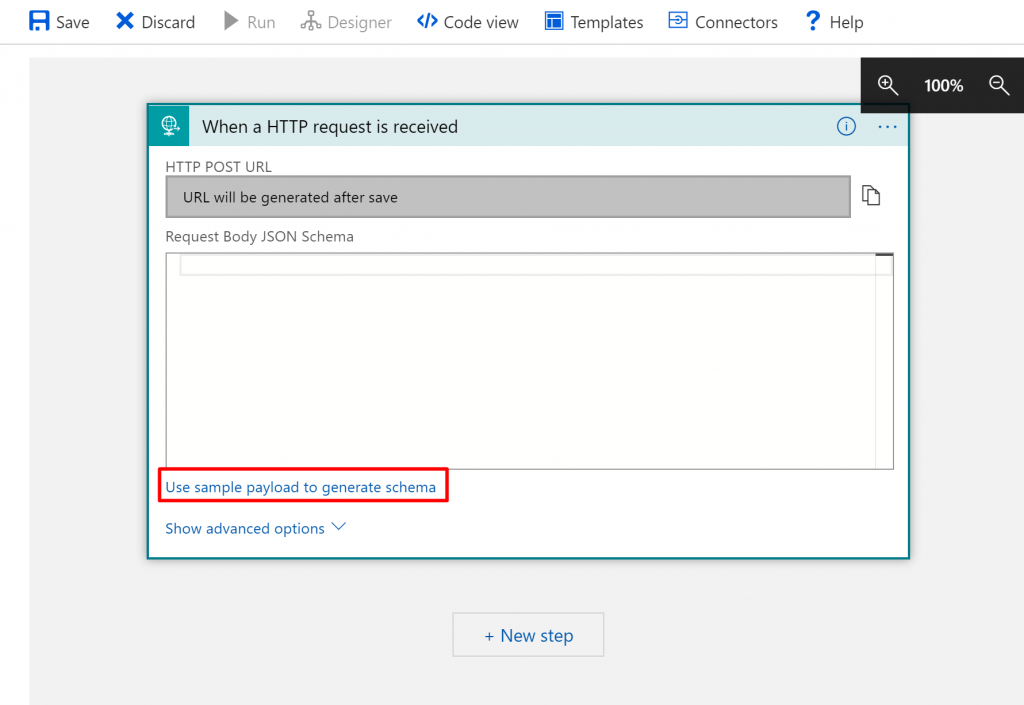
Here I am using some sample payload to generate schema. You can find sample JSON files from anywhere on the internet. So click on this.
Here is the sample JSON payload for your reference.
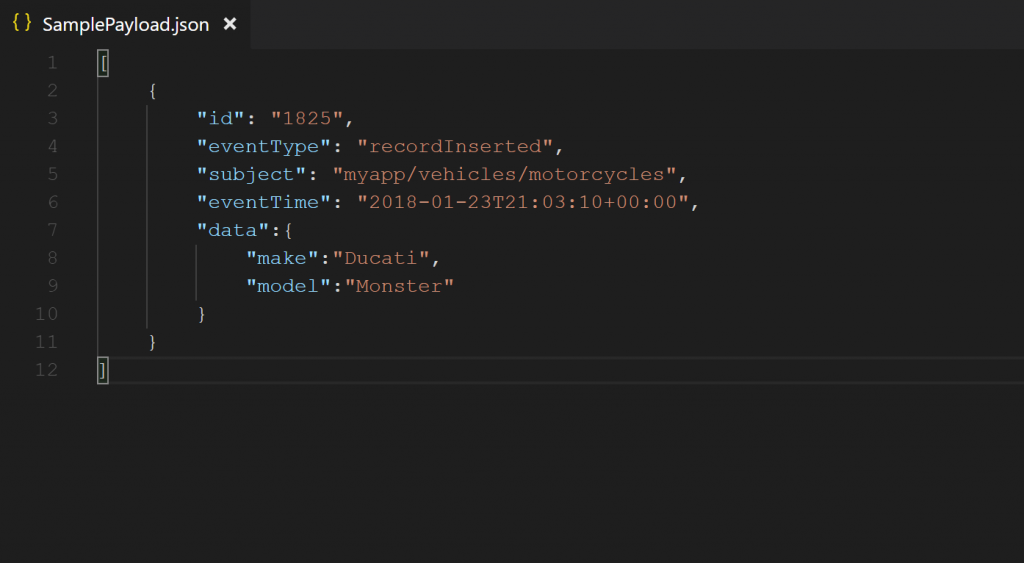
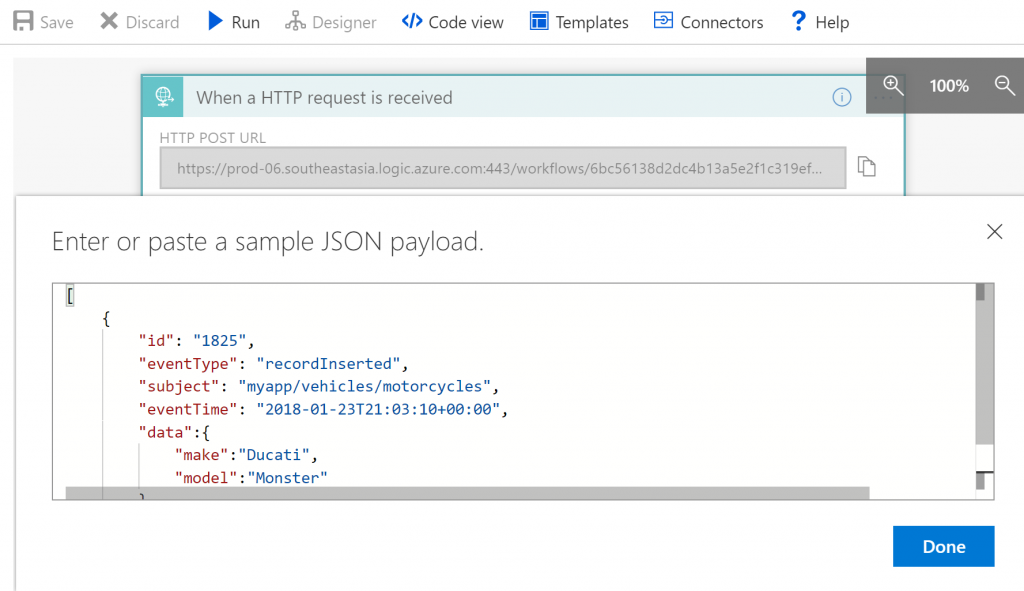
Paste in the sample JSON payload.
Click on Show advanced options.

Select POST method because we will posting a message. Then click on Save. Once you click on Save, an HTTP POST URL will be generated.

Once the URL gets generated, copy it and keep it aside for some time.
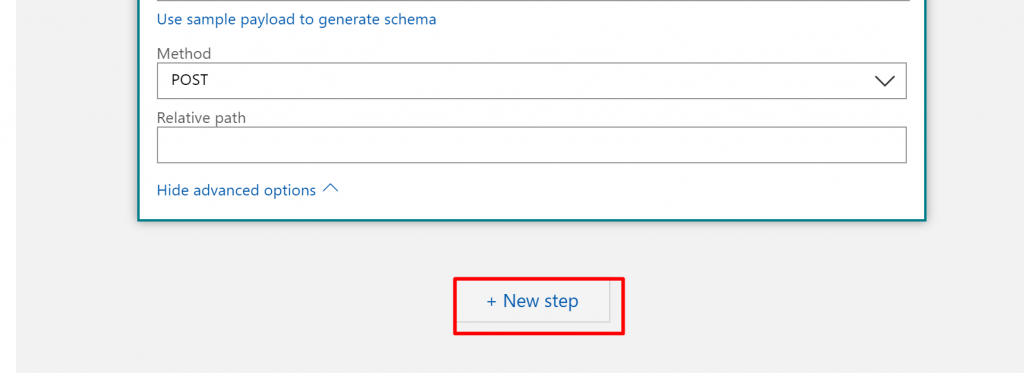
- Once the data gets posted to this URL, we will be sending it via email to some specific address.
- So next, we will add a new action.
Click on New Step.
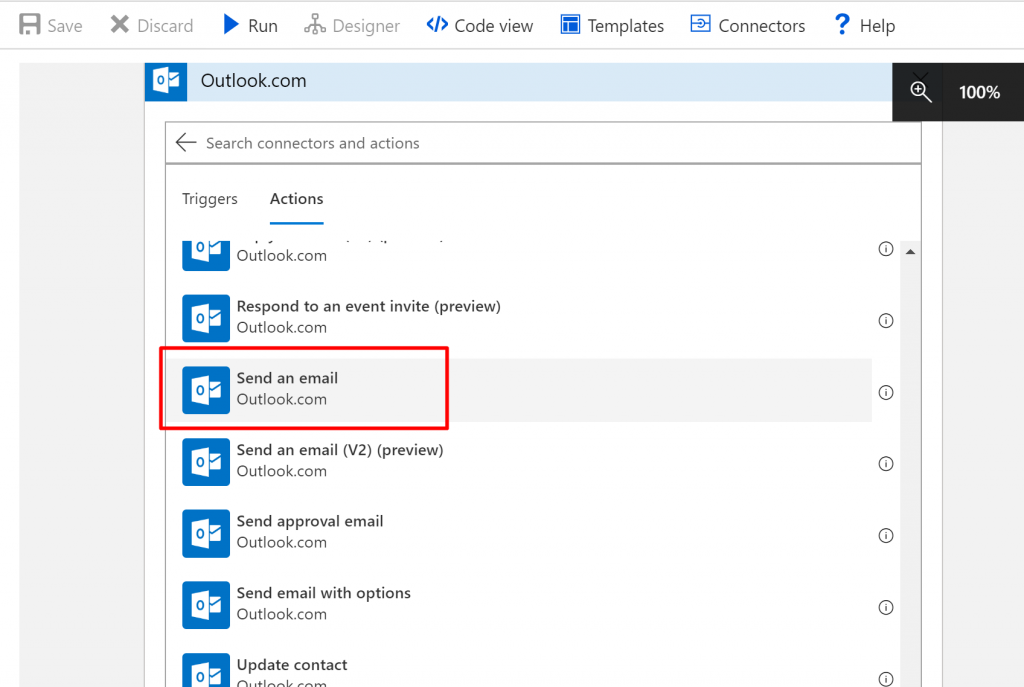
Search for outlook.com and select it.
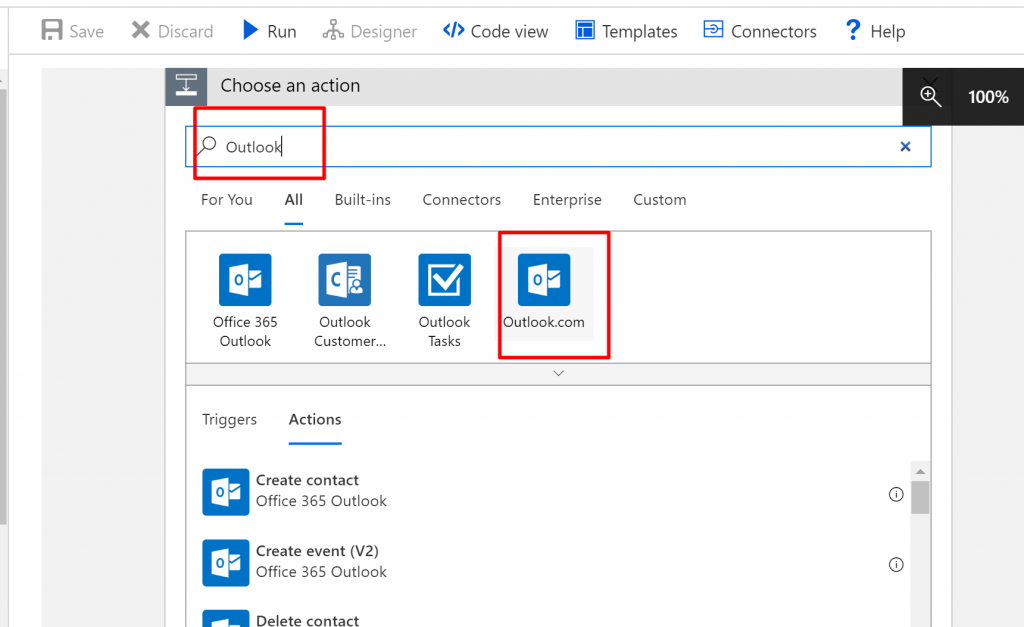 From the list of actions, select ‘Send an email’.
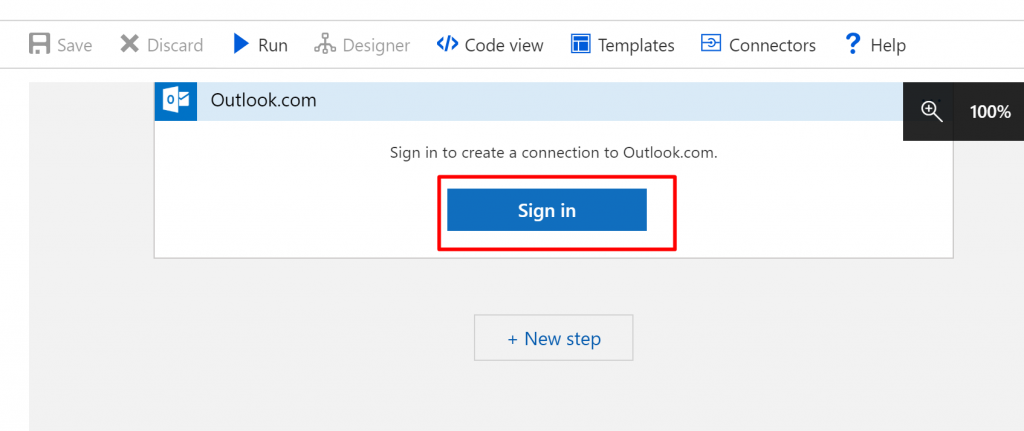
Sign in with your outlook credentials. Here I am using outlook.com but you can use any other email service provider as well.
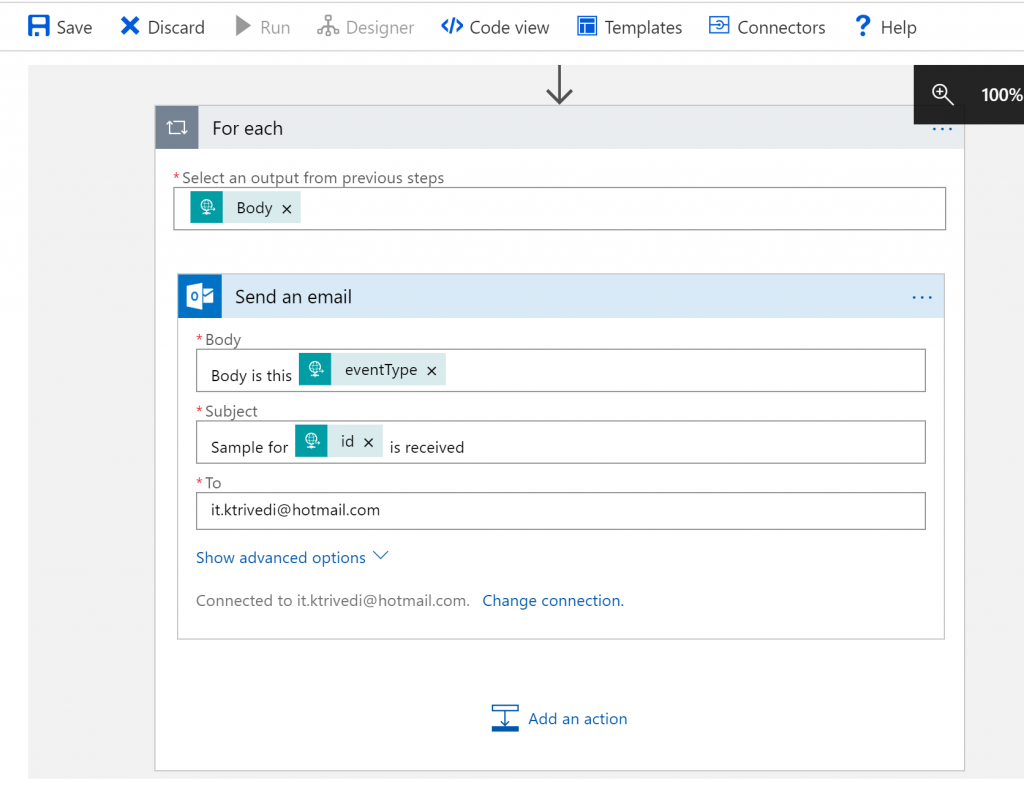
 Once the connection gets configured, you can enter the email address to which you want to send an email. In the subject, I am choosing ‘id’ from the dynamic content and in the body, I am choosing ‘eventType’ from the dynamic content. It is important to note that the dynamic content would be different based on your sample JSON payload.
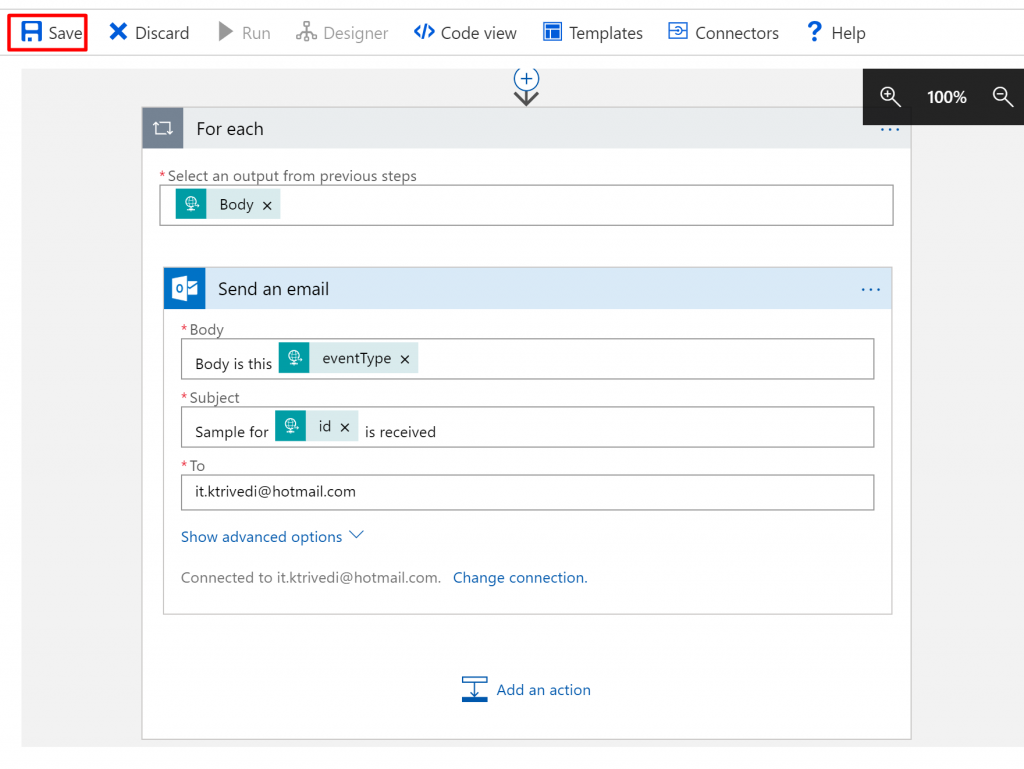
 Once done, click on Save.
- So whenever a message is posted with the schema that we used and received at this end, it will send out an email to the configured email ID.
- You can keep whatever subject and body that you wish to.
Right now we don’t have any Event Subscription. So, we will have to create one.
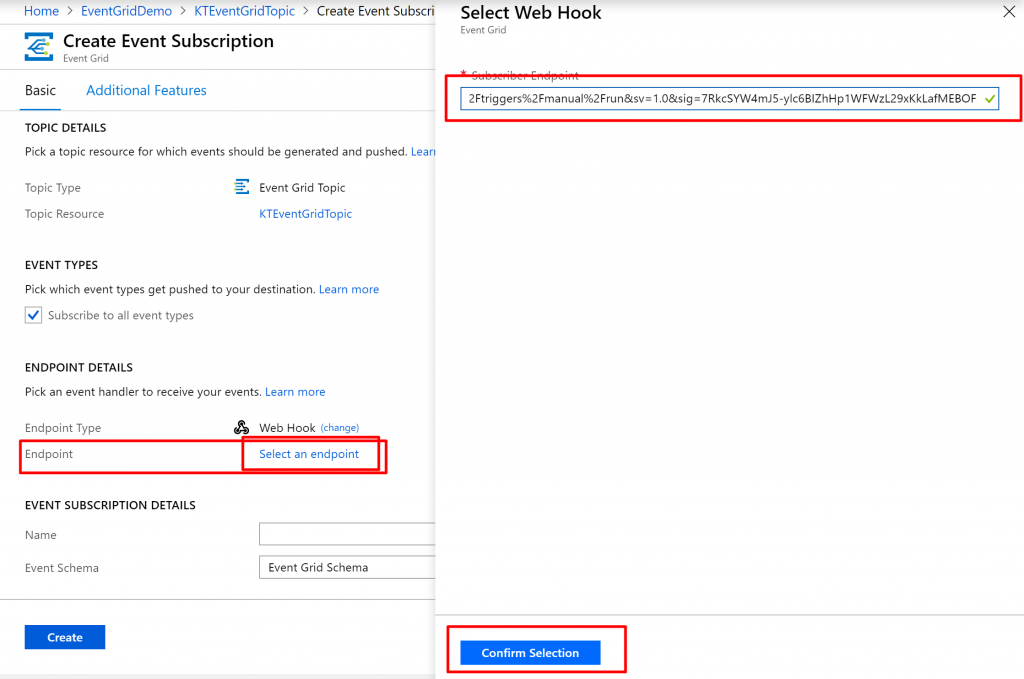
 In the endpoint type, select Web Hook.
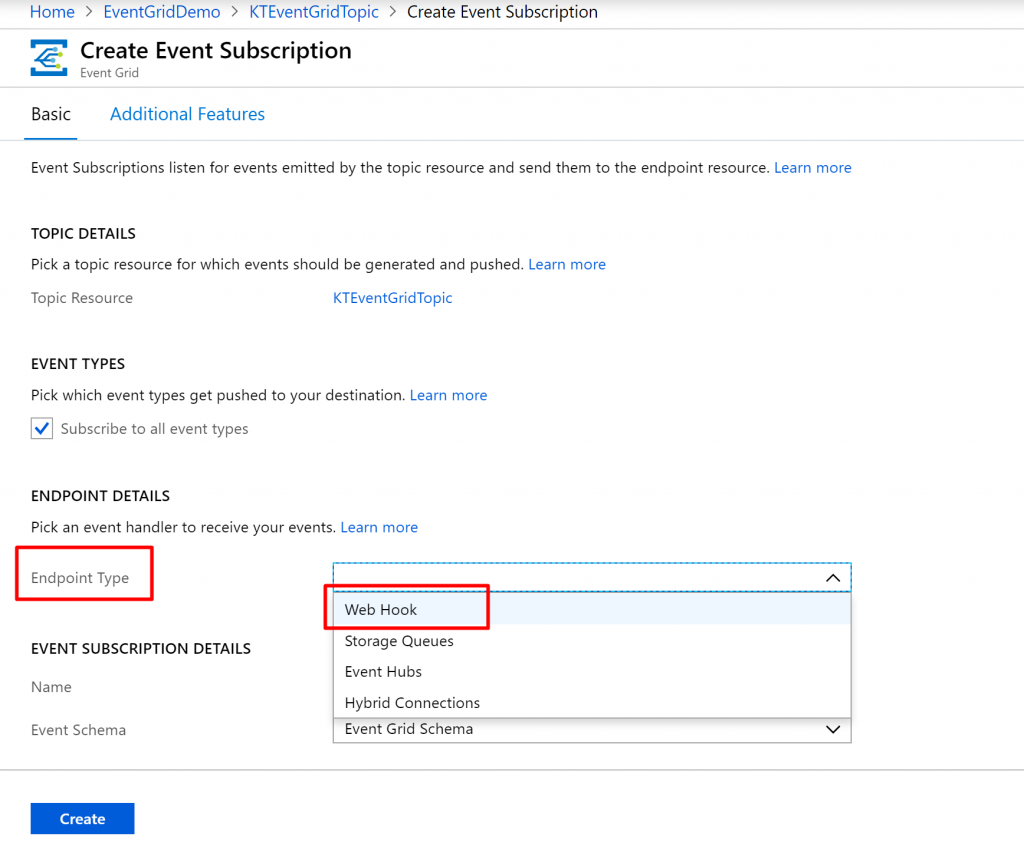 In the Endpoint, click on Select an Endpoint. Then paste in the URL that you had earlier copied from the logic app and click on confirm selection.
Give it some name and click on create.
 We have our subscription listed below. So now whenever we post using the topic endpoint, it will be passed on to the logic app using subscription details and then it will send a mail.

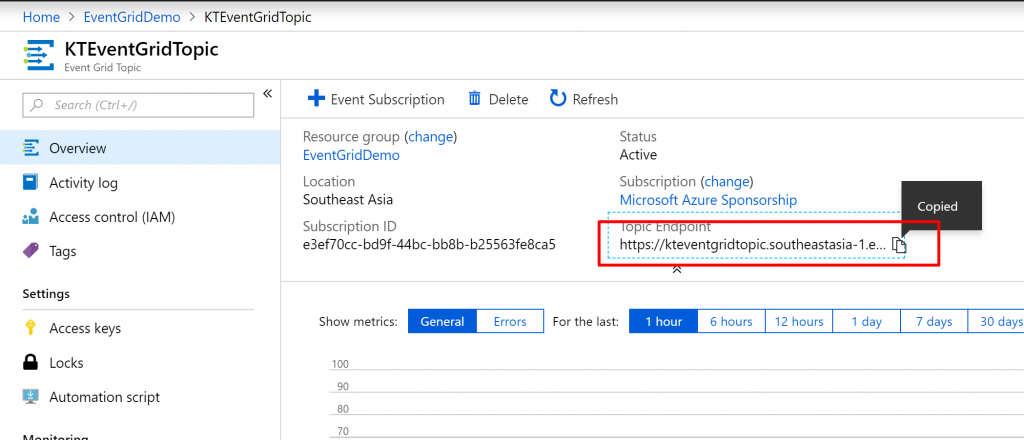
Next, copy the topic endpoint URL.
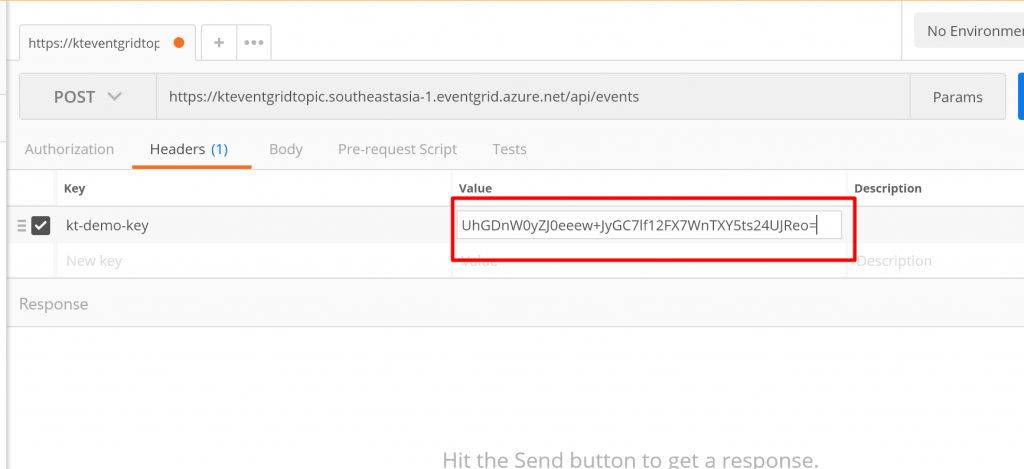
For posting, I am using Postman. So I will just paste the URL. Then in the headers section, I will have to mentioned key and value. The key name should be ‘aeg-sas-key’ and for its value, I will have to head back to the portal.
 Back in the portal, there will be an option for Access Keys. Go to it and copy key 1

 Then paste the key in value tab in Postman.
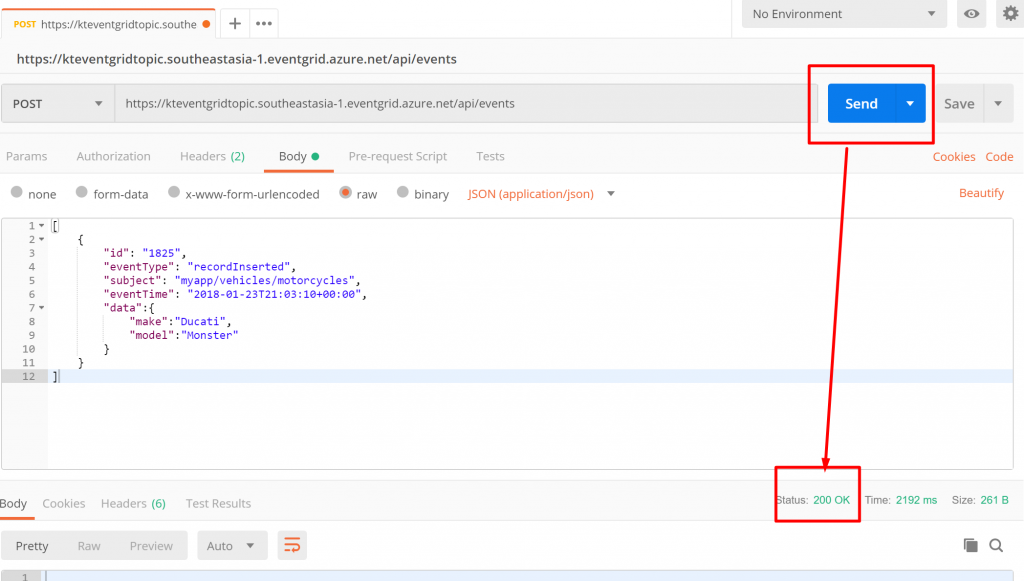
For the Body part, we will be using the same JSON data that we used earlier. After you paste it here, click on Send.

Once you click on Send, it will show you a status of 200 OK.
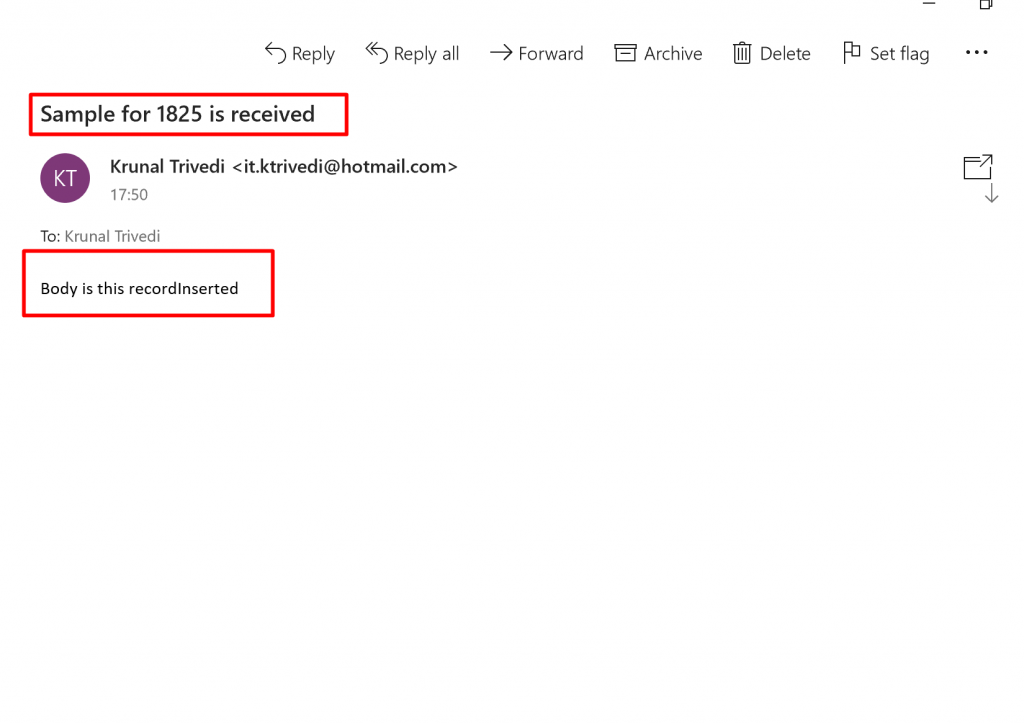
 And in your email, you would have received something like this.
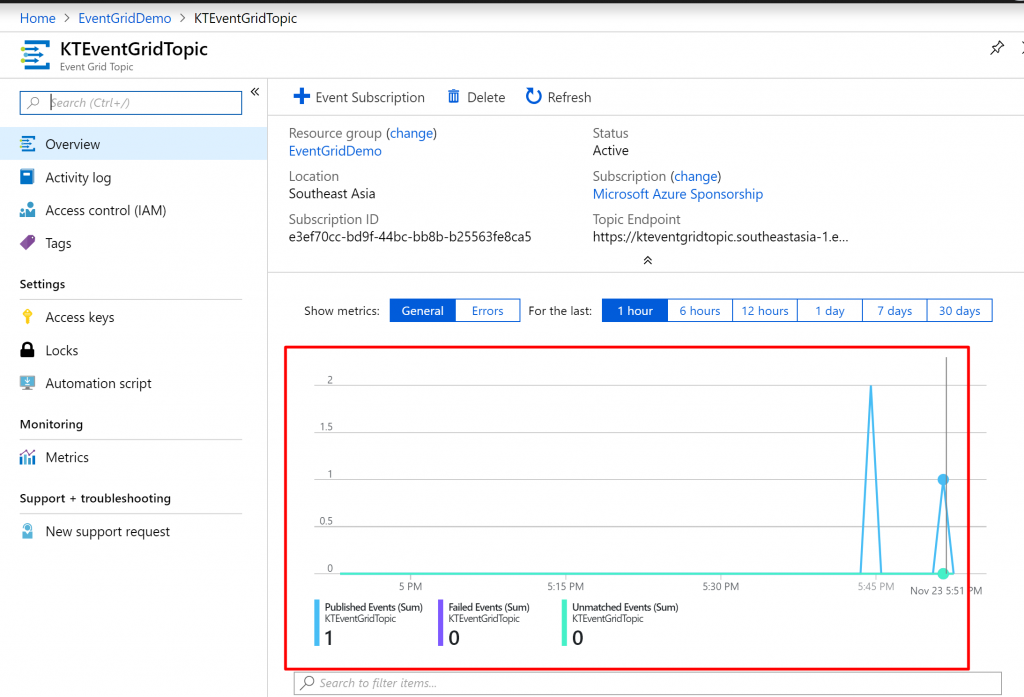
 n your Event Grid Topic overview, you will be able to see a graph like this which shows published events.
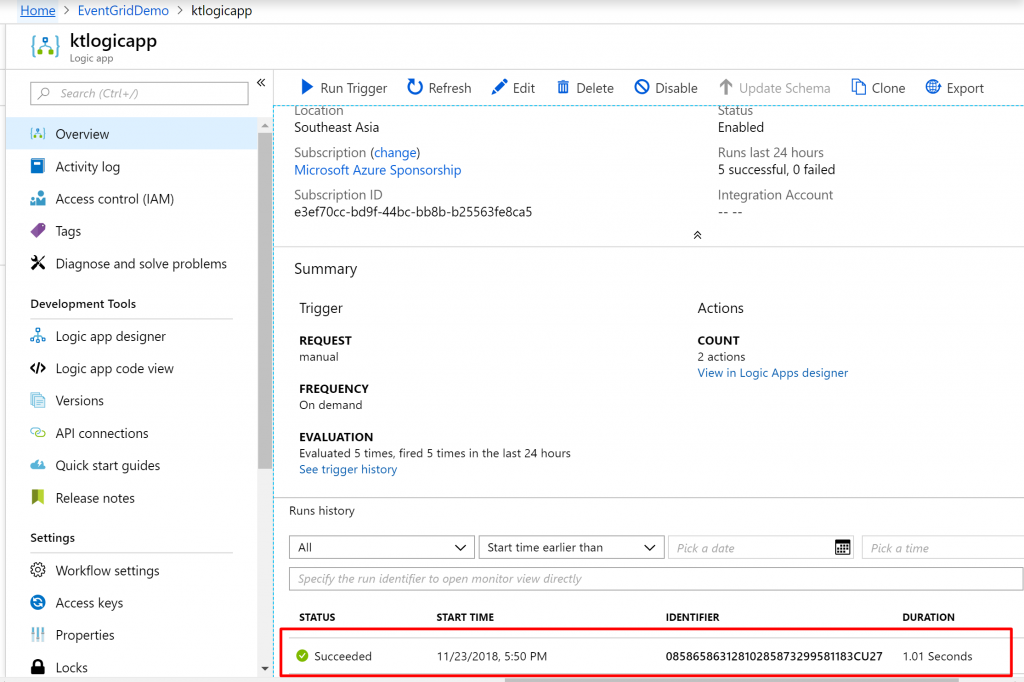
 And in your logic apps overview, you will see that the logic app has run successfully as well.
So this was it. We first posted something to the Event Grid Topic endpoint which went to the logic app’s endpoint and because of the action that we had set up in the logic app, it sent us an email regarding the information that we had set to receive.