LEARN WHAT IS AZURE APPLICATION GATEWAY: THEORY AND HANDS-ON – PART 2

You can read the part 1 of this series by clicking this link.
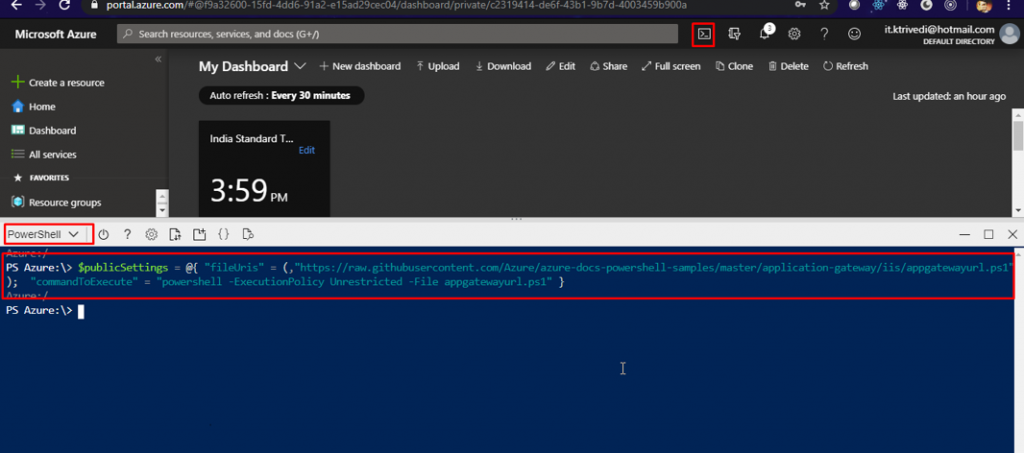
Open CloudShell. Switch it to PowerShell and run this command first.
$publicSettings = @{ “fileUris” = (,”https://raw.githubusercontent.com/Azure/azure-docs-powershell-samples/master/application-gateway/iis/appgatewayurl.ps1″); “commandToExecute” = “powershell -ExecutionPolicy Unrestricted -File appgatewayurl.ps1” }
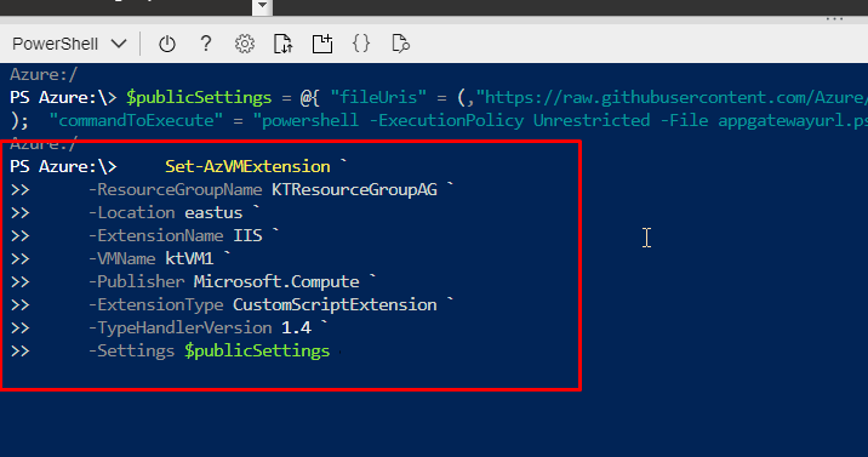
Next up, run this command for VM1.
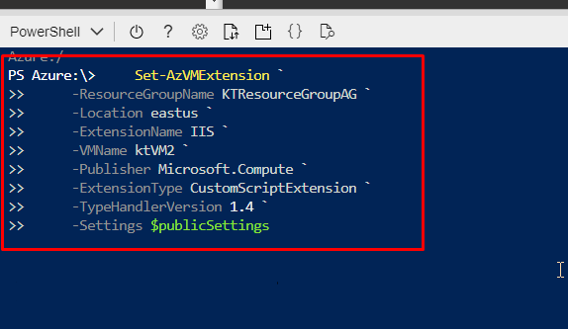
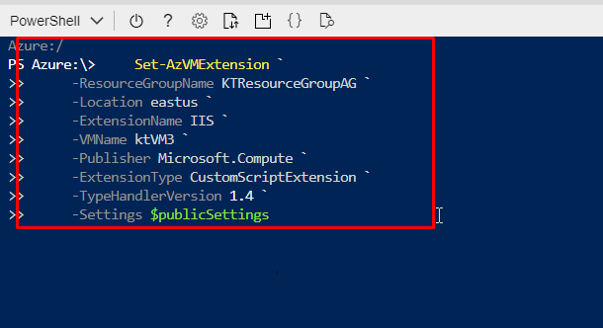
Do the same for VM2 and VM3.
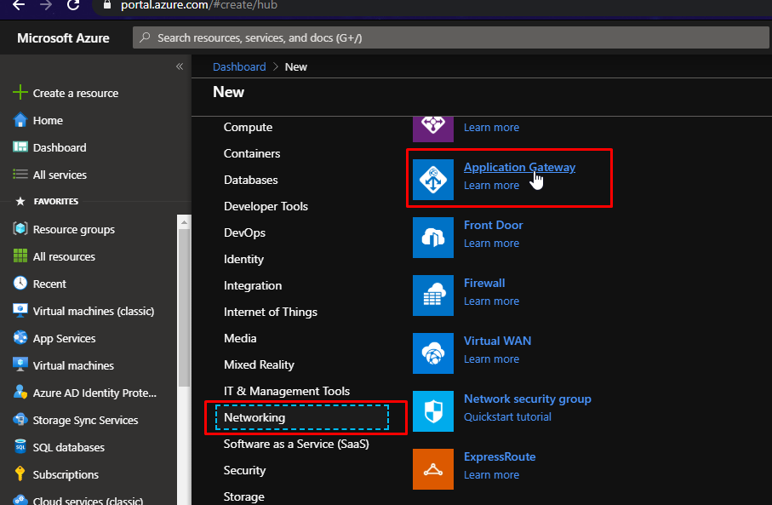
Next, click on Create a resource –> Networking –> Application Gateway
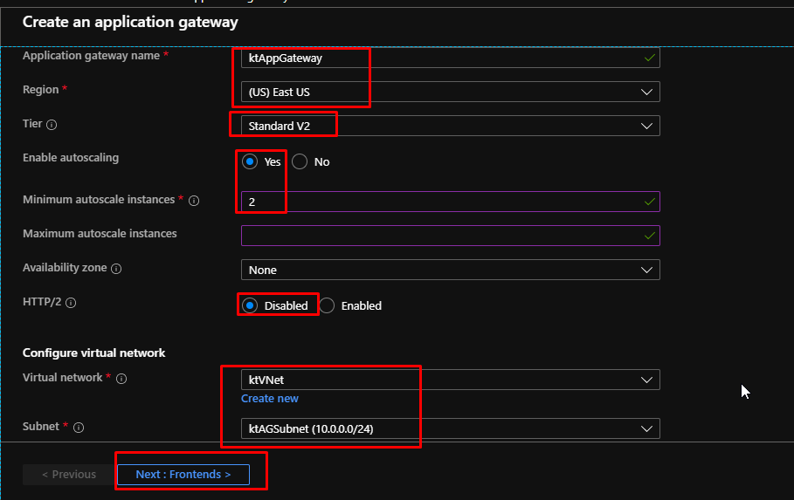
Put the Application Gateway in the same resource group as earlier. Give it a name. Same location. Enable autoscaling and for minimum instances, choose 2. For the VNet, choose the one that you created. And in the subnet, choose AGSubnet. Click Next.
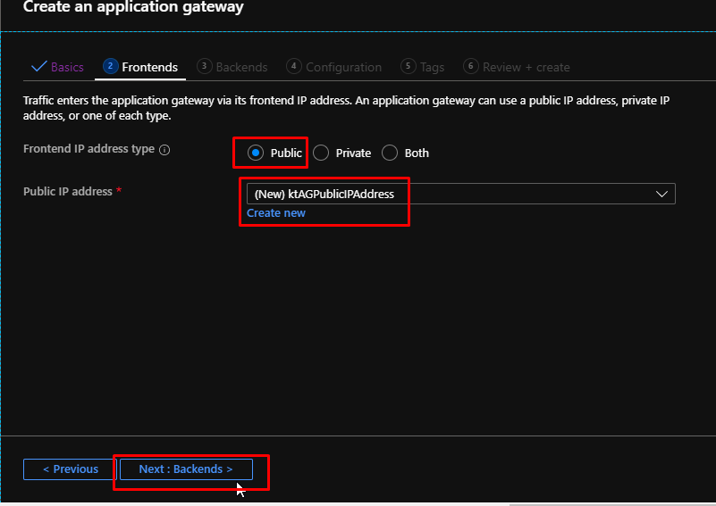
In the Frontends tab, choose the public IP and create a new one. Click Next.
- The backend pool is used to route requests to the backend servers that serve the request.
- Backend pools can be composed of NICs, virtual machine scale sets, public IPs, internal IPs, fully qualified domain names (FQDN), and multi-tenant back-ends like Azure App Service.
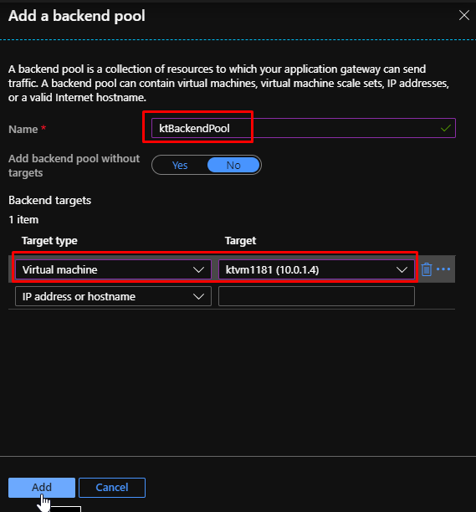
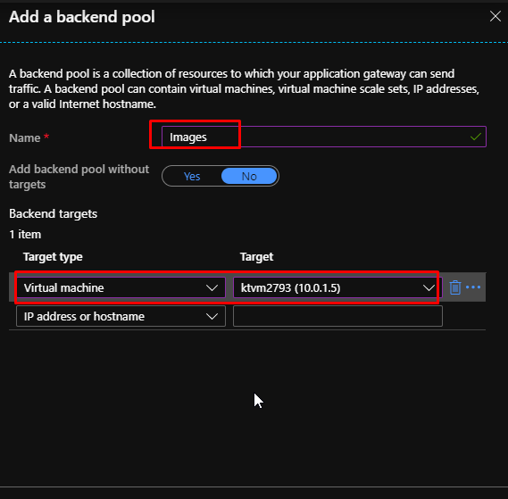
On the next tab, click Add a backend pool.

Create a backend pool. In my case, it is ktBackendPool that has Virtual Machine as the target type and VM1 as the target.
Create another backend pool called Images that has the VM2 as target.
And a third backend pool called Video that has VM3 as the target.

Now you will see three backend pools like this. Click Next to go to the Configuration tab.

- On the Configuration tab, you’ll connect the frontend and backend pool you created using a routing rule.
The configuration tab would look like this. Click Add a rule.

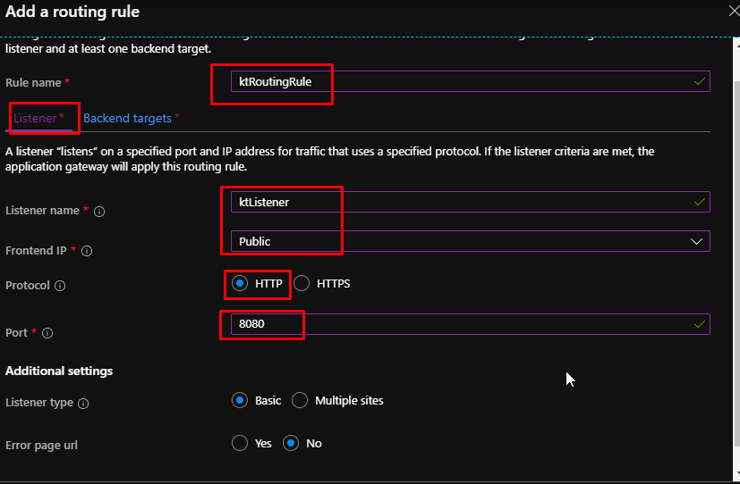
Give a name to your routing rule. Under the Listener section, give the listener a name. Choose Public as the FrontEnd IP and port 8080. Rest everything default.
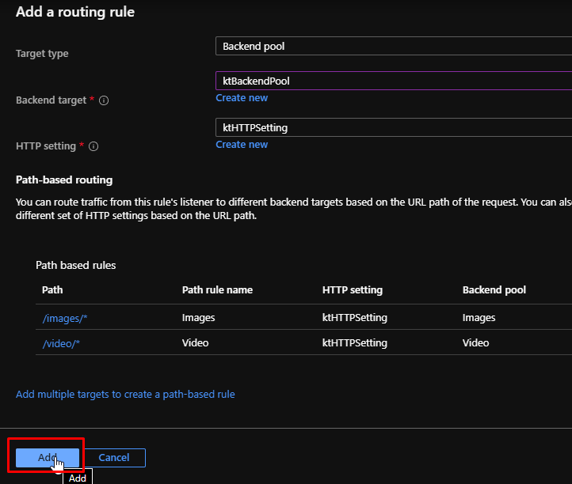
Go to Backend targets tab. In the target type, choose Backend pool. In the backend target, choose ktBackendPool. For the HTTP setting, click create new.

Give your HTTP setting a name and select 80 as the backend port. Save changes and go back to routing rules.

Under path-based routing, click Add multiple targets to create a path-based rule.

Add a path rule for images like this. Save changes and go back to routing rules.

Do the same for path rule of Video.

Click Add to add the routing rule.
Click Next.

Click Review + Create. Once the validation gets successful, click create.

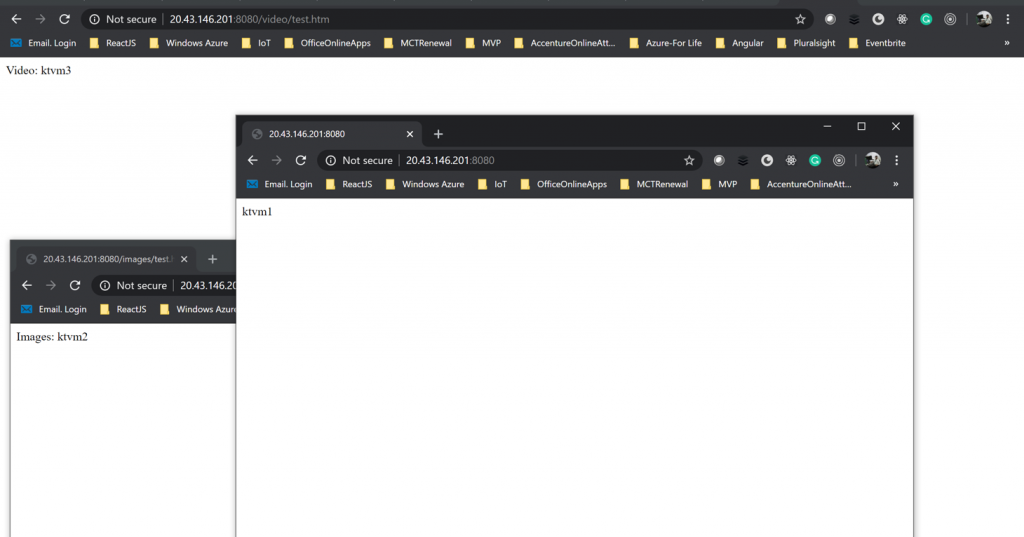
- Once your application gateway gets created, go to the resource.
This is what the output would look like.
That is it. Go ahead and try for yourself Azure Application Gateway.