AUTOMATING AZURE IAAS DEPLOYMENTS

Azure IaaS includes services like Azure Virtual Machines, Azure Virtual Networks, Azure Storage, etc.
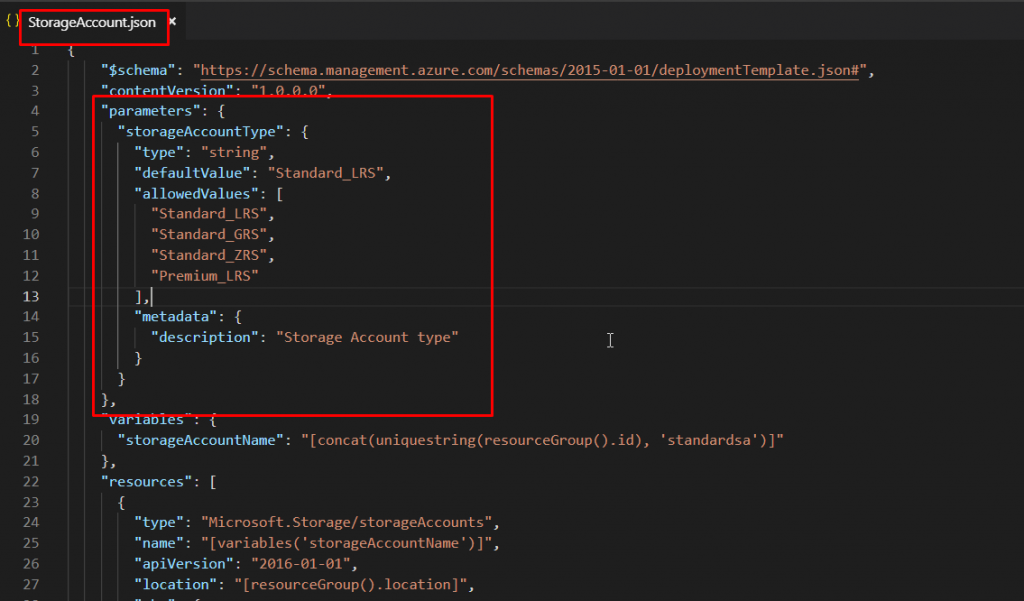
First of all, let us deploy a storage account. In the storage account template’s parameter section, we have the type which is string. Then we have the defaultValue which is Standard LRS. It is the default value that is taken in case the user doesn’t select one from the options provided.

The variables section sets the storageAccountName by using concat and generating a unique string using the resourceGroup’s ID. The resources section has the type which is Microsoft.Storage/storageAccounts, the name which comes from the variable, the apiVersion, the location which is the same as the resource group’s location, the SKU which comes from the parameters section, the resource kind which is Storage. The outputs section just outputs the name of the storage account.

Now, go to Azure portal, search for templates and select Templates from the results.
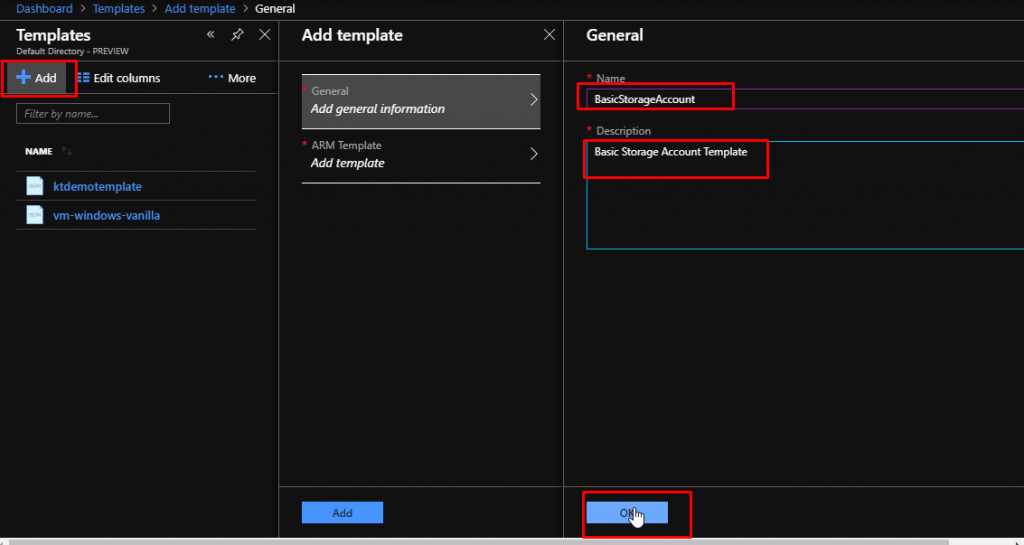
Click Add. Then give a name and add some description. Click OK.

Delete the default template code and paste in the StorageAccount.json code here. Click OK. Next, Azure will validate your template. Even though your ARM template is validated, it doesn’t mean that it will get deployed successfully. There may be still some issues with parameters, wrong values, etc that could occur if you haven’t checked and reviewed the template completely before deployment.
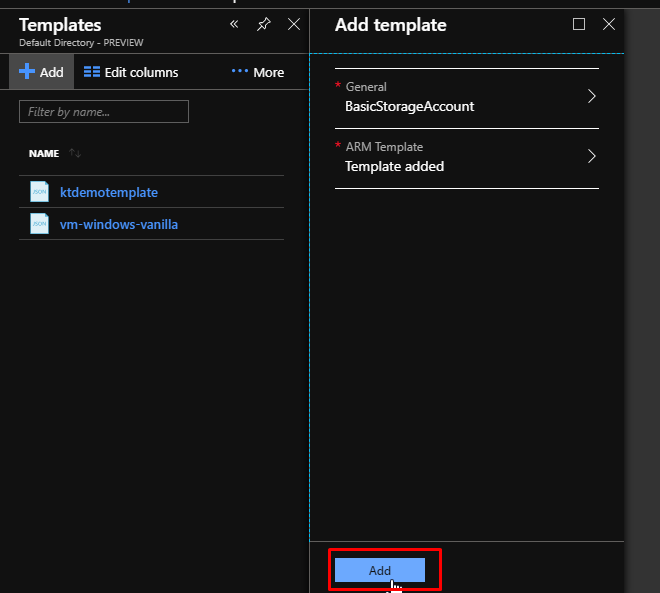
Then, click Add.

Once it gets created and saved, click to open it.

Click More –> Share to see how you can share the template with others.

You can share the template with other collaborators who are working on the same project as you by clicking on the Add button. You can share with the people who are in your directory. You can also assign them roles while sharing the template with them. Right now, we are not going to go into this. Let’s focus on deploying the template.
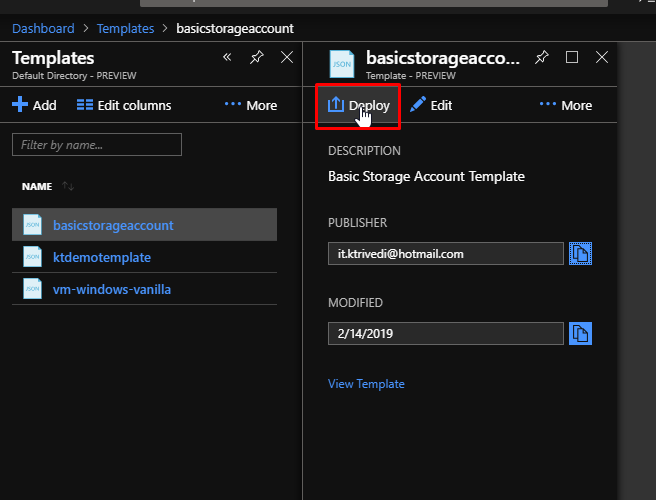
Come back to this blade and click Deploy.

Fill in the basic details, tick the checkbox and click Purchase. This will start deploying the storage account.
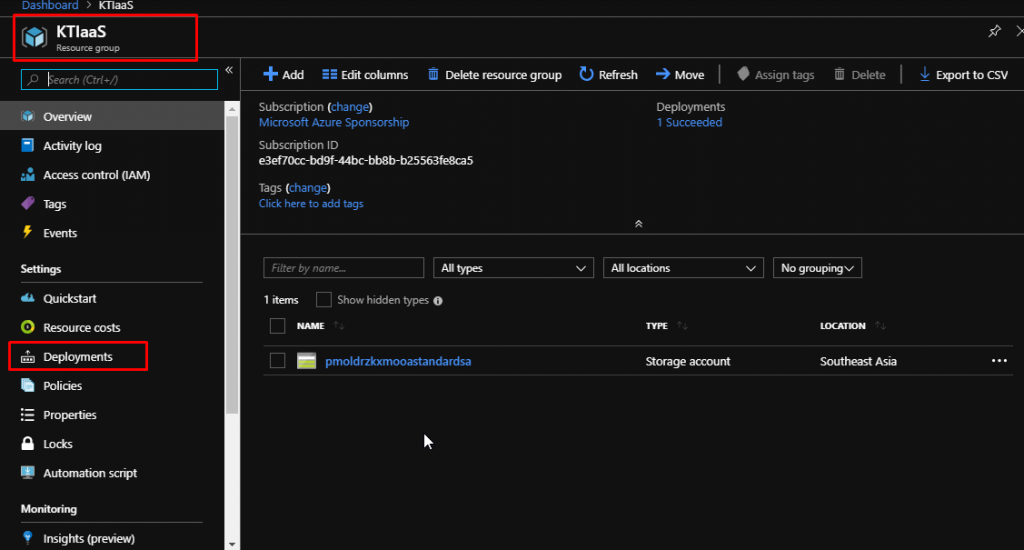
Once the deployment gets succeeded, you will be able to access your storage account. You can go to the resource group and click on storage account to see the details and everything. After that, in the resource group blade, click Deployments tab.

Select the most recent deployment that you made to see the details.
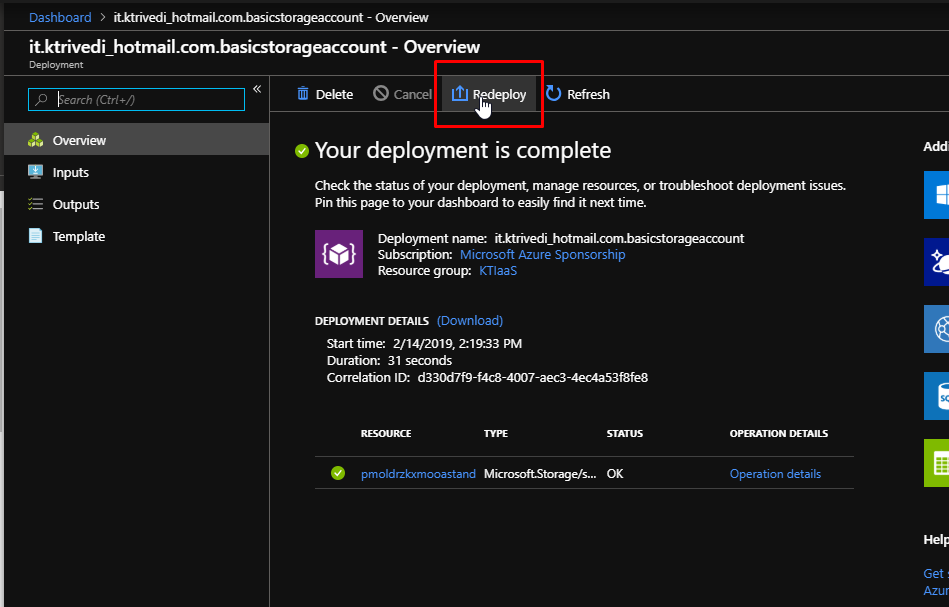
Select Redeploy and see what happens.
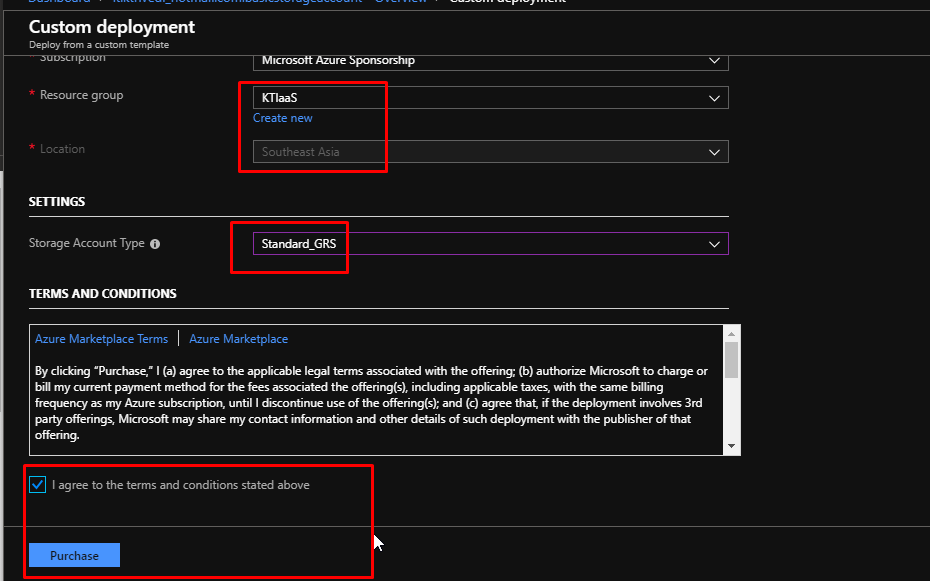
It will take you to this blade again. Select the same resource group as you had created earlier and for the storage account type, choose Standard GRS instead of LRS. Tick the checkbox and click Purchase.

Once it gets deployed, go to the resource group and see what’s there. There will be just one storage account. Click on it.
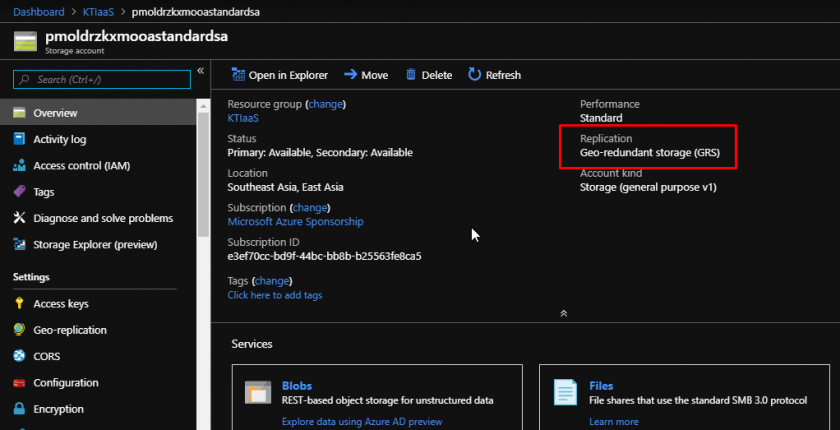
You will see that the replication strategy would be GRS instead of LRS which was earlier. So what it did here is that, it just modified the deployment instead of deploying a whole new instance of the storage account.
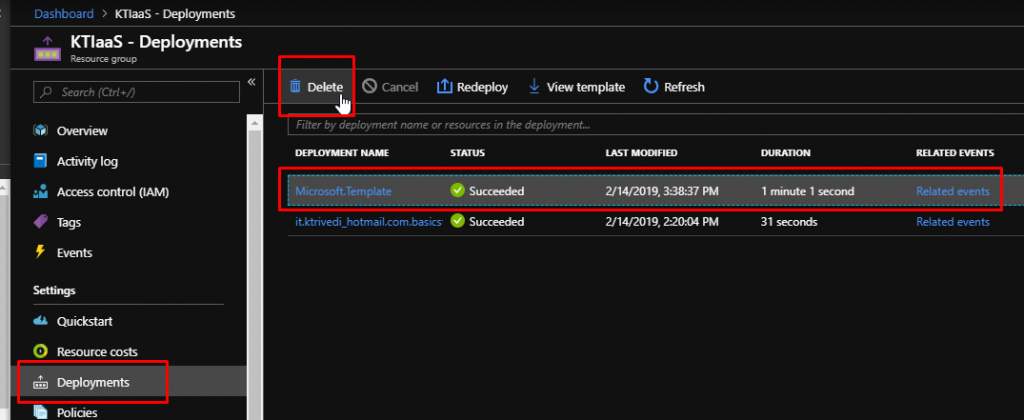
Go to the deployments tab again and select the most recent deployment. Click Delete.

As you can see, it will inform you that it will only delete the deployment history and the resources will be unaffected. Click No because we want to keep the deployment history.