ARM TEMPLATES – BEST PRACTICES

Now let us see the naming convention that you can use for Azure resource names along with its examples. We will review a common naming convention that you can adopt for a VM template. Open VS Code and open a new file.
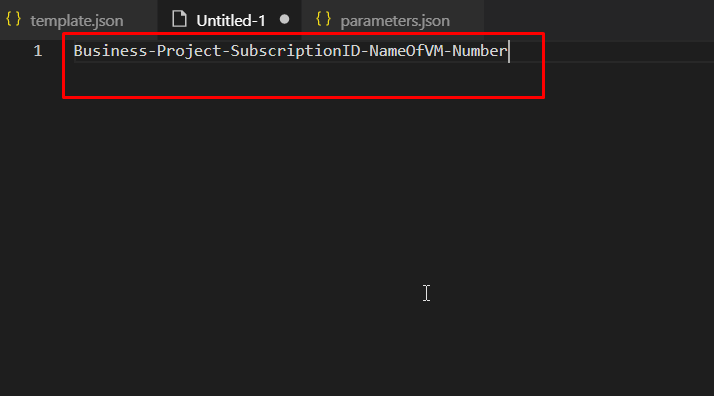
The naming convention for a Virtual Machine could follow this format. It should start by stating the business or vertical or the department within the enterprise, followed by the project name, followed by the Azure’s subscription ID on which it is being built, then the name of VM being used and at last the number to keep count of multiple VMs for the same product.
Suppose, you are working on a project called employee map of the HR team of a company to develop a Cisco NVA Virtual Appliance and this is the first VM that you have to set up. This is how you would do it.
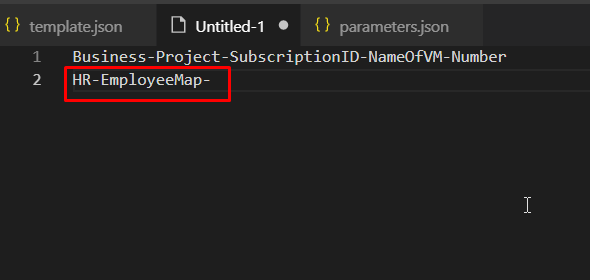
You’d first with the business/vertical which is HR. Then the project name which is EmployeeMap.

For subscription ID, you can use either the first three or the last three characters of the ID since the subscription IDs are too long. You can find the subscription ID from the Azure Portal.

So, now we have the business project name and subscription ID
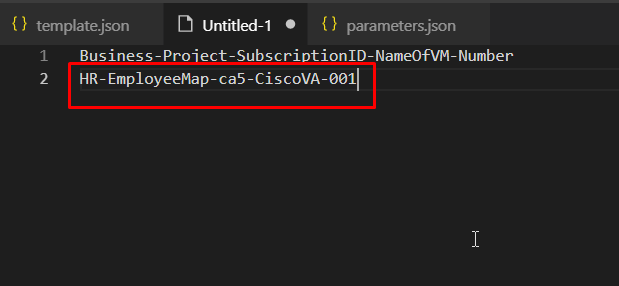
Next you need to enter the VM name and in this case, it is a Cisco Net Virtual Appliance. So, we would name it CiscoNVA and since this is the first VM, the number would be 001.
In a complex Azure environment where you have deployed hundreds of VM across multiple business units, this type of descriptive naming convention can be really handy.
Now let us see some best practices for parameters. Parameters are a key part of an ARM template as they are used to get input from end users. There are two strategies around adding parameters to your Azure ARM templates.
- Scenario 1: You have an end user who is technically well equipped with knowledge.
- Scenario 2: You have an end user who is not so technically equipped like the first user.
Now, how would your use of parameters differ to these end users with different technical knowledge?
- Scenario 1: You may want to make the Azure template very flexible and make liberal use of parameters so that the user can customize the template or the resources to be deployed in the way they want.
- Scenario 2: You should prefer to develop a marketplace offering that makes it easy for the user to use the product. For instance, you might want to have your product deployed on the Azure marketplace which makes it easier for a user who doesn’t know much about the product to try it out.
This is a common practice that is used in automation practices in general and not just in Azure.
Guidelines to work with parameters:
- Minimize the use of parameters and if possible use a variable or a literal value.
- Ideally, you should use parameters only for the scenarios like –
- Settings that you want to use variations of depending on the environment such as SKU, size, capacity
- In cases where you want to easily identify Azure resource names
- You can also use parameters for values that you frequently use to complete other tasks such as an admin username
- Parameters can also be used to protect secret information like passwords
- You can use parameters for the number or array of values to use when you create multiple instances of a resource type
- Always use camel case for parameter names because it makes them look distinct and readable.
- Always describe every parameter in the metadata.
- You can define defaults for some parameters (except for passwords and SSH keys which are secure and must be protected).
- Always use SecureString for all passwords and secrets. SecureString is a string type that provides a measure of security. It tries to avoid storing potentially sensitive strings in process memory as plaintext.
- Whenever possible, avoid using parameters to specify a location. Instead of that, you can use the location property of the resource group. However, it you must use a location parameter, you should share that parameter as much as possible with the resources that are going to be in the same location. By doing so, you can avoid asking users to provide location information over and over again.
- It is important to avoid a parameter or variable for the API version for a resource type. This is because the resource properties and values can vary by version number and the IntelliSense in a code editor can’t determine the correct schema when you set the API version to a parameter or a variable. So, in cases like this it is better to hardcode the API version in the template.
Best practices to work with variables:
- Variables can help you with values that you need to use more than once within the Azure ARM template. If a value is used only once, then a hardcoded value makes the template much easier to read and use.
- You can’t use reference functions in the variable section of the template. This is because the reference function derives its value from the resource runtime state. However, since the variables are resolved during the initial parsing of the template itself, it is important that you construct values that need the reference function directly in the resources or in the output section of the template.
- Always use variables for resource names that must be unique. You can use multiple functions to create new unique values. One of the key functions that you can use is a random function that generates a random string or a unique string function.
- You can group variables into complex objects to reference a value. By grouping variables, you can easily track related variables and this also improves the readability of templates.
Best practices to work with resources in the ARM Templates:
- You can use tags to add metadata to your resources. It helps you to identify Azure resources easily.
- Whenever you use a public endpoint in your ARM template, you should never hardcode the namespace. You should always use the reference function to dynamically retrieve the namespace. It is useful when you want to deploy the template to different public namespace environments without having to manually change the endpoint in the template.
- Make sure you set the API version to the same version that you are using for the storage account in your template.
- One of the many good things about ARM templates is that you can work on a project with other contributors. Every Azure resource has comment section. To help other contributors understand the purpose of an Azure resource that you create, make sure that you specify comments for each resource in the template. These comments come very handy for other contributors who may be deploying or modifying the template.
- Always remember that tags and comments are different things. They server different purposes. Tags are used to identify each resource whereas comments specify what changes you have made or any kind of special information that must be shared with fellow contributors.
- If the storage account is deployed in the same template that you are creating then you don’t need to specify the provider namespace when you reference the resource.
- If you have other values in your template that are configured to use a public namespace, make sure that you change those values to reflect the same reference function.
- Assign public IP addresses to a VM only when an application requires it. If you need to connect to a VM for debugging or other management purposes, you can use virtual network gateway or a jump box or a proxy machine.
- The domain name property for public IP addresses must always be unique. The DomainNameLabel value must be between 3 and 63 characters and follow the rules specified by the regular expression: ^[a-z][a-z0-9]{1,61}[a-z0-9]$
- Because the unique string function generates a string that is 13 characters long, the DNS prefix string parameter is limited to 50 characters.
Best practices to work with outputs:
- Output is used to relay detailed information embedded in an Azure ARM template.
- For example, you deploy a VM in Azure ARM template and you want the user to know the public IP address of that VM. In that case, you should include as output section that returns the details of the IP address and the FQDN.
- It is the same with any other information that is created during a template deployment.
- Remember to use the API version that you used to create the resource when you reference it in your ARM template.
Now a few things about deployment. To deploy your solution, you can either use a single template or the main Azure template with multiple nested Azure ARM templates. Nested Azure ARM templates are common for more advanced scenarios.
Benefits of a nested Azure ARM template:
- They allow you to break down your solution into targeted components.
- You can reuse nested templates with different main templates. It allows you to create modular Azure ARM template code that can be reused for different applications.
- You can also use parameters to conditionally link to nested Azure ARM templates. When you do this, the parameter becomes a part of the URI for the template.
Other tips and tricks:
- Always pass your templates through a JSON validator to check for null information or misalignment of the template. A template validator can help you remove extra commas, parenthesis and brackets that might cause an error during deployment.
- It is recommended to format your JSON code for better readability.
Now, let us create a basic template and save it in the Azure portal.

Back in the Azure porta, search for templates and open Templates.
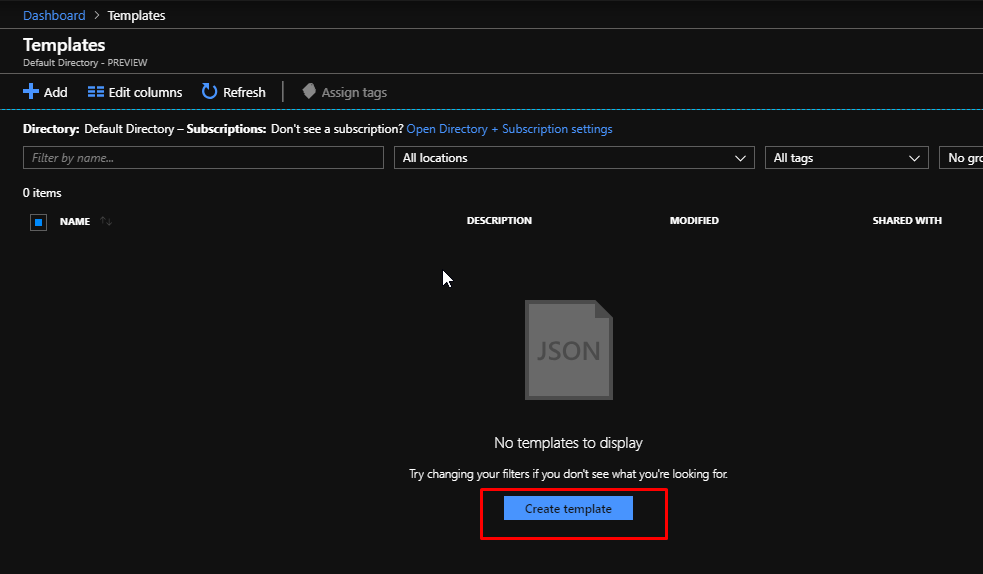
Right now, I don’t have any templates in here. Click Create Template.

Give some and description.

Next, copy the template that we had earlier downloaded.

And paste it in the template field. Then click OK.

Now before you can add this template, Azure will validate this template. It will make sure that it passes all the schema related validity tests.
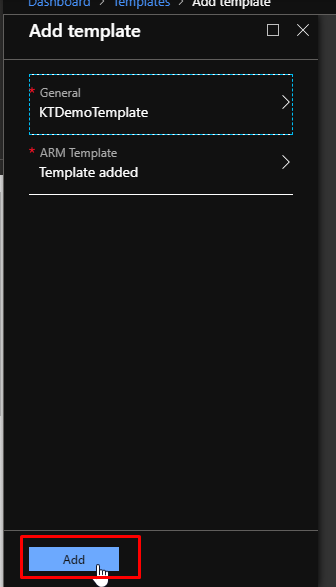
Once it gets validate, click Add.
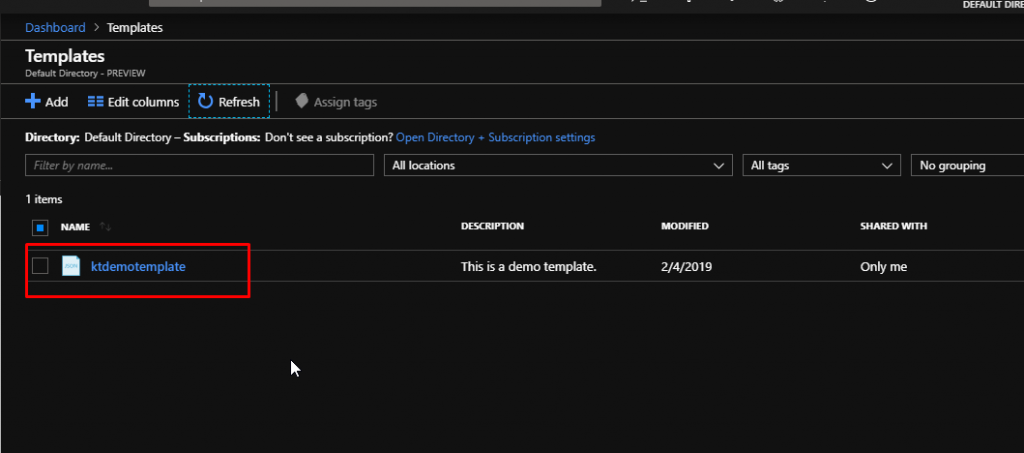
And with that, the template would be added to the templates directory.
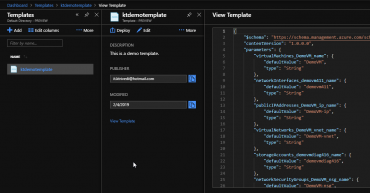
You can view the template by click on it. You will see the details and various options. When you want to deploy it, all you have to do is click the Deploy button. So, this is how easy it is to create, save and store an ARM template in Azure.